Inserting Drop-Down Calendars in Excel: A Comprehensive Guide for Enhanced User Experience
Related Articles: Inserting Drop-Down Calendars in Excel: A Comprehensive Guide for Enhanced User Experience
Introduction
In this auspicious occasion, we are delighted to delve into the intriguing topic related to Inserting Drop-Down Calendars in Excel: A Comprehensive Guide for Enhanced User Experience. Let’s weave interesting information and offer fresh perspectives to the readers.
Table of Content
Inserting Drop-Down Calendars in Excel: A Comprehensive Guide for Enhanced User Experience
Microsoft Excel, a cornerstone of productivity software, often requires data entry that involves dates. While manually typing dates is possible, it’s prone to errors and inconsistencies. This article delves into the various methods of inserting drop-down calendars into Excel, transforming date input from a tedious task into a streamlined and user-friendly experience. We’ll explore techniques ranging from simple data validation to leveraging VBA (Visual Basic for Applications) for more advanced customization, ultimately aiming to create the "finest, ultimate, prime" date entry experience in your spreadsheets.
Understanding the Need for Drop-Down Calendars
Before diving into the implementation, let’s understand why drop-down calendars significantly enhance Excel’s usability:
-
Error Reduction: Manually typing dates leaves room for typos, incorrect formats (e.g., MM/DD/YYYY vs. DD/MM/YYYY), and inconsistencies in data. Drop-down calendars eliminate these errors by presenting a visually clear and unambiguous selection.
-
Improved Data Consistency: A standardized date format is enforced across the entire spreadsheet, simplifying data analysis, sorting, and reporting.
-
Enhanced User Experience: The intuitive visual interface of a calendar makes date selection quick and efficient, reducing user frustration and improving overall productivity.
-
Data Validation: Drop-down calendars inherently enforce data validation, ensuring only valid dates are entered. This is crucial for maintaining data integrity.
Methods for Implementing Drop-Down Calendars
Several methods exist for incorporating drop-down calendars into Excel, each with its own advantages and disadvantages. We’ll explore the most popular and effective approaches:
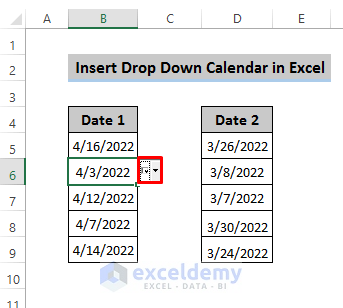
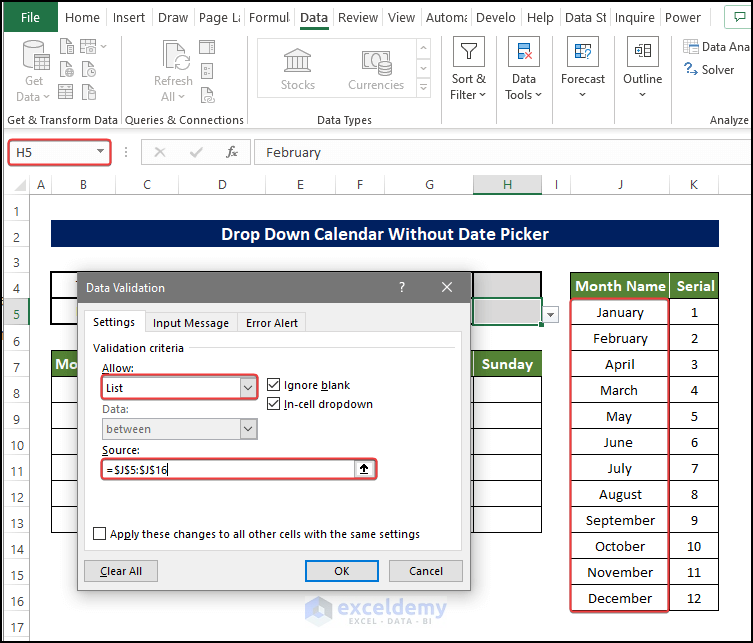
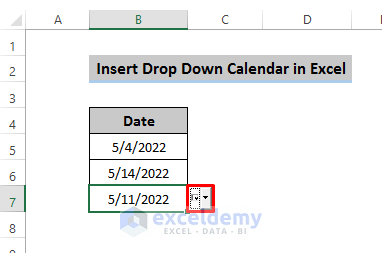
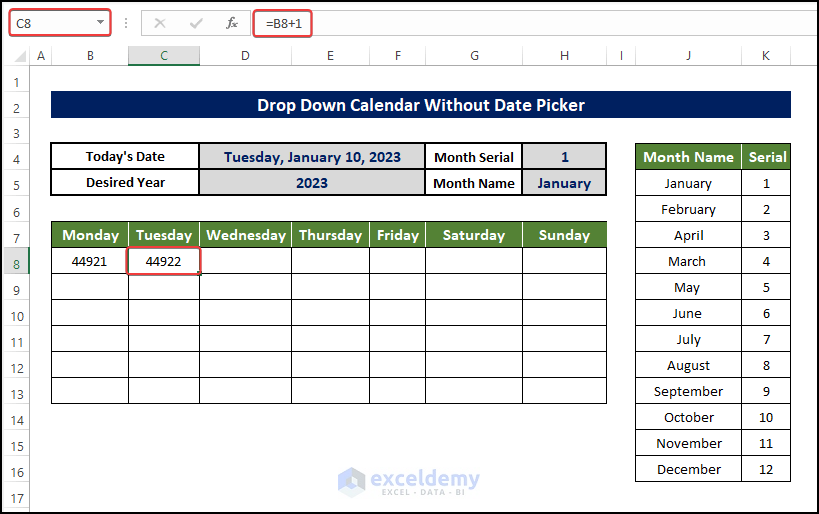
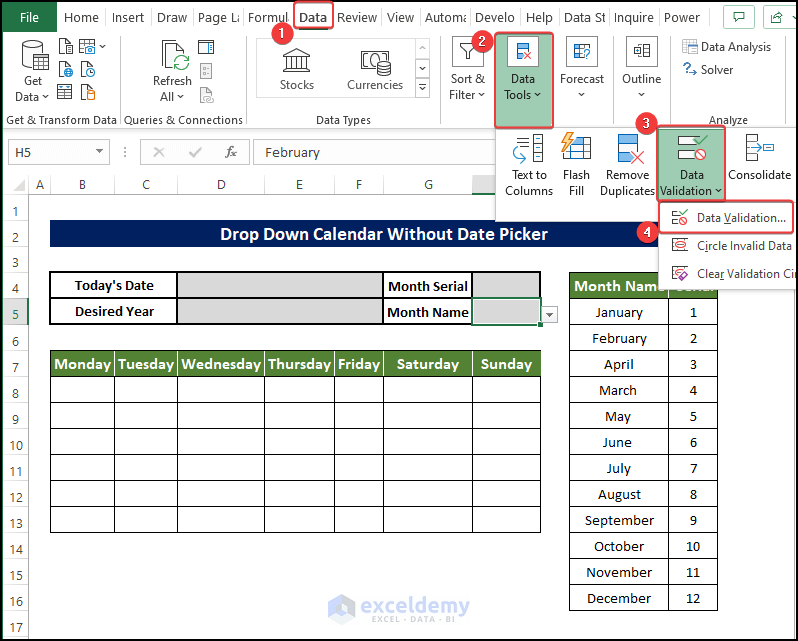
1. Data Validation with a List:
This is the simplest method, suitable for situations where a limited range of dates is acceptable.
-
Steps:
- Select the cell(s) where you want the drop-down calendar.
- Go to Data > Data Validation.
- Under "Settings," choose "List" from the "Allow" dropdown.
- In the "Source" box, enter the list of dates you want to include, separated by commas (e.g., "01/01/2024, 01/02/2024, 01/03/2024"). Alternatively, you can select a range of cells containing the dates.
- Click "OK."
-
Limitations: This method is impractical for a wide range of dates. Manually creating a list for an entire year or multiple years becomes cumbersome.
2. Data Validation with a Date Range:
This method allows for selecting dates within a specific range.
-
Steps:
- Follow steps 1 and 2 from the previous method.
- Choose "Date" from the "Allow" dropdown.
- Specify the minimum and maximum dates under "Data."
- Click "OK."
-
Limitations: While better than a manually created list, it still doesn’t provide a visual calendar interface. Users still need to type or select from a list of dates within the specified range.
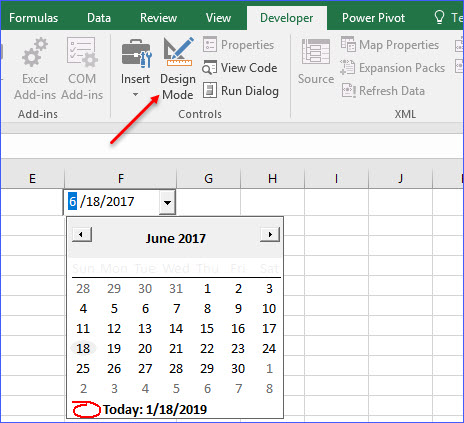
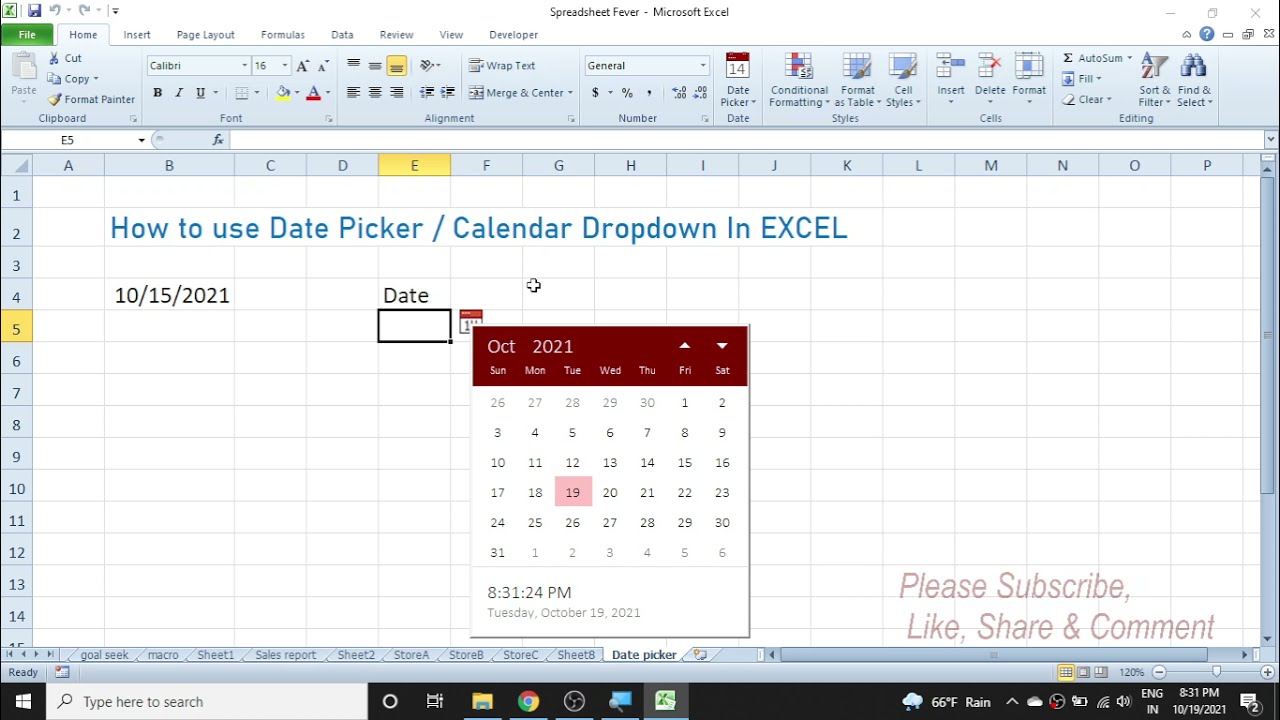
3. Using a UserForm with a DatePicker Control (VBA):
This method offers the most sophisticated and user-friendly approach, providing a true calendar interface. It requires using VBA, but the benefits outweigh the initial learning curve.
-
Steps:
- Open the VBA editor (Alt + F11).
- Insert a new UserForm (Insert > UserForm).
- From the Toolbox (View > Toolbox), drag a DatePicker control onto the UserForm.
- Add a Command Button to the UserForm.
- Double-click the Command Button to open its code window.
- Enter the following VBA code:
Private Sub CommandButton1_Click()
    Dim selectedDate As Date
    selectedDate = DatePicker1.Value
    ThisWorkbook.Sheets("Sheet1").Range("A1").Value = selectedDate 'Change "Sheet1" and "A1" as needed
    Unload Me
End Sub
7. **Modify the code to specify the target sheet and cell.**
8. **Close the VBA editor.**
9. **In your Excel sheet, run the UserForm by pressing Alt + F8, selecting the UserForm, and clicking "Run."**- Advantages: This method provides a true calendar interface, enhancing the user experience significantly. It also allows for greater customization, such as adding additional controls and validation rules.
4. Leveraging Third-Party Add-ins:
Several third-party add-ins offer advanced calendar functionality within Excel. These add-ins often provide features beyond basic date selection, such as date calculations, scheduling tools, and more. Research available add-ins to find one that best suits your needs. Remember to carefully evaluate the security and reputation of any add-in before installing it.
Choosing the Right Method: A Practical Approach
The optimal method depends on your specific requirements:
-
Simple Date Selection with Limited Options: Data validation with a list or date range is sufficient.
-
Wide Range of Dates, Enhanced User Experience: A VBA UserForm with a DatePicker control is the recommended approach. This provides a true calendar interface and maximum control over the user experience.
-
Advanced Features and Integration: Third-party add-ins offer the most advanced features but require additional installation and may have associated costs.
Beyond Basic Implementation: Customization and Advanced Features
Once you’ve implemented a drop-down calendar, consider these enhancements:
-
Date Formatting: Customize the date format displayed in the calendar and the cell to ensure consistency.
-
Input Validation: Implement additional validation rules to restrict date selection based on specific criteria (e.g., only weekdays, dates within a specific fiscal year).
-
Error Handling: Include error handling in your VBA code to gracefully handle unexpected situations (e.g., user canceling the UserForm).
-
Integration with Other Controls: Combine the date picker with other controls (e.g., text boxes, combo boxes) to create more complex forms for data entry.
Conclusion: Achieving the "Finest, Ultimate, Prime" Date Entry Experience
Implementing drop-down calendars in Excel significantly improves the user experience and data integrity. While simple data validation offers a basic solution, leveraging VBA or third-party add-ins unlocks a world of possibilities for customization and advanced features. By choosing the right method and implementing enhancements, you can transform your Excel spreadsheets from cumbersome data entry forms into efficient and user-friendly tools. The "finest, ultimate, prime" date entry experience is achievable with careful planning and the right implementation strategy. Remember to prioritize user experience and data integrity to create a spreadsheet that is both powerful and easy to use.
Closure
Thus, we hope this article has provided valuable insights into Inserting Drop-Down Calendars in Excel: A Comprehensive Guide for Enhanced User Experience. We thank you for taking the time to read this article. See you in our next article!