Inserting Calendar Dropdowns in Excel: A Finest, Magnificent, Coruscating Guide
Related Articles: Inserting Calendar Dropdowns in Excel: A Finest, Magnificent, Coruscating Guide
Introduction
With great pleasure, we will explore the intriguing topic related to Inserting Calendar Dropdowns in Excel: A Finest, Magnificent, Coruscating Guide. Let’s weave interesting information and offer fresh perspectives to the readers.
Table of Content
Inserting Calendar Dropdowns in Excel: A Finest, Magnificent, Coruscating Guide
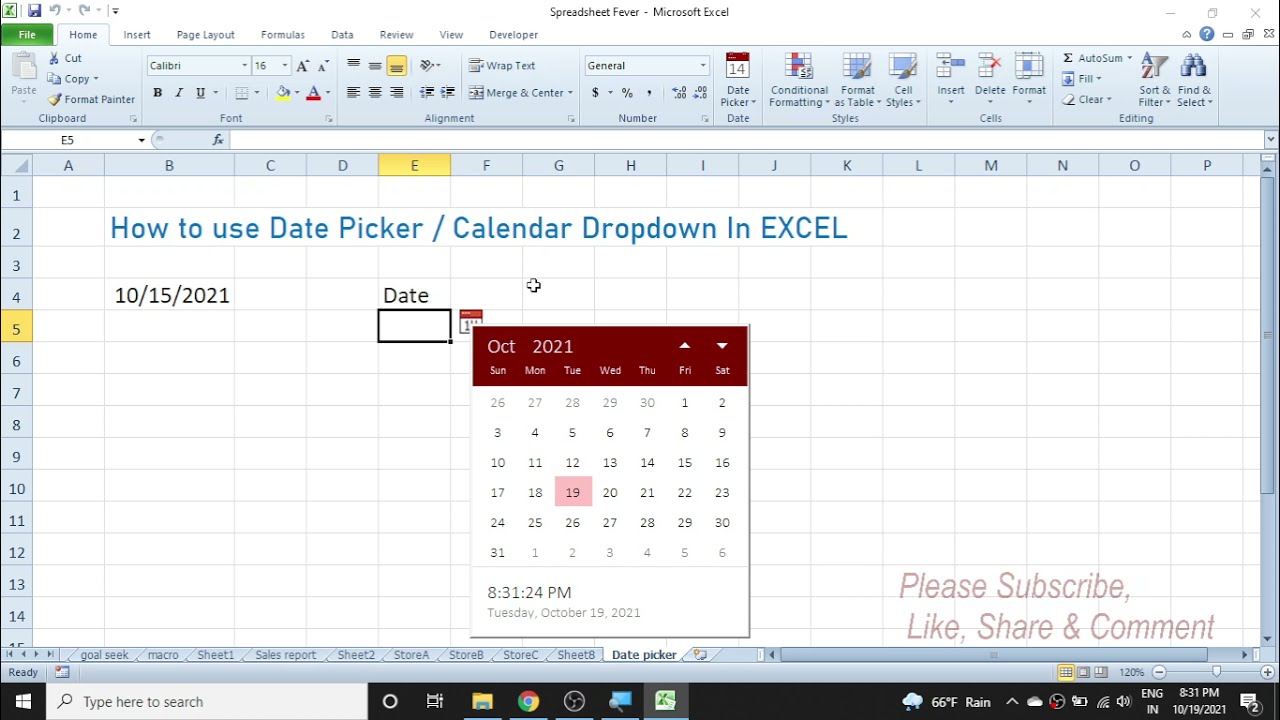
Excel, the ubiquitous spreadsheet program, is a powerhouse of data manipulation and analysis. Yet, its inherent strength sometimes clashes with the need for user-friendly input methods. While Excel offers date selection through direct typing, it lacks an intuitive visual calendar for date entry. This article delves into the elegant and efficient methods of inserting calendar dropdowns into your Excel spreadsheets, transforming a potentially tedious task into a polished and user-friendly experience. We’ll explore various techniques, ranging from simple data validation to sophisticated VBA solutions, ensuring a solution tailored to your specific needs and technical expertise.
The Need for Calendar Dropdowns:
Before diving into the technical aspects, let’s understand why incorporating calendar dropdowns is crucial for enhancing the user experience and data integrity within Excel. Direct date entry, while functional, is prone to errors. Users might enter dates in different formats (MM/DD/YYYY, DD/MM/YYYY, etc.), leading to inconsistencies and complications in data analysis. Furthermore, it’s easy to accidentally type an invalid date, causing errors and requiring manual correction. A calendar dropdown eliminates these issues by providing a visual, intuitive interface that ensures accurate and consistent date input.
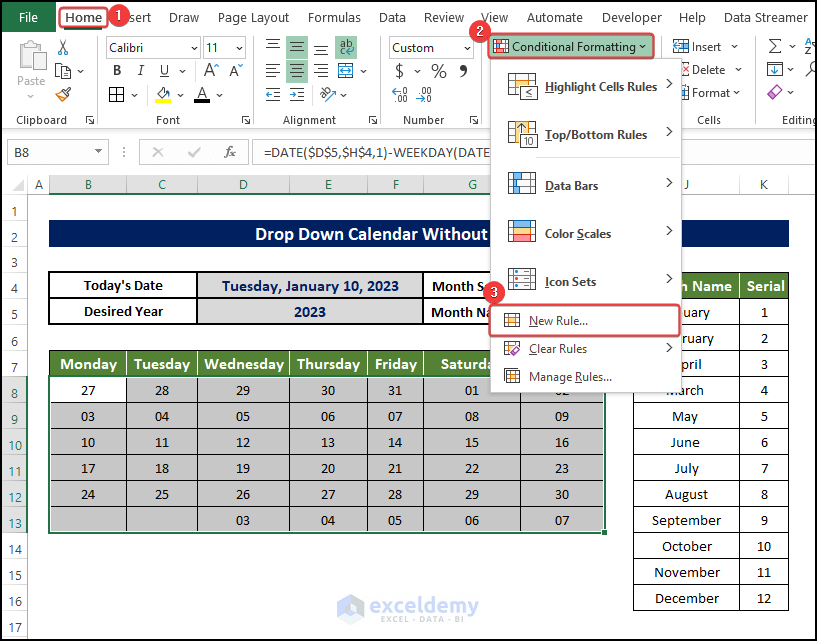
Method 1: Data Validation (Simple & Effective)
This method leverages Excel’s built-in data validation feature to create a simple yet effective calendar dropdown. It’s ideal for users with minimal VBA experience and requires no external add-ins.
-
Create a Date List: The foundation of this method is a list of dates. You can create this manually, but for larger ranges, it’s more efficient to use a formula. In a hidden column (e.g., Column Z), enter the following formula in cell Z1:
=DATE(2023,1,1)(replace 2023 with your starting year). Then, in cell Z2, enter=Z1+1and drag this formula down to encompass your desired date range. This generates a sequential list of dates. -
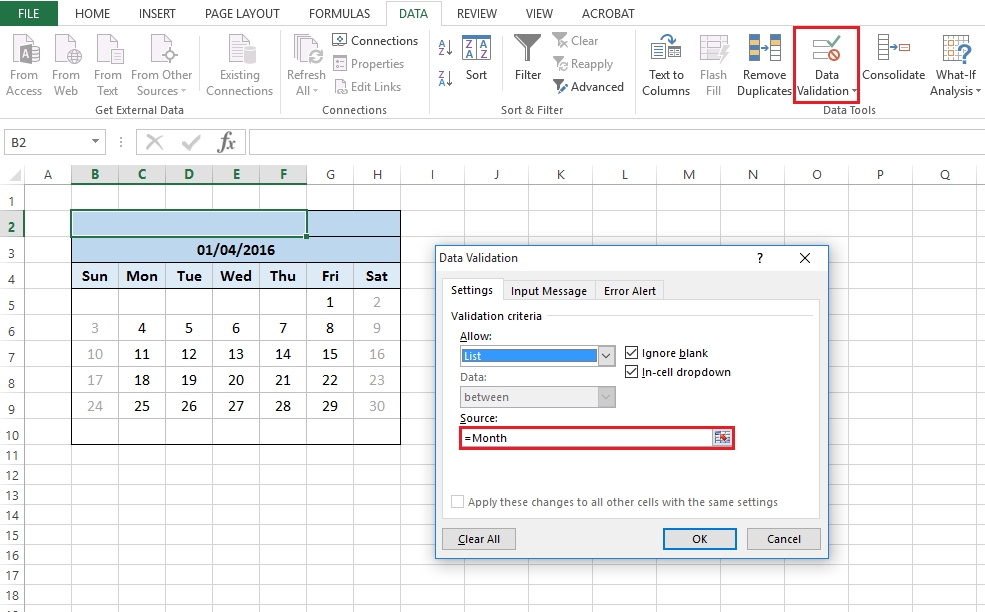
Apply Data Validation: Select the cells where you want the calendar dropdown to appear. Go to the "Data" tab and click "Data Validation".
-
Set Validation Criteria: In the "Settings" tab, choose "List" from the "Allow" dropdown. In the "Source" box, select the range containing your date list (e.g.,
$Z$1:$Z$365for a year’s worth of dates). You can also type the range directly into the Source box. -
Customize (Optional): The "Input Message" and "Error Alert" tabs allow you to provide instructions to the user and define error messages for invalid input.
-
Format the Dates: Once the data validation is set, you can format the cells to display dates in your preferred format. This improves the visual appeal and consistency of your spreadsheet.
Limitations of Data Validation:
While simple and effective for smaller date ranges, this method becomes cumbersome for extensive date ranges. Managing and updating the date list manually can be tedious. Furthermore, it doesn’t offer sophisticated features like date range restrictions or custom calendar appearances.
Method 2: VBA for Advanced Customization (Magnificent & Coruscating)
For more advanced features and a richer user experience, Visual Basic for Applications (VBA) is the key. VBA allows you to create custom calendar dropdowns with enhanced functionality and visual appeal.
Private Sub Worksheet_Change(ByVal Target As Range)
  ' Check if the changed cell is within the desired range
  If Not Intersect(Target, Range("A1:A10")) Is Nothing Then
    ' Show the calendar
    Call ShowCalendar(Target)
  End If
End Sub

Sub ShowCalendar(Target As Range)
  Dim cal As Object
  Set cal = CreateObject("New:2DF8D04C-5BFA-101B-BDE5-00AA0044DE52") ' Calendar control
  With cal
    .Width = 200
    .Height = 200
    .Left = Target.Left + Target.Width
    .Top = Target.Top
    .Visible = True
    .Value = Target.Value ' Set initial value
    .OnAction = "SetCellValue" ' Call sub to set value after selection
  End With
  Set cal = Nothing
End Sub

Sub SetCellValue()
  ' Get the selected date from the calendar control
  Dim selectedDate As Date
  selectedDate = Calendar1.Value ' Assuming the calendar control name is Calendar1
  Range("A1").Value = selectedDate
End Sub
This VBA code creates a calendar control that appears when a cell in the specified range (A1:A10 in this example) is selected. The selected date is then automatically entered into the cell.
Explanation:
-
Worksheet_Change: This event procedure triggers whenever a cell value changes on the worksheet. -
ShowCalendar: This subroutine creates and displays the calendar control using the Windows API. -
SetCellValue: This subroutine retrieves the selected date from the calendar control and updates the cell value.
Expanding VBA Functionality:
This basic VBA code can be significantly expanded to include:
- Date Range Restrictions: Limit selectable dates to a specific range.
- Custom Calendar Appearance: Modify the calendar’s visual style (colors, fonts, etc.).
- Error Handling: Implement error handling to prevent unexpected behavior.
- Integration with Other Controls: Combine the calendar with other controls (e.g., text boxes) for more complex input forms.
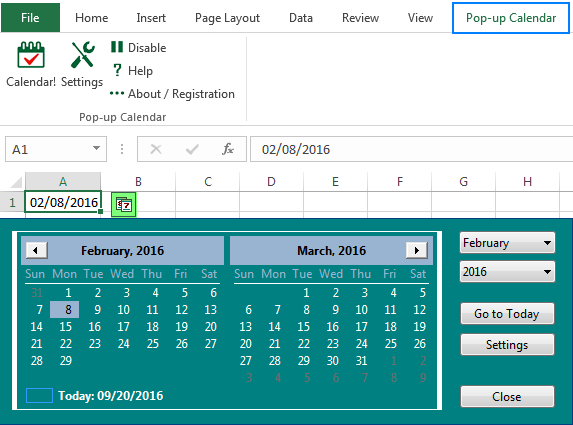
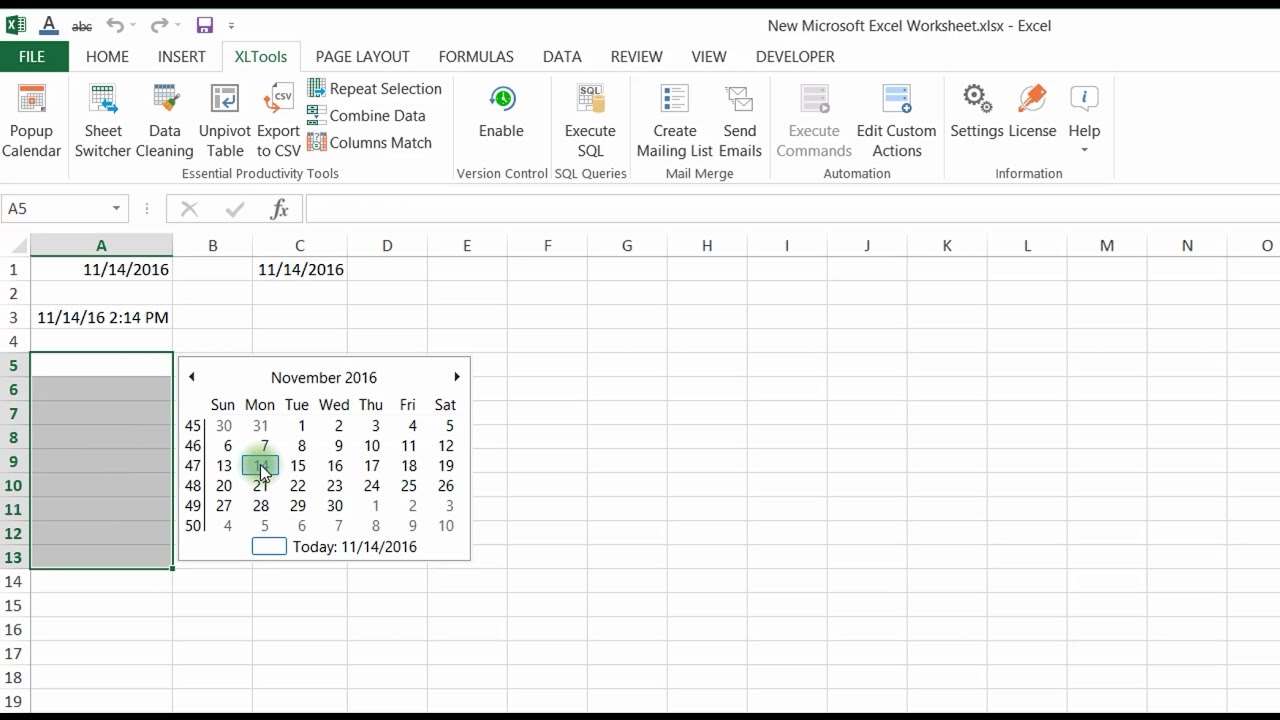
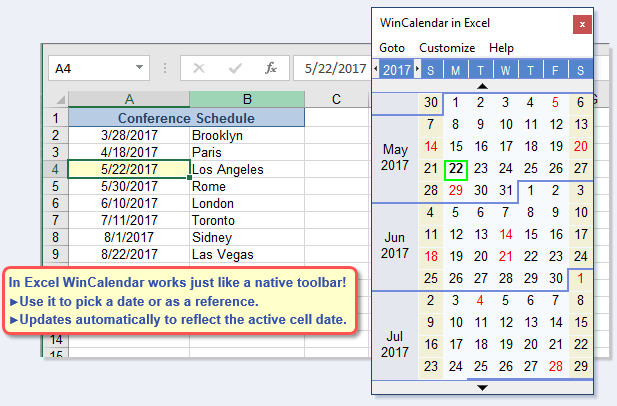
Method 3: Third-Party Add-ins (Finest & Easiest)
Several third-party Excel add-ins provide advanced calendar controls with extensive customization options. These add-ins often offer drag-and-drop interfaces, eliminating the need for VBA coding. While they might require a purchase, they significantly simplify the process and provide a polished, professional look. Research reputable add-ins before installation to ensure compatibility and security.
Choosing the Right Method:
The optimal method for inserting calendar dropdowns depends on your specific needs and technical skills:
- Data Validation: Ideal for simple applications with limited date ranges and minimal customization requirements.
- VBA: Provides the most flexibility and control, allowing for complex customization and integration. Requires VBA programming skills.
- Third-Party Add-ins: Offers a balance between ease of use and advanced features, but may involve a cost.
Conclusion:
Transforming your Excel spreadsheets from simple data containers into user-friendly interfaces is a crucial step in enhancing productivity and data accuracy. The incorporation of calendar dropdowns significantly improves the user experience, minimizing errors and ensuring data consistency. Whether you choose the simplicity of data validation, the power of VBA, or the convenience of a third-party add-in, the methods outlined in this article empower you to create a finest, magnificent, and coruscating Excel experience, making data entry a seamless and enjoyable process. Remember to always test your chosen method thoroughly to ensure it functions correctly within your specific spreadsheet environment. The elegance of a well-designed calendar dropdown is a testament to the attention to detail that elevates a functional spreadsheet into a truly effective tool.


Closure
Thus, we hope this article has provided valuable insights into Inserting Calendar Dropdowns in Excel: A Finest, Magnificent, Coruscating Guide. We thank you for taking the time to read this article. See you in our next article!