Transferring Your Google Calendar: A Finest, Magnificent, Coruscating Guide
Related Articles: Transferring Your Google Calendar: A Finest, Magnificent, Coruscating Guide
Introduction
With enthusiasm, let’s navigate through the intriguing topic related to Transferring Your Google Calendar: A Finest, Magnificent, Coruscating Guide. Let’s weave interesting information and offer fresh perspectives to the readers.
Table of Content
Transferring Your Google Calendar: A Finest, Magnificent, Coruscating Guide

Google Calendar is a cornerstone of modern productivity, seamlessly integrating appointments, reminders, and events into our daily lives. But what happens when you need to transfer your meticulously crafted calendar – brimming with birthdays, deadlines, and crucial meetings – to a new Google account? Fear not, for this comprehensive guide will illuminate the path, offering a finest, magnificent, and coruscating approach to the process. We’ll explore various methods, addressing both simple transfers and more complex scenarios, ensuring a smooth and stress-free transition.
Understanding the Nuances of Calendar Transfer
Before diving into the mechanics, let’s clarify the landscape. There’s no single "transfer" button that magically copies everything. The process involves exporting your data from your source account and importing it into your destination account. This seemingly straightforward task can become nuanced depending on:
- The volume of data: A calendar with a few entries is much easier to manage than one spanning years with thousands of events.
- The complexity of events: Recurring events, events with multiple attendees, and events linked to other Google services (like Meet) require careful consideration.
- Your technical comfort level: While the basic methods are user-friendly, advanced techniques might require a deeper understanding of Google services and data formats.
Method 1: The Simple Export/Import Approach (Ideal for Smaller Calendars)
This method is the most straightforward and suitable for calendars with a relatively small number of entries.
Step 1: Exporting from your Source Calendar:
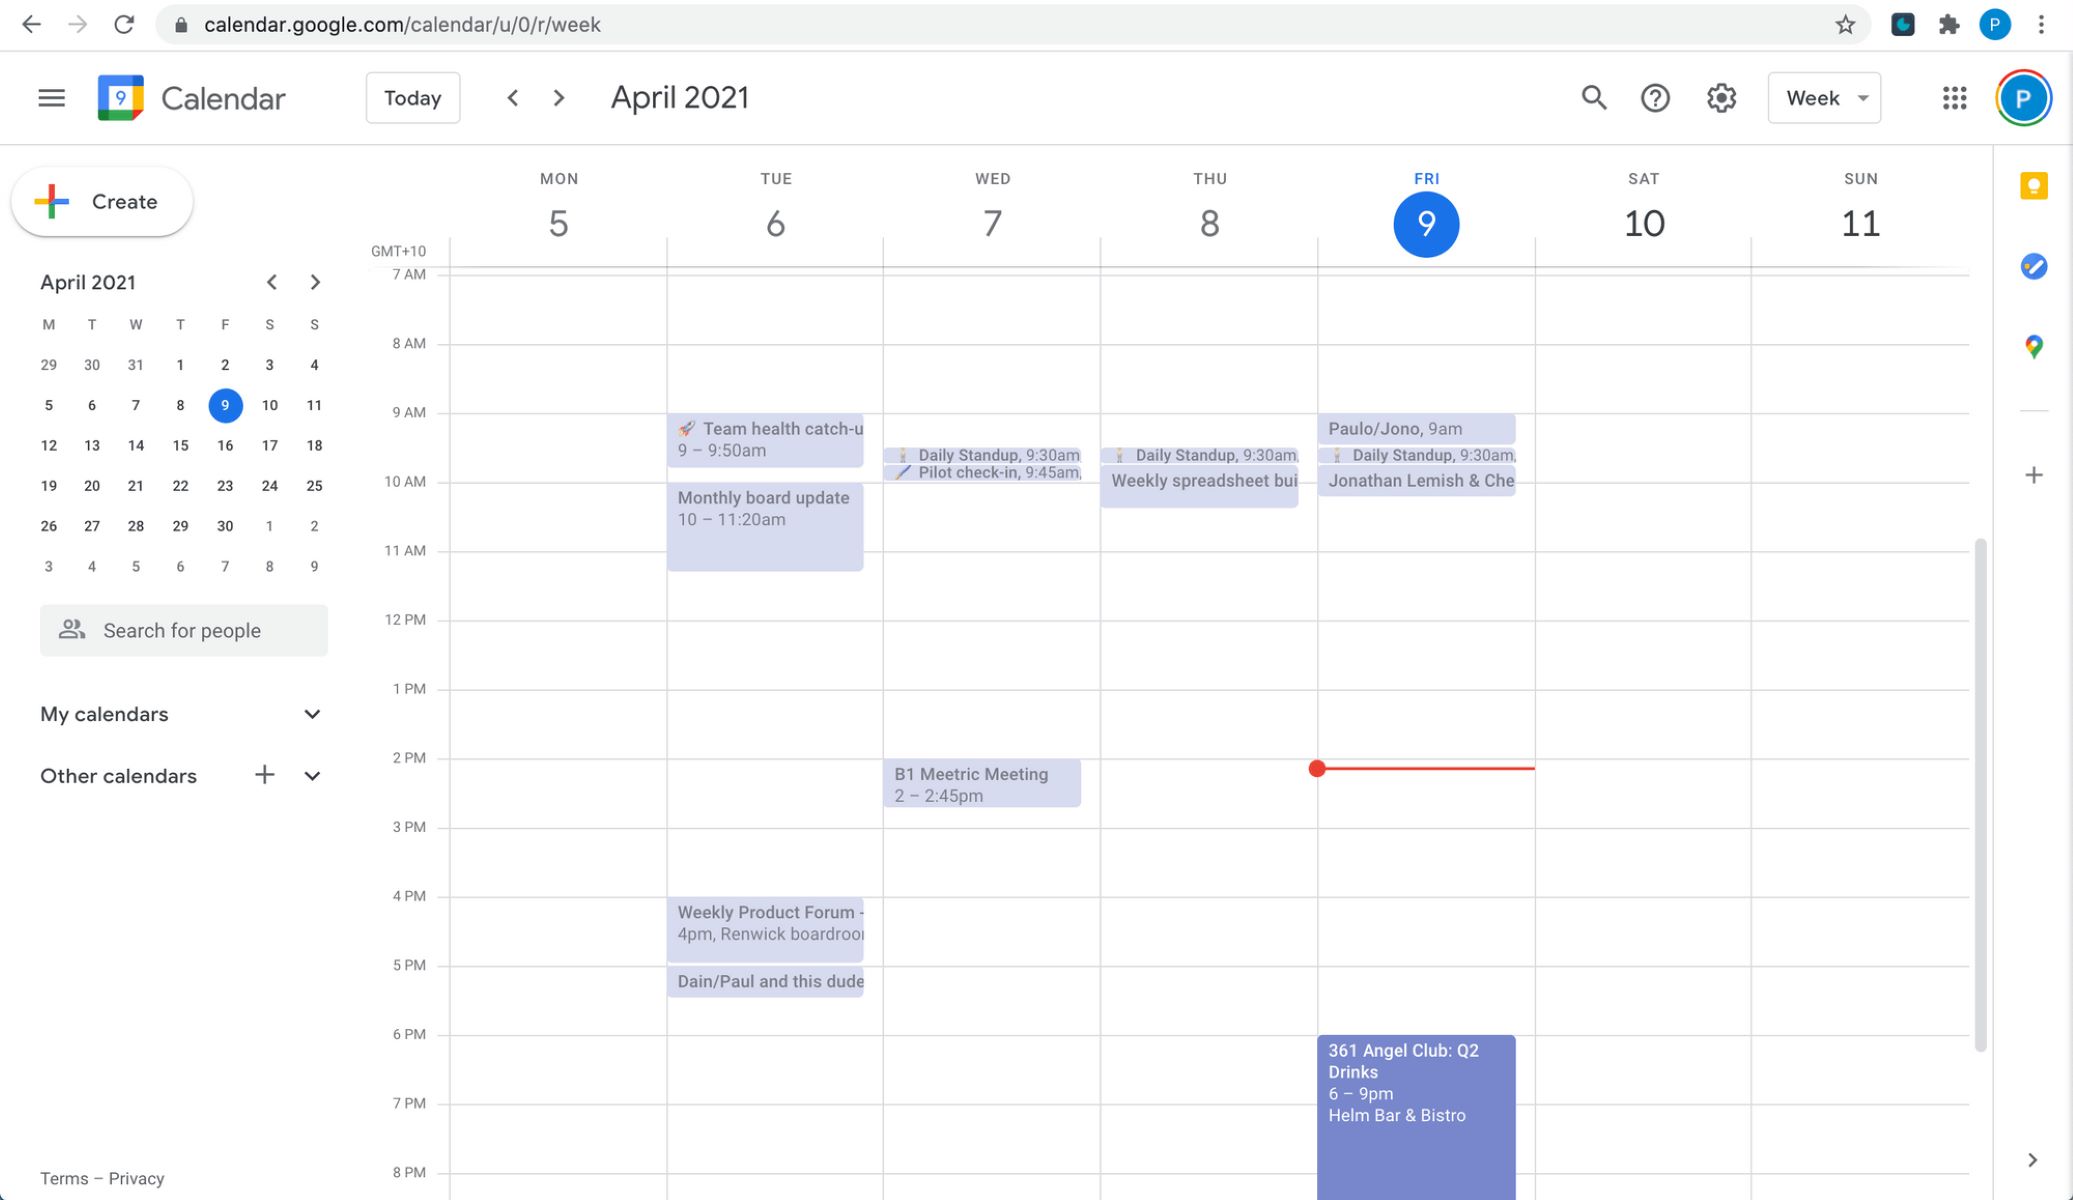
- Access your Google Calendar: Log into your source Google account and open Google Calendar.
- Select the Calendar: If you have multiple calendars, ensure you’ve selected the specific calendar you wish to transfer.
- Settings and Export: Click the gear icon (Settings) in the top right corner. Navigate to "Settings and sharing."
- Export Calendar: Under the "Integrate calendar" section, you’ll find an "Export calendar" option. Click it.
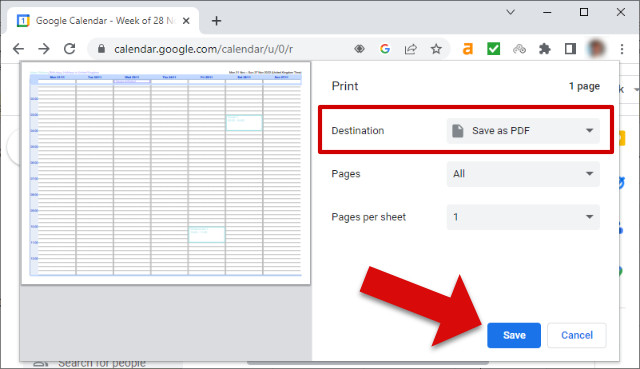
- Download the .ics file: Your calendar data will be downloaded as an .ics (iCalendar) file. Save this file to a safe and easily accessible location on your computer.
Step 2: Importing into your Destination Calendar:
- Access your Destination Calendar: Log into your new Google account and open Google Calendar.
- Import Calendar: Click the gear icon (Settings) and navigate to "Settings and sharing."
- Import Calendar: Look for the "Import calendar" option.
- Select the .ics file: Browse your computer and select the .ics file you downloaded earlier.
- Confirm Import: Review the import settings (you can usually choose a specific calendar to import into) and confirm the import. Your calendar events should now appear in your destination calendar.
Method 2: Utilizing Google Takeout (For Comprehensive Backups and Transfers)
Google Takeout provides a more robust solution, especially for users with extensive calendar data or those who want a complete backup of their Google data.
- Access Google Takeout: Visit the Google Takeout website (takeout.google.com) and log in with your source Google account.
-
Select Data: Deselect all data except "Google Calendar." You can choose the file type (
.zipis recommended) and the delivery method (email or download directly). - Create Export: Initiate the export process. This might take some time depending on the size of your calendar data.
- Download and Import: Once the export is complete, download the archive. Extract the contents. You’ll find your calendar data in an .ics file, which you can then import into your destination Google Calendar using the steps outlined in Method 1.
Method 3: Sharing the Calendar (For Collaborative Access, Not Full Transfer)
If you only need another user to access your calendar, not own a copy, sharing is the simplest approach. This doesn’t transfer ownership; the original calendar remains on your source account.
- Access your Source Calendar: Log into your source Google account and open Google Calendar.
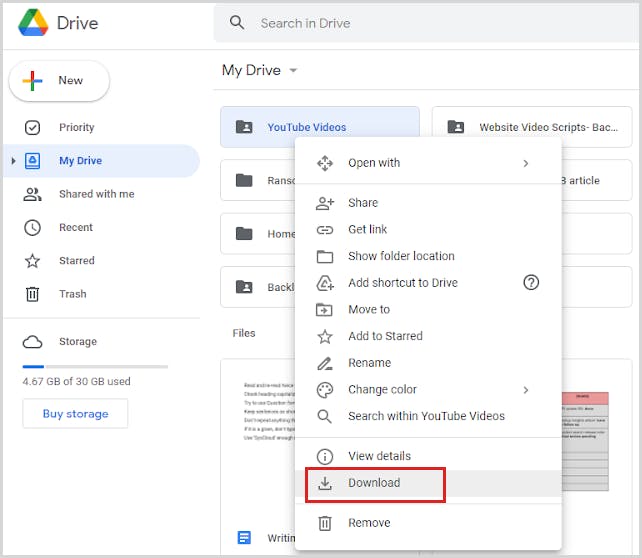
- Share Calendar: Select the calendar you want to share and click the three vertical dots (More actions).
- Share with specific people: Choose "Share with specific people" and enter the email address of the destination Google account. You can adjust the permission level (view only, edit, etc.).
Addressing Complex Scenarios:
- Recurring Events: Both export/import and Google Takeout usually handle recurring events effectively. However, minor discrepancies might occur due to time zone differences or calendar updates.
- Multiple Calendars: Repeat the export/import process for each calendar you want to transfer.
- Events with Attachments: Attachments are typically not transferred during the basic export/import process. You might need to manually recreate events with attachments on your new calendar.
- Integration with other Google Services: If your calendar events are linked to Google Meet or other services, ensure these links remain valid after the transfer. You may need to manually re-create or update these links.
- Troubleshooting: If you encounter issues, check your internet connection, ensure you have sufficient storage space, and verify that the .ics file is not corrupted. Google’s help center is a valuable resource for troubleshooting specific problems.
The Finest, Magnificent, Coruscating Outcome: A Seamless Transition
Transferring your Google Calendar doesn’t have to be a daunting task. By following these methods, carefully considering the nuances of your calendar data, and addressing potential complexities, you can ensure a smooth and efficient transition to your new Google account. Remember to test the imported calendar thoroughly to confirm that all events have transferred correctly and that recurring events are functioning as expected. With a little planning and attention to detail, you can preserve your valuable calendar data and continue managing your time with the same efficiency and grace. The result? A finest, magnificent, and coruscatingly organized schedule, ready to conquer the future.


Closure
Thus, we hope this article has provided valuable insights into Transferring Your Google Calendar: A Finest, Magnificent, Coruscating Guide. We thank you for taking the time to read this article. See you in our next article!