Syncing Your iPhone to Google Calendar: A Comprehensive Guide
Related Articles: Syncing Your iPhone to Google Calendar: A Comprehensive Guide
Introduction
With great pleasure, we will explore the intriguing topic related to Syncing Your iPhone to Google Calendar: A Comprehensive Guide. Let’s weave interesting information and offer fresh perspectives to the readers.
Table of Content
Syncing Your iPhone to Google Calendar: A Comprehensive Guide
:max_bytes(150000):strip_icc()/001-sync-google-calendar-with-iphone-calendar-1172187-fc76a6381a204ebe8b88f5f3f9af4eb5.jpg)
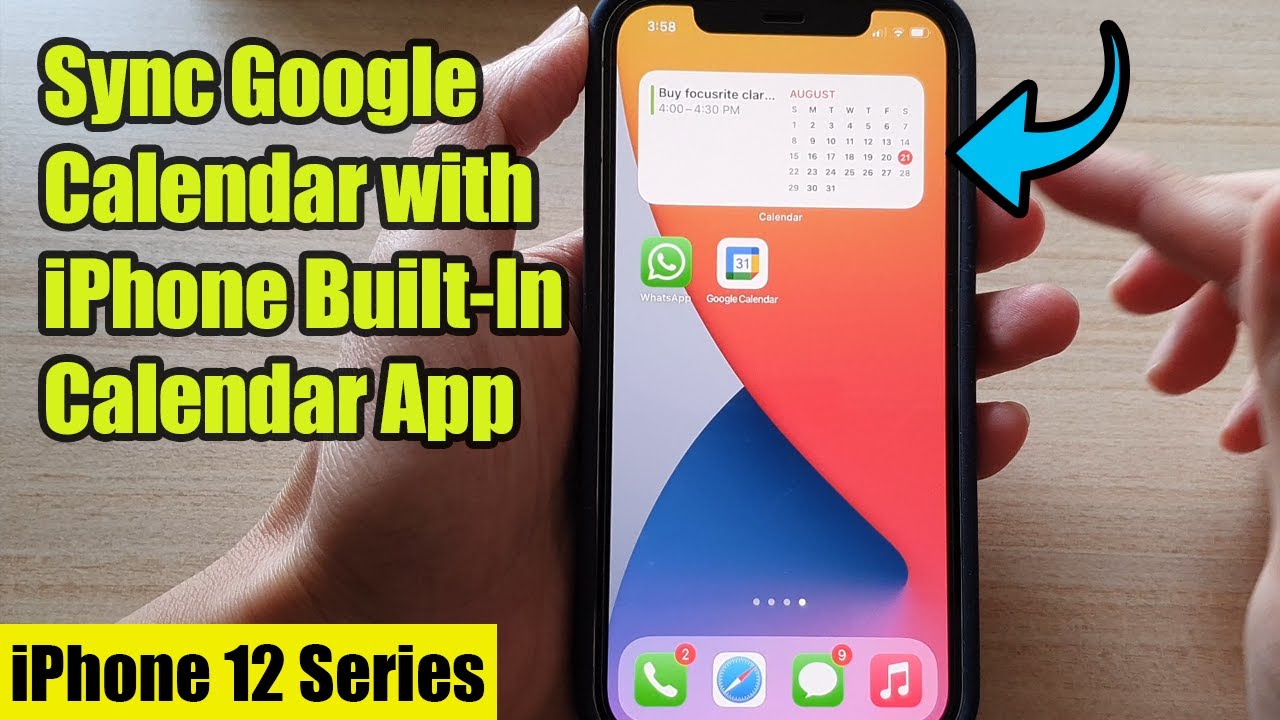
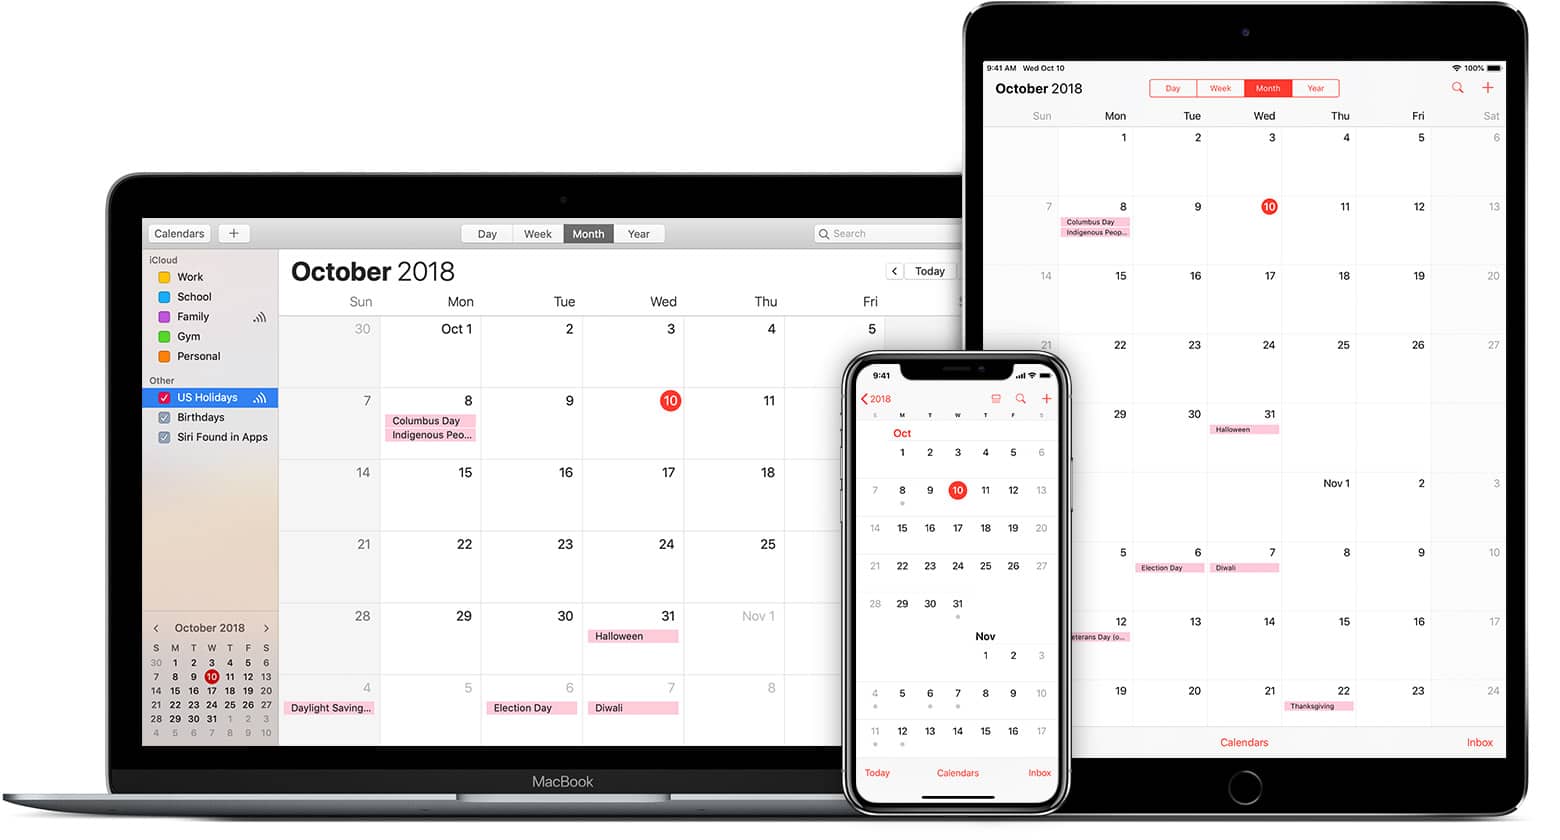
The seamless integration of your iPhone with Google Calendar is crucial for maintaining a balanced and organized life. Whether you’re a student juggling classes, a professional managing meetings, or simply someone who values a well-structured schedule, having your Google Calendar events readily accessible on your iPhone is invaluable. However, the process isn’t always intuitive, and achieving a perfect sync requires understanding the nuances of iOS and Google’s services. This comprehensive guide will walk you through various methods, troubleshooting common issues, and offering best practices for a flawless synchronization experience.
Understanding the Synchronization Process:
Before diving into the specifics, it’s vital to grasp the underlying mechanism. Syncing your iPhone with Google Calendar isn’t a one-time action; it’s an ongoing process. Your iPhone and Google servers constantly communicate, ensuring that any changes made on one platform are reflected on the other. This involves several key components:
- Google Account: You’ll need a valid Google account to access your Google Calendar. This is the central hub for your calendar data.
- iPhone’s Calendar App: This is the native application on your iPhone where you’ll view and manage your Google Calendar events.
- Network Connectivity: A stable internet connection (Wi-Fi or cellular data) is essential for the synchronization to occur. Without it, changes might not be reflected immediately or at all.
- Account Settings: Proper configuration of your Google account within your iPhone’s settings is critical for successful synchronization.
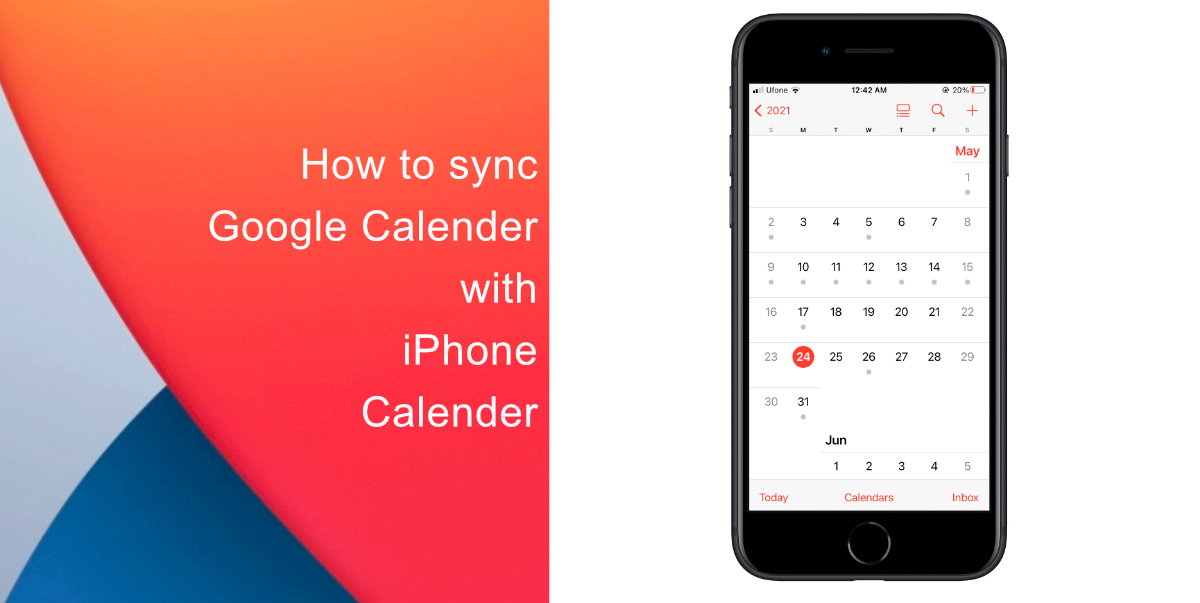
Method 1: Using the Built-in Calendar App (Recommended)
This is the simplest and most recommended method for syncing your Google Calendar with your iPhone. It leverages Apple’s built-in functionality and generally offers the most stable and reliable synchronization.
Steps:
- Ensure your Google Account is added to your iPhone: Go to Settings > Passwords & Accounts > Add Account. Select "Google" from the list.
- Sign in with your Google credentials: Enter your Google email address and password.
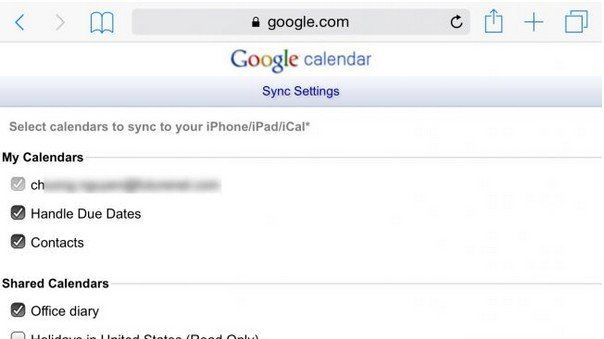
- Select the services to sync: After signing in, you’ll be presented with a list of Google services. Make sure the "Calendars" toggle is switched ON. You can also choose to sync other Google services like Contacts and Mail if desired.
- Verification and Synchronization: Your iPhone will now attempt to synchronize your Google Calendar. This might take a few moments depending on the size of your calendar and your internet connection. Once complete, your Google Calendar events should appear in the Calendar app on your iPhone.
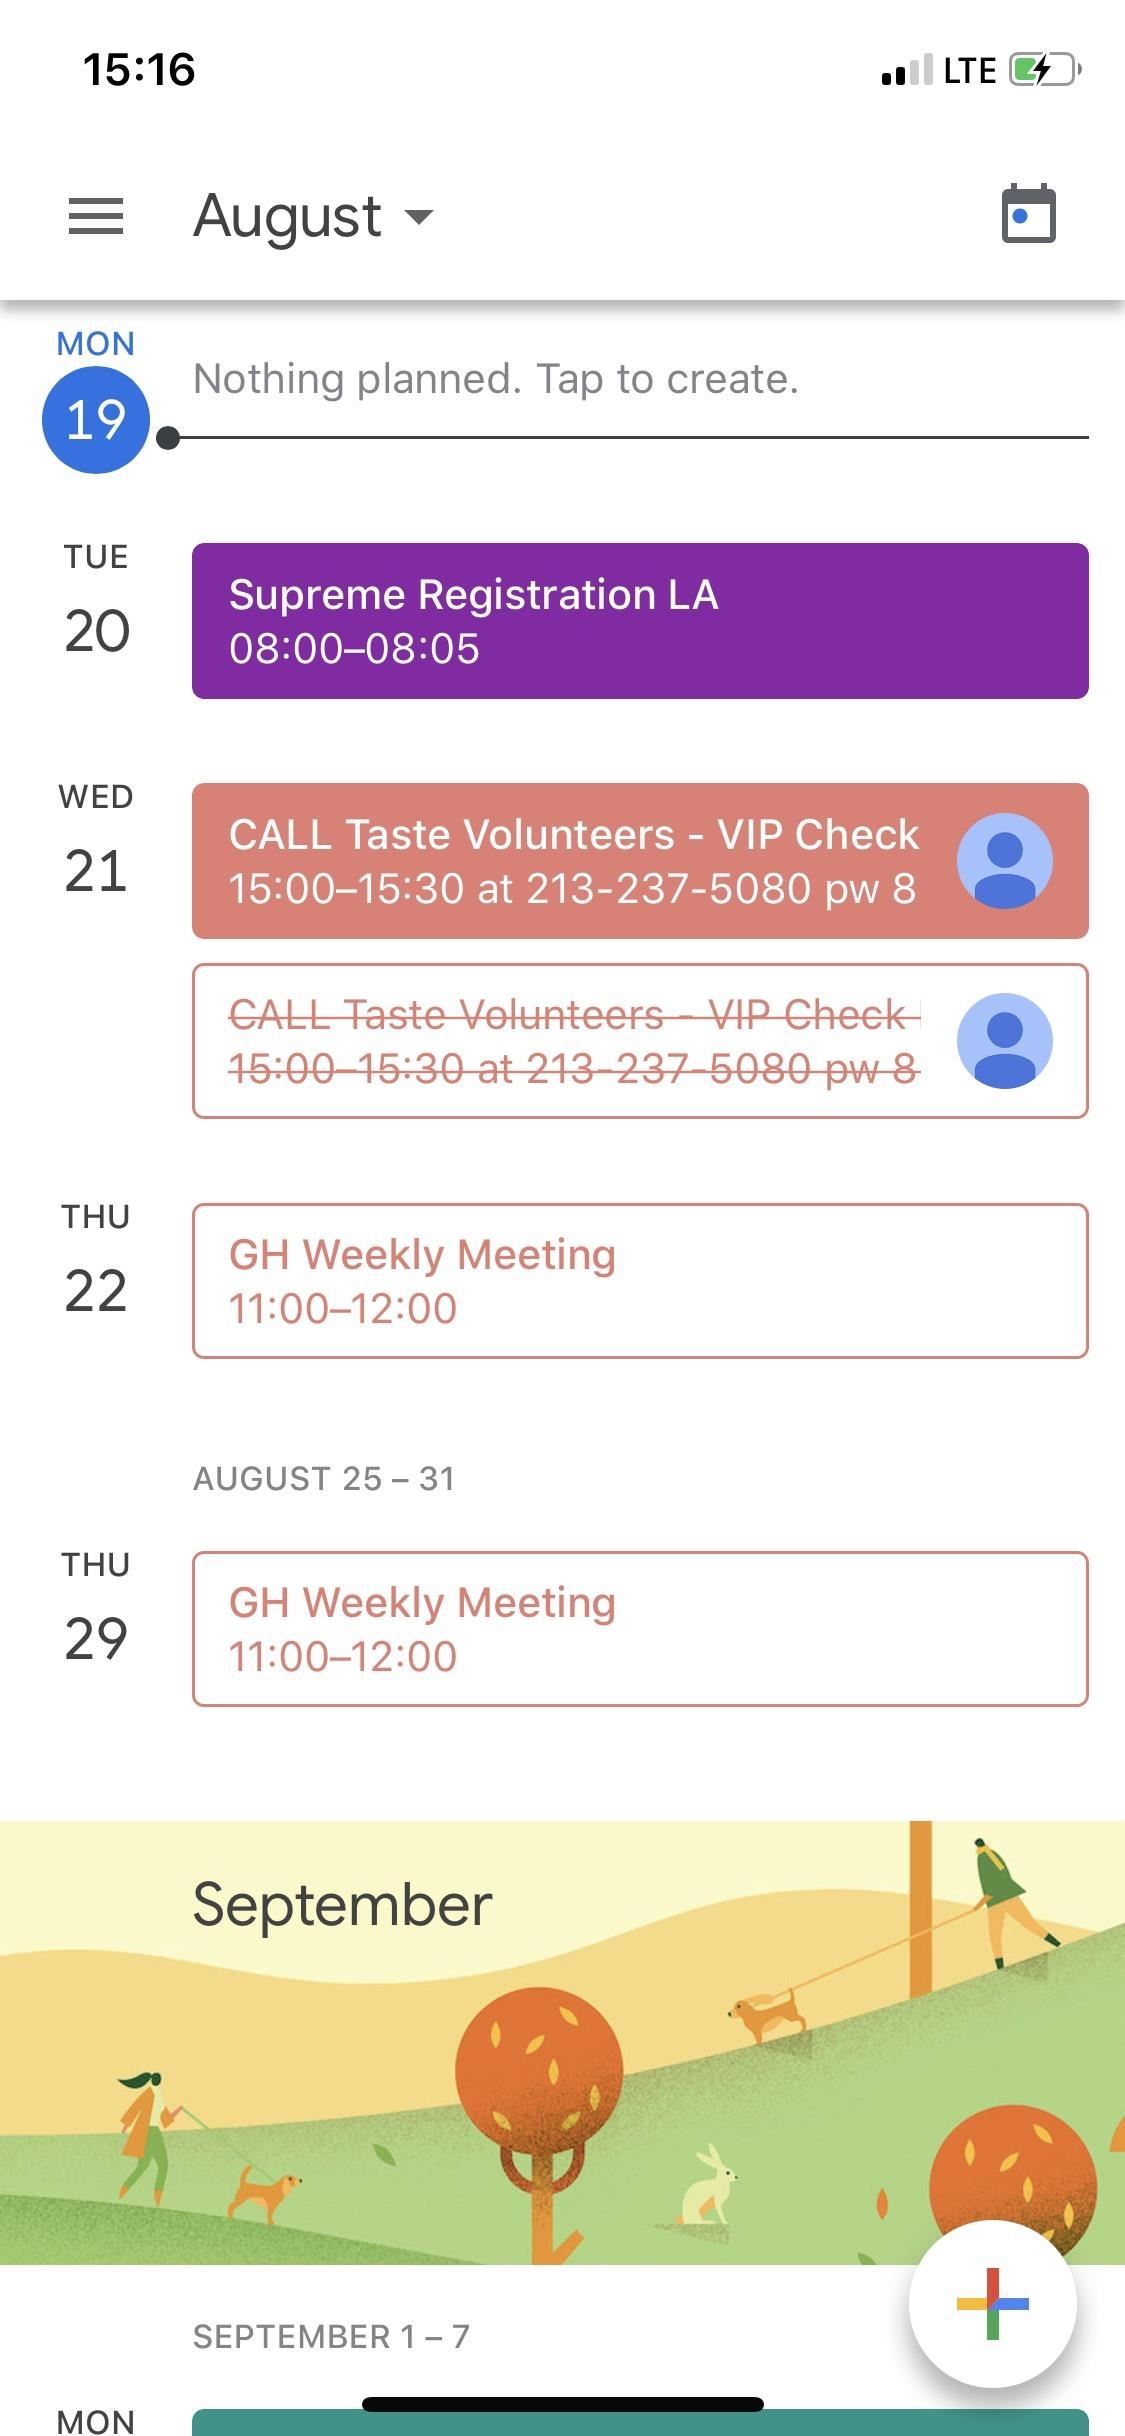
- Accessing your Google Calendar: Open the Calendar app on your iPhone. You should see your Google Calendar listed alongside any other calendars you’ve added. You can switch between calendars by tapping their names at the top of the screen.
Method 2: Using a Third-Party Calendar App
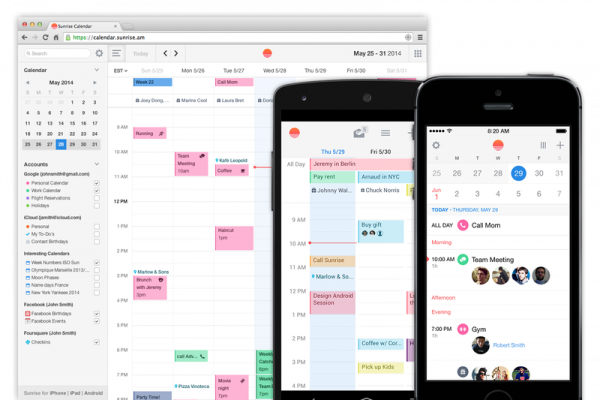
While the built-in method is usually sufficient, some users prefer using third-party calendar applications that offer additional features like advanced scheduling, task management, or enhanced visualization. Many reputable apps support Google Calendar integration. However, using a third-party app introduces an extra layer of complexity and potential for synchronization issues.
Steps (vary depending on the app):
- Download and Install the App: Download the chosen calendar app from the App Store.
- Add your Google Account: Most apps require you to log in with your Google credentials.
- Authorize Access: Grant the app the necessary permissions to access your Google Calendar.
- Synchronization: The app will typically handle the synchronization automatically. Check the app’s settings for options to adjust synchronization frequency or other preferences.
Troubleshooting Common Synchronization Issues:
Despite following the steps, you might encounter issues with syncing your Google Calendar to your iPhone. Here are some common problems and their solutions:
- No Calendars Appear: Double-check that the "Calendars" toggle is ON in your Google account settings on your iPhone. Ensure you’re using the correct Google account credentials. Restart your iPhone and check your internet connection.
- Delayed Synchronization: A slow or unstable internet connection can cause delays. Try connecting to a stronger Wi-Fi network.
- One-Way Synchronization: If changes made on your iPhone aren’t reflected in Google Calendar or vice-versa, ensure you’ve correctly added the account and enabled synchronization in both places. A restart of both your iPhone and your computer (where you might be managing your Google Calendar) can often resolve this.
- Calendar Events Missing: Check the visibility settings of your Google Calendar. It’s possible that specific calendars within your Google account are hidden. Also, ensure you haven’t accidentally deleted events from either your iPhone or Google Calendar.
- Authentication Errors: Incorrect passwords or account issues can prevent synchronization. Verify your Google account credentials and try resetting your password if necessary.
- App-Specific Issues (Third-Party Apps): If you’re using a third-party app, check for app updates and consult the app’s support documentation for troubleshooting guidance.
Best Practices for Optimal Synchronization:
- Maintain a Stable Internet Connection: A reliable internet connection is paramount for seamless synchronization.
- Regularly Check Synchronization Status: Periodically verify that your Google Calendar events are accurately reflected on your iPhone.
- Keep Your Software Updated: Ensure your iPhone’s iOS and the Google Calendar app (if using a third-party app) are up-to-date to benefit from bug fixes and performance improvements.
- Manage Calendar Permissions: Review the permissions granted to the Google Calendar app (or third-party app) to ensure it only has the necessary access.
- Avoid Manual Editing Across Multiple Platforms Simultaneously: While it’s possible to edit your calendar on both your iPhone and your computer, avoid doing so simultaneously to prevent conflicts and data loss.
Conclusion:
Syncing your iPhone to Google Calendar is a straightforward process when done correctly. By following the steps outlined in this guide and understanding the troubleshooting techniques, you can ensure a smooth and reliable synchronization experience. This allows you to effortlessly manage your schedule, appointments, and events across your iPhone and your Google account, ultimately enhancing your productivity and organization. Remember to choose the method that best suits your needs and preferences, and always prioritize a stable internet connection for optimal results. With a little attention to detail, you can enjoy the seamless integration of your iPhone and Google Calendar for a more organized and efficient life.

:max_bytes(150000):strip_icc()/google-calendar-56a3266e5f9b58b7d0d099d4.png)
Closure
Thus, we hope this article has provided valuable insights into Syncing Your iPhone to Google Calendar: A Comprehensive Guide. We hope you find this article informative and beneficial. See you in our next article!