Mastering Google Calendar: A Comprehensive Guide to Ultimate Productivity
Related Articles: Mastering Google Calendar: A Comprehensive Guide to Ultimate Productivity
Introduction
In this auspicious occasion, we are delighted to delve into the intriguing topic related to Mastering Google Calendar: A Comprehensive Guide to Ultimate Productivity. Let’s weave interesting information and offer fresh perspectives to the readers.
Table of Content
Mastering Google Calendar: A Comprehensive Guide to Ultimate Productivity

Google Calendar is more than just a digital diary; it’s a powerful productivity tool capable of streamlining your personal and professional life. This comprehensive guide will walk you through setting up Google Calendar for optimal performance, covering everything from basic setup to advanced features that will transform how you manage your time. We’ll explore techniques to achieve the "Finest Ultimate Prime" experience, maximizing its potential to organize your schedule and boost your efficiency.
Part 1: Foundational Setup – Building Your Calendar Base
Before diving into advanced features, let’s ensure your Google Calendar is properly configured for a solid foundation.
1. Accessing and Creating Your Calendar:
- Sign in: Begin by accessing your Google account. If you don’t have one, create a free account at accounts.google.com.
- Accessing Calendar: Once logged in, navigate to calendar.google.com or find the Calendar icon within your Google apps grid.
- Creating a Calendar (if needed): If you need multiple calendars (e.g., one for work, one for personal appointments, one for projects), you can create them easily. Click the "+" icon (usually found in the left sidebar) and select "Create new calendar." Give your calendar a descriptive name (e.g., "Work," "Family," "Travel") and set your visibility settings (public, private, or specific sharing).
2. Time Zone Configuration:
Accurate time zone settings are crucial. Ensure your Google Calendar reflects your correct time zone to avoid scheduling conflicts. This is usually automatically detected but double-check under the "Settings" (gear icon) -> "Settings" -> "General" tab.
3. Event Creation – The Core Functionality:
Creating events is the heart of Google Calendar. Mastering this process is key:
- Creating an Event: Click the "+" button to create a new event.
- Essential Details: Enter the event title, date, and time. Be specific and descriptive in your titles (e.g., "Meeting with John Doe – Project X," instead of just "Meeting").
- Location: Add the location, whether it’s a physical address or a virtual meeting link.
- Guests: Invite participants using their email addresses. Google Calendar will automatically manage RSVPs.
- Reminders: Set reminders to ensure you don’t miss important events. You can choose from email, pop-up notifications, or SMS reminders. Experiment to find what works best for you.
- Repeat Events: For recurring events (e.g., weekly meetings, monthly bills), use the "Repeat" option to automate scheduling. Define the frequency and end date.
- Descriptions: Add detailed descriptions, including agendas, relevant documents, or any other pertinent information.
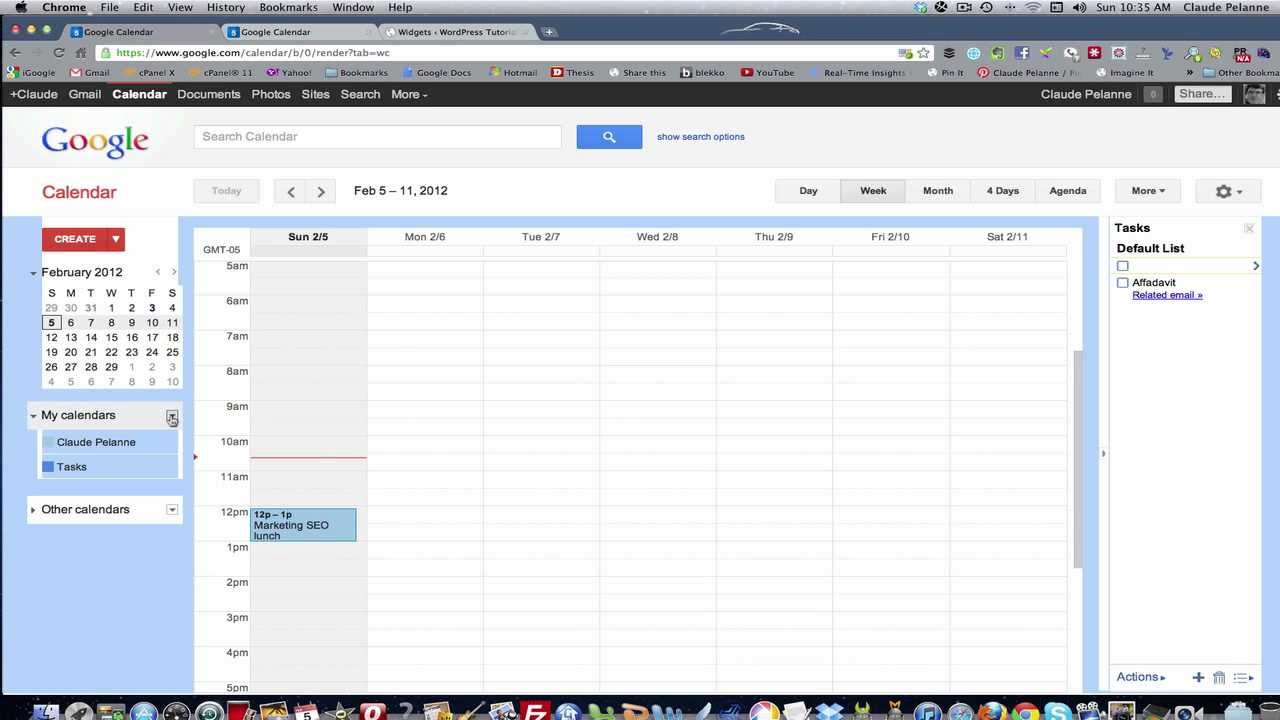
4. Calendar Views – Finding Your Optimal Perspective:
Google Calendar offers various views to suit your needs:
- Day: Provides a detailed view of your schedule for a single day.
- Week: Shows your schedule for the entire week.
- Month: Offers a high-level overview of your schedule for the month.
- Year: Provides a year-long overview, ideal for long-term planning.
- Agenda: Displays your events in a list format, sorted by time.
Experiment with these views to find which best suits your planning style and task at hand.
Part 2: Advanced Features – Unleashing Google Calendar’s Power
Now let’s explore the advanced features that transform Google Calendar from a simple scheduler to a powerful productivity engine.
5. Color-Coding and Customization:
- Color-coding Calendars: Assign different colors to your calendars (work, personal, etc.) for quick visual identification. This enhances readability and makes it easier to prioritize tasks.
- Customizing Event Colors: You can also assign different colors to individual events within a calendar for further differentiation.
- Customizing Notifications: Fine-tune your notification settings to receive reminders in the way that works best for you (email, SMS, desktop notifications). Experiment with different reminder times to find the optimal balance between timely alerts and avoiding notification overload.
6. Utilizing Google Meet Integration:
Seamlessly integrate Google Meet with your calendar for virtual meetings. When creating an event, simply add the "Add conferencing" option to generate a meeting link and automatically include it in the event details.
7. Sharing Calendars – Collaboration and Teamwork:
Share your calendars with others to improve collaboration and coordination. Control the level of access (view-only, edit access) to maintain privacy while sharing relevant information.
8. Utilizing Goals and Reminders:
- Goals: Set daily, weekly, or monthly goals within Google Calendar to track progress towards larger objectives. This feature helps maintain focus and stay on track with your long-term plans.
- Reminders: Use reminders not just for events, but also for tasks and deadlines. Set reminders for specific times or intervals to ensure you stay on top of your to-do list.
9. Integrations with Other Apps:
Google Calendar integrates seamlessly with other Google services and third-party apps. Explore these integrations to enhance your workflow:
- Google Tasks: Manage your to-do lists directly within Google Calendar.
- Gmail: Automatically add events from emails containing dates and times.
- Third-party apps: Many productivity and project management apps integrate with Google Calendar, allowing for a unified workflow.
Part 3: Optimizing Your Google Calendar for the "Finest Ultimate Prime" Experience
To truly unlock the potential of Google Calendar, consider these strategies:
10. Time Blocking – Mastering Your Schedule:
Allocate specific blocks of time for different tasks or activities. This technique promotes focus and prevents task-switching, leading to increased productivity.
11. Prioritization and Categorization:
Use color-coding and labels to categorize events and prioritize tasks. This allows for a clear visual representation of your commitments and helps you focus on the most important items.
12. Regular Review and Maintenance:
Regularly review your calendar to ensure accuracy and identify potential scheduling conflicts. Delete outdated events and update information as needed.
13. Utilizing Google Calendar’s Search Function:
Google Calendar’s search function is incredibly powerful. Use it to quickly find past events, specific appointments, or keywords related to your schedule.
14. Exploring Advanced Settings:
Explore Google Calendar’s advanced settings to customize your notifications, preferences, and integrations further. This allows for a truly personalized and optimized experience.
15. Utilizing Google Workspace Features (if applicable):
If you’re using Google Workspace, explore features like shared drives and collaborative document editing to further enhance your productivity within the Google ecosystem.
Conclusion:
By implementing these strategies and mastering the features discussed in this guide, you can transform your Google Calendar from a simple scheduling tool into a powerful productivity engine. The "Finest Ultimate Prime" experience with Google Calendar is not just about using the software; it’s about understanding its capabilities and tailoring them to your specific workflow and needs. Through consistent use and strategic optimization, you can unlock unparalleled efficiency and organization in your personal and professional life. Remember, the key is continuous experimentation and refinement to find the perfect balance that aligns with your unique style and goals.


Closure
Thus, we hope this article has provided valuable insights into Mastering Google Calendar: A Comprehensive Guide to Ultimate Productivity. We thank you for taking the time to read this article. See you in our next article!