Removing Shared Calendars from Your Outlook Assessment Overview Summary: A Comprehensive Guide
Related Articles: Removing Shared Calendars from Your Outlook Assessment Overview Summary: A Comprehensive Guide
Introduction
With great pleasure, we will explore the intriguing topic related to Removing Shared Calendars from Your Outlook Assessment Overview Summary: A Comprehensive Guide. Let’s weave interesting information and offer fresh perspectives to the readers.
Table of Content
Removing Shared Calendars from Your Outlook Assessment Overview Summary: A Comprehensive Guide

Microsoft Outlook’s calendar functionality is a powerful tool for collaboration, allowing users to share calendars and stay synchronized. However, managing numerous shared calendars can lead to a cluttered and overwhelming assessment overview summary. This article provides a detailed walkthrough on how to effectively remove shared calendars from your Outlook overview, improving its clarity and usability. We’ll cover various scenarios and troubleshooting tips to ensure a smooth process regardless of your Outlook version (desktop, web, or mobile).
Understanding the Outlook Calendar Structure and Shared Calendars:
Before delving into the removal process, it’s crucial to understand how Outlook handles shared calendars. When you subscribe to a shared calendar, it’s added to your Outlook calendar view, appearing alongside your personal calendar. This provides a consolidated view of appointments and events from multiple sources. However, if you have numerous shared calendars, your overview can become cluttered, making it difficult to focus on your own schedule. Removing a shared calendar doesn’t delete the calendar itself; it simply removes it from your personal view. The shared calendar remains intact for the owner and other subscribers.
Methods for Removing Shared Calendars:
The process of removing a shared calendar varies slightly depending on whether you’re using the Outlook desktop application, the Outlook web app, or a mobile Outlook application. However, the underlying principles remain the same. We’ll explore each platform separately:
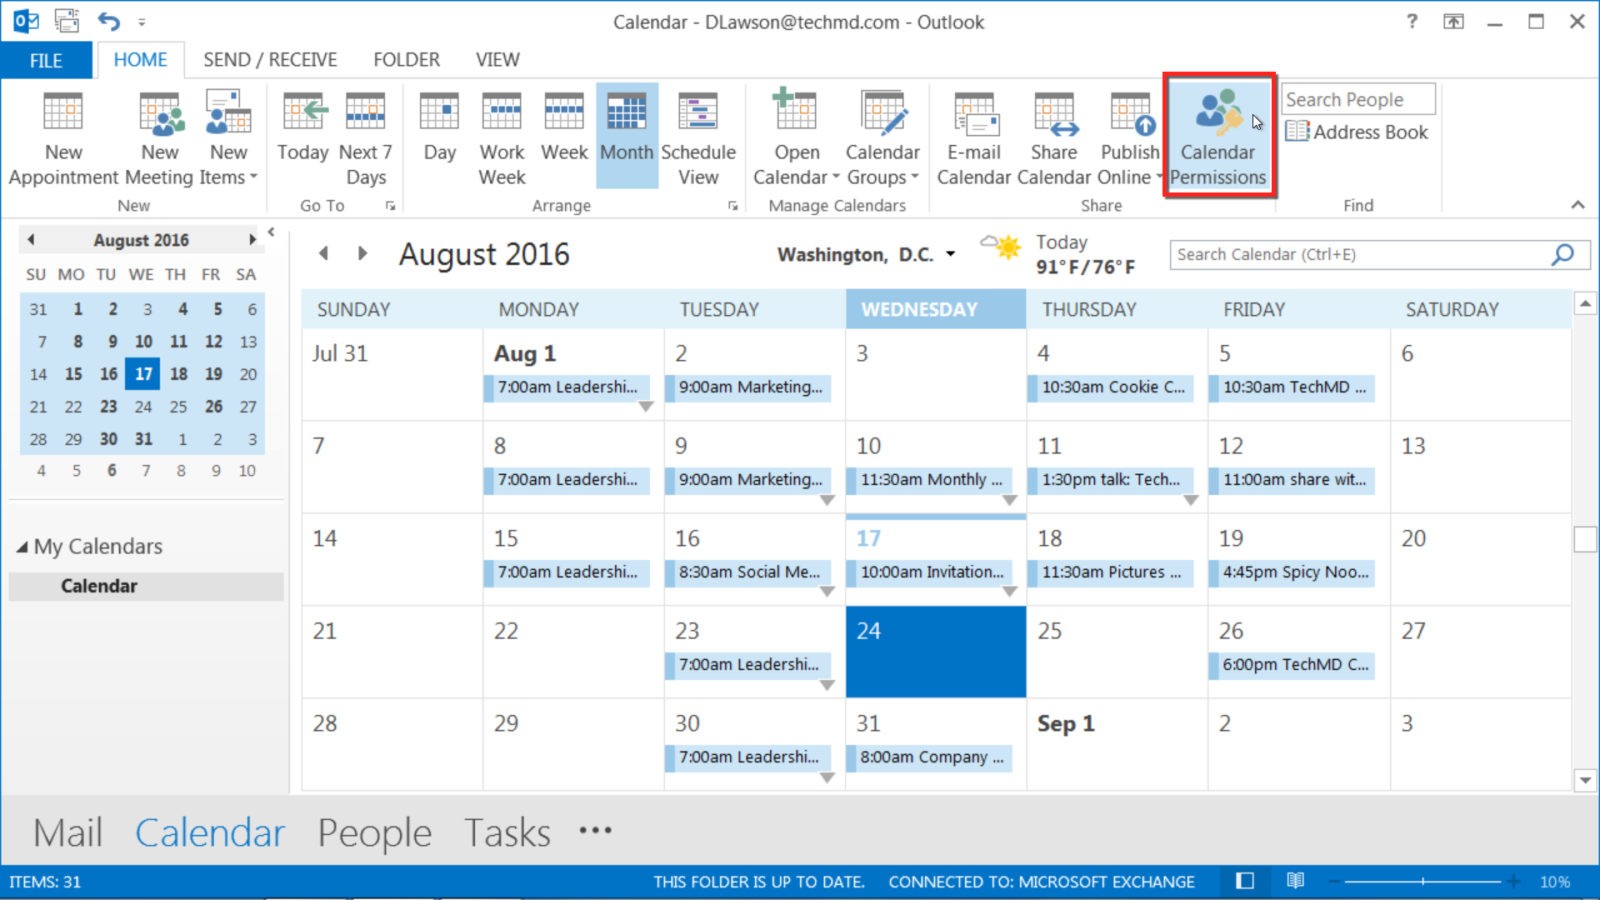
1. Removing Shared Calendars from Outlook Desktop Application:
This method is applicable to Outlook 2016, 2019, 2021, and Microsoft 365 desktop applications.
-
Step 1: Accessing the Calendar View: Open Outlook and navigate to the "Calendar" section. You should see your personal calendar and any shared calendars listed in the navigation pane on the left.
-
Step 2: Identifying the Shared Calendar: Locate the shared calendar you wish to remove. It will typically be identified by the name of the person or group who shared it.
-
Step 3: Deleting the Shared Calendar: Right-click on the shared calendar you want to remove. Select "Delete Calendar" from the context menu. A confirmation dialog box might appear; click "Yes" to proceed. The shared calendar will be removed from your calendar view.
-
Important Note: Deleting a shared calendar only removes it from your view. It does not affect the shared calendar itself, nor does it affect other users who have subscribed to it.
2. Removing Shared Calendars from Outlook Web App (OWA):
The process for removing shared calendars in the Outlook web app is slightly different:
-
Step 1: Accessing the Calendar View: Log into your Outlook account through a web browser and navigate to the "Calendar" section.
-
Step 2: Opening Calendar Settings: Click the gear icon (Settings) in the upper right corner of the screen. Select "View all Outlook settings."
-
Step 3: Navigating to Calendar Settings: In the settings menu, select "Calendar" from the left-hand navigation pane.
-
Step 4: Managing Shared Calendars: Under the "Calendars" section, you’ll see a list of your calendars, including shared calendars. Locate the shared calendar you want to remove.
-
Step 5: Removing the Shared Calendar: Click the three dots next to the shared calendar’s name. Select "Delete" from the dropdown menu. Confirm your action when prompted.
3. Removing Shared Calendars from Outlook Mobile Applications (iOS and Android):
The process on mobile applications is largely similar across iOS and Android platforms:
-
Step 1: Accessing the Calendar View: Open the Outlook mobile app and navigate to the "Calendar" tab.
-
Step 2: Identifying the Shared Calendar: Locate the shared calendar you want to remove.
-
Step 3: Removing the Shared Calendar: The exact method for removing the calendar varies slightly depending on the version of the app, but generally involves either swiping left on the calendar name (revealing a delete option) or tapping the three dots (or similar menu icon) next to the calendar name and selecting "Delete" or a similar option.
Troubleshooting Common Issues:
-
"Delete" Option Not Available: If you can’t find the "Delete" option, ensure you have the necessary permissions. Sometimes, the owner of the shared calendar might have restricted deletion capabilities. Contact the calendar owner to inquire about removing the calendar from your view.
-
Calendar Reappearance: If the shared calendar reappears after deletion, it might be automatically resubscribed. Check your calendar subscription settings to ensure that automatic resubscription isn’t enabled.
-
Multiple Shared Calendars from the Same Source: If you’ve added multiple shared calendars from the same source (e.g., different folders within a shared mailbox), deleting one might not remove all. You need to repeat the process for each individual shared calendar.
-
Syncing Issues: If you’re experiencing syncing problems after deleting a shared calendar, try restarting your Outlook application or your device. Check your internet connection to ensure you have a stable connection.
Best Practices for Managing Shared Calendars:
-
Regularly Review Shared Calendars: Periodically review your shared calendars to determine if they’re still necessary. Removing unnecessary calendars improves the overview’s clarity.
-
Use Categories and Colors: Instead of removing calendars, consider using categories and color-coding to differentiate events from various sources within your primary calendar view. This helps maintain context without the clutter of numerous separate calendars.
-
Utilize Calendar Folders: Organize your calendars into folders to group related shared calendars. This provides a more structured approach to managing multiple shared calendars.
-
Communicate with Calendar Owners: Before removing a shared calendar, consider informing the owner. This is especially important if you rely on the calendar for essential information.
Conclusion:
Removing shared calendars from your Outlook assessment overview summary is a straightforward process that can significantly improve your productivity and organization. By following the steps outlined in this guide and employing the best practices mentioned, you can effectively manage your calendar view, ensuring a clear and focused overview of your schedule. Remember to always consider the implications of removing a shared calendar and communicate with the owner when appropriate. By understanding the nuances of shared calendars and employing effective management strategies, you can harness the power of Outlook’s calendar functionality while maintaining a clean and efficient workspace.


![How to Stop Sharing Calendar in Outlook [PC/Web/Mobile]](https://10pcg.com/wp-content/uploads/outlook-desktop-delete-shared-calendar.jpg)

Closure
Thus, we hope this article has provided valuable insights into Removing Shared Calendars from Your Outlook Assessment Overview Summary: A Comprehensive Guide. We thank you for taking the time to read this article. See you in our next article!