Printing Your Google Calendar: A Modern Guide to Crisp, Clean, and Customizable Printouts
Related Articles: Printing Your Google Calendar: A Modern Guide to Crisp, Clean, and Customizable Printouts
Introduction
With great pleasure, we will explore the intriguing topic related to Printing Your Google Calendar: A Modern Guide to Crisp, Clean, and Customizable Printouts. Let’s weave interesting information and offer fresh perspectives to the readers.
Table of Content
Printing Your Google Calendar: A Modern Guide to Crisp, Clean, and Customizable Printouts
Google Calendar is the backbone of many individuals’ and organizations’ scheduling systems. But what happens when you need a hard copy? Whether it’s for a meeting agenda, a shared family schedule, a project timeline, or simply a visual representation of your commitments, printing your Google Calendar effectively requires more than just hitting the "print" button. This comprehensive guide will walk you through modern techniques for printing your Google Calendar, ensuring your printouts are clear, customizable, and perfectly represent your busy life.
Part 1: Understanding Your Printing Needs
Before diving into the technical aspects, consider what you want to achieve with your printout. This will significantly influence your approach:
- Scope: Are you printing a single day, a week, a month, or a custom date range? The larger the timeframe, the more crucial careful planning becomes.
- Detail: How much information needs to be visible? Do you need to include event descriptions, locations, attendees, or just titles and times? Overcrowding can render a printout illegible.
- Purpose: Is the printout for personal use, a team meeting, a client presentation, or something else? The intended audience will dictate the level of formality and detail required.
- Format: Do you need a traditional calendar view, a list view, or something more creative? Consider the visual impact and how effectively it conveys the information.
- Device: Are you printing from a desktop computer, a laptop, a tablet, or a mobile phone? Each device might offer slightly different printing options.
Part 2: Preparing Your Google Calendar for Printing
Optimizing your calendar before printing is key to a successful outcome. Here’s a step-by-step guide:
-
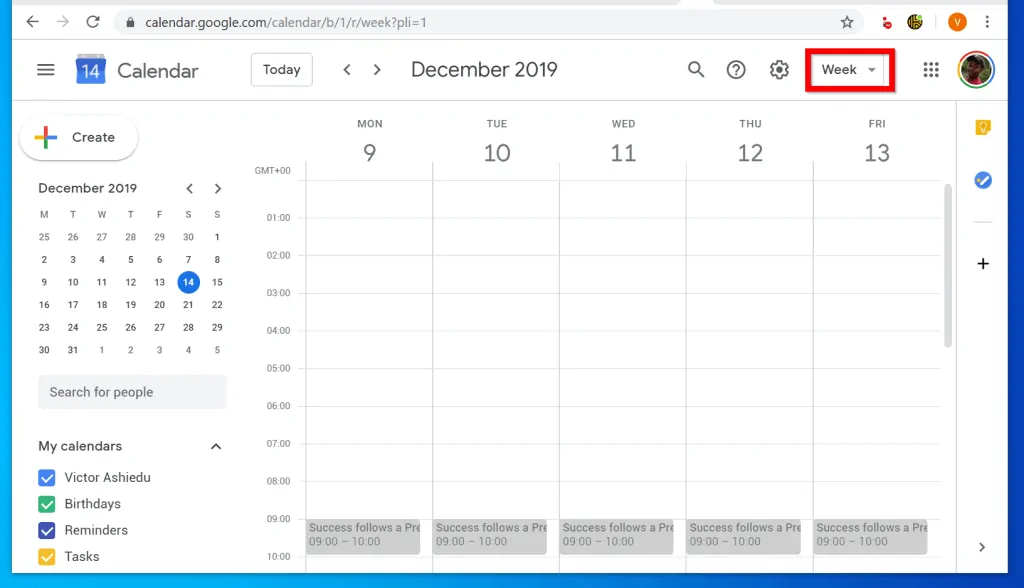
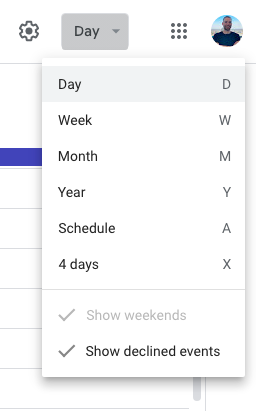
Select Your Date Range: In Google Calendar, navigate to the date range you wish to print. You can adjust the view to "Day," "Week," "Month," or "Agenda" depending on your needs. For larger date ranges, consider printing multiple pages, focusing on clarity over comprehensive single-page displays.
-
Customize Your Calendar View (Optional): While Google Calendar offers a default view, you can customize it for optimal printing. Consider:
- Color-coding: Assign colors to different calendars or event types for better visual distinction. This is especially useful for busy schedules.
- Event Descriptions: Ensure your event descriptions are concise and informative. Avoid lengthy descriptions that will overflow the printed page.
- Location and Attendees: If necessary, ensure location and attendee information is included in your event details.
- Multiple Calendars: If you’re printing a combined view of multiple calendars, ensure they are correctly layered and easily distinguishable.
-
Create a Test Print (Highly Recommended): Before printing your final copy, always do a test print. This allows you to check the layout, font size, and overall clarity before wasting paper and ink on a potentially flawed printout. Adjust settings as needed based on the test print.
Part 3: Printing Your Google Calendar – Different Approaches
There are several ways to print your Google Calendar, each with its own advantages and disadvantages:
Method 1: The Standard Print Function:
This is the simplest method, accessible directly from your Google Calendar.
- Open Google Calendar: Log into your Google account and open your Google Calendar.
- Select the Date Range: Choose the period you want to print.
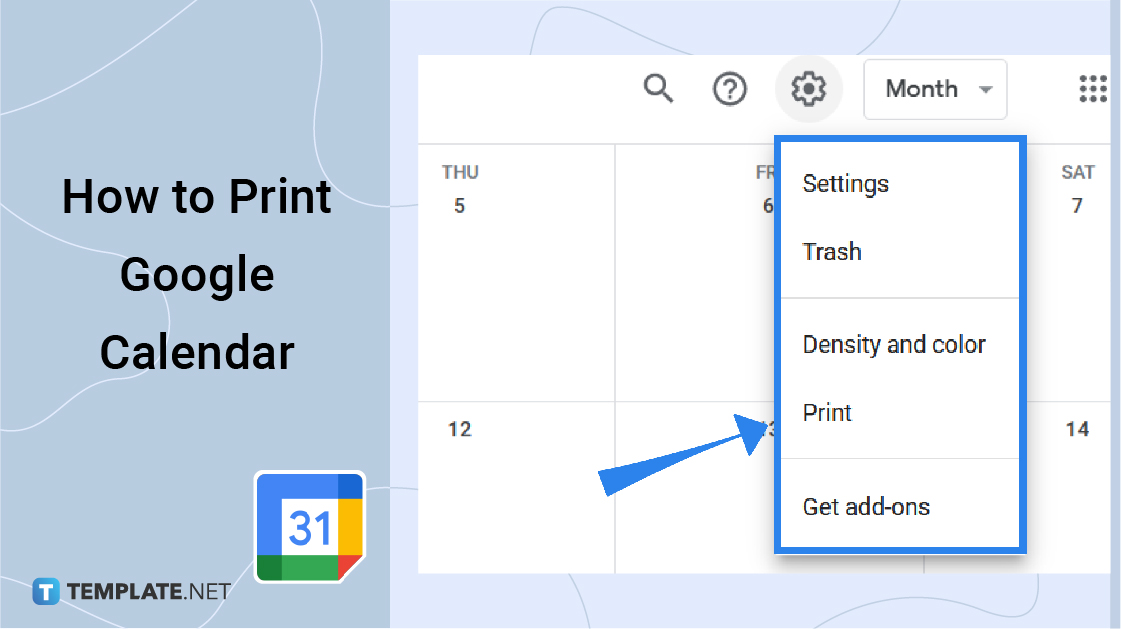
- Click the "Print" Button: Usually located in the top right corner or accessible through the three vertical dots menu.
-
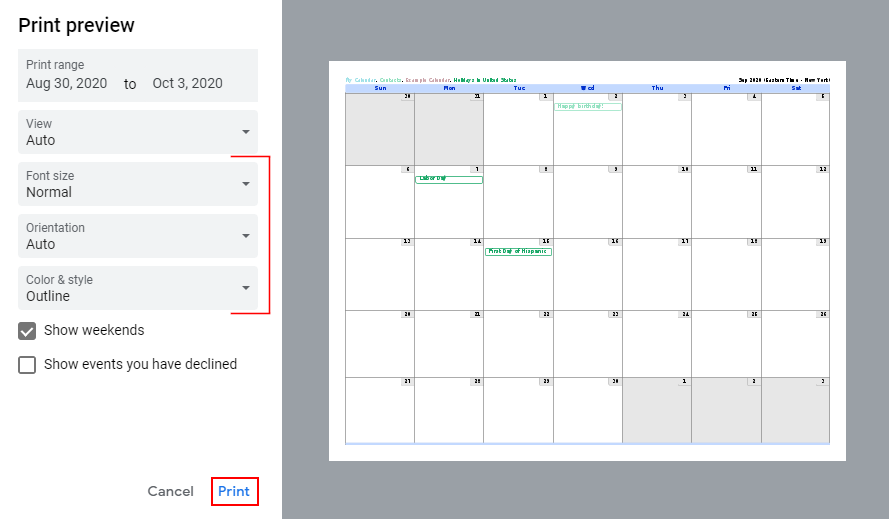
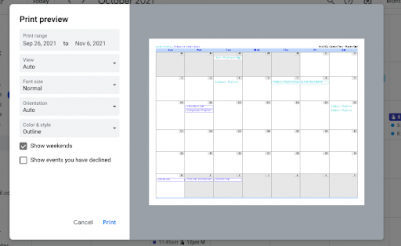
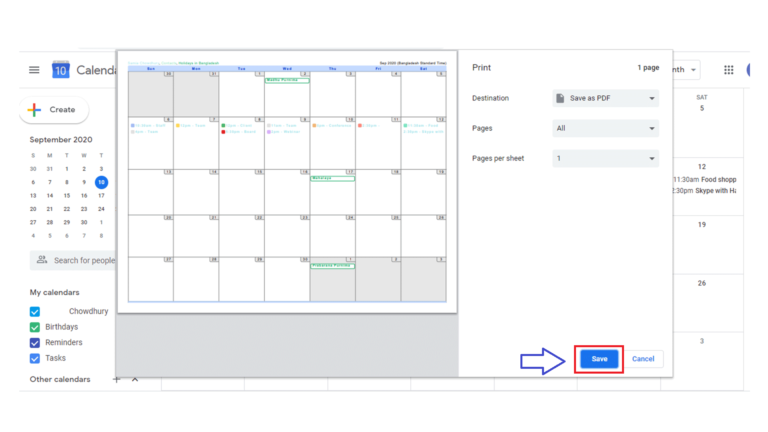
Customize Printing Options: A print preview window will appear. Here you can adjust:
- Printer: Select your desired printer.
- Pages: Specify the number of pages to print.
- Orientation: Choose between portrait (vertical) or landscape (horizontal) orientation. Landscape is generally better for weekly or monthly views.
- Margins: Adjust margins to optimize space utilization and readability.
- Header/Footer: Many printers allow adding headers and footers with date, page numbers, or other relevant information.
- Scaling: Adjust scaling if needed to fit the calendar onto the page. Avoid excessive scaling, as it can reduce readability.
- Click "Print": Once you’re satisfied with the settings, click "Print" to start the printing process.
Method 2: Print Screen and Image Editing:
This method offers greater control over the final output but requires additional software.
- Take a Screenshot: Capture a screenshot of the Google Calendar view you want to print. Use your operating system’s built-in screenshot functionality or a third-party screenshot tool.
- Edit the Screenshot: Open the screenshot in an image editor like Photoshop, GIMP (free and open-source), or even Microsoft Paint. Crop unnecessary elements, adjust brightness and contrast, and add any annotations needed.
- Print the Image: Print the edited image from the image editor. This allows for greater customization in terms of size, layout, and additions.
Method 3: Using Third-Party Calendar Printing Tools:
Several third-party tools and websites offer specialized Google Calendar printing features. These often provide more advanced customization options, such as different calendar layouts, themes, and the ability to include additional information. Research available options to find one that suits your specific needs. Be mindful of security and privacy implications when using third-party tools.
Part 4: Troubleshooting Common Printing Issues:
- Poor Print Quality: Check your printer settings, ink levels, and paper quality. Ensure your printer drivers are up-to-date.
- Cut-off Text or Events: Adjust margins, scaling, or orientation to accommodate all content.
- Incorrect Date Range: Double-check the date range selected in Google Calendar before printing.
- Blank Pages: Ensure your printer is properly connected and has sufficient paper.
- Printing Errors: Check your printer’s error messages and troubleshoot accordingly. Restart your computer and printer if necessary.
Part 5: Tips for Optimal Printouts:
- Use High-Quality Paper: Thicker paper will provide a more professional look and feel.
- Consider Black and White Printing: This saves ink and can improve readability, especially for dense calendars.
- Print Multiple Pages: For larger date ranges, consider printing multiple pages for better readability.
- Add Annotations: Use a pen or highlighter to add additional notes or reminders directly to your printout.
- Save a Digital Copy: Always save a digital copy of your calendar for future reference.
By following these steps and adapting them to your specific needs, you can create clear, informative, and aesthetically pleasing printouts of your Google Calendar, making your scheduling information readily accessible and easily shared. Remember to always test your settings before committing to a large print job. Happy printing!


Closure
Thus, we hope this article has provided valuable insights into Printing Your Google Calendar: A Modern Guide to Crisp, Clean, and Customizable Printouts. We appreciate your attention to our article. See you in our next article!