Merging Canvas Calendar with Google Calendar: A Spectacular, Breathtaking, and Splendid Guide
Related Articles: Merging Canvas Calendar with Google Calendar: A Spectacular, Breathtaking, and Splendid Guide
Introduction
In this auspicious occasion, we are delighted to delve into the intriguing topic related to Merging Canvas Calendar with Google Calendar: A Spectacular, Breathtaking, and Splendid Guide. Let’s weave interesting information and offer fresh perspectives to the readers.
Table of Content
Merging Canvas Calendar with Google Calendar: A Spectacular, Breathtaking, and Splendid Guide

The modern student or educator juggles a dizzying array of commitments. Lectures, assignments, meetings, personal appointments – keeping track of it all can feel like navigating a labyrinth. Canvas, a popular Learning Management System (LMS), and Google Calendar, a ubiquitous scheduling tool, each offer their own calendar functionalities. However, the ideal solution often lies in seamlessly integrating these two powerful platforms, creating a unified, comprehensive view of your academic and personal life. This article provides a spectacular, breathtaking, and splendid guide to merging your Canvas calendar with Google Calendar, maximizing efficiency and minimizing scheduling conflicts.
Understanding the Limitations and Exploring Solutions
Before diving into the specifics, it’s crucial to acknowledge that a direct, automatic synchronization between Canvas and Google Calendar isn’t readily available. Canvas doesn’t offer a native integration feature to directly export events to Google Calendar. This limitation stems from Canvas’s primary focus on course management and its less emphasis on external calendar integrations. However, this doesn’t mean a unified calendar is unattainable. We’ll explore several effective strategies to achieve a near-perfect merge, each with its own strengths and weaknesses.
Method 1: Manual Import – The Classic Approach (Splendid for Simplicity)
This method is the most straightforward, though it requires some manual effort. It’s perfect for those with a relatively small number of Canvas events or those who prefer a hands-on approach.
Steps:
-
Access Canvas Calendar: Log into your Canvas account and navigate to the calendar view. This usually involves clicking on the "Calendar" icon in the navigation menu.
-
Identify Events: Review your Canvas calendar and pinpoint the events you wish to add to your Google Calendar. Pay close attention to event details, including date, time, title, and description.
-
Create Google Calendar Events: Open your Google Calendar and manually create new events, mirroring the information from your Canvas calendar. Ensure accuracy in dates, times, and descriptions to avoid confusion.
-
Color-Coding for Clarity: Utilize Google Calendar’s color-coding feature to differentiate between Canvas events and your personal appointments. This visual distinction enhances clarity and makes it easier to manage your schedule.
-
Regular Updates: Because this is a manual process, remember to regularly check your Canvas calendar for updates and add new events to Google Calendar accordingly. Consistency is key to maintaining an accurate, unified view.
Pros: Simple, requires no additional tools or software.
Cons: Time-consuming, prone to errors if not done diligently, requires regular updates. Not suitable for users with numerous Canvas events.
Method 2: iCalendar (.ics) Export – A Breathtaking Leap Towards Automation
Some Canvas instances offer the possibility of exporting calendar data in iCalendar (.ics) format. This file can then be imported into Google Calendar, offering a semi-automated solution. However, the availability of this feature varies depending on your institution’s Canvas setup.
Steps:
-
Check for Export Functionality: Explore your Canvas calendar settings. Look for an option to export the calendar data as an iCalendar file (.ics). This option might be hidden within settings or export options.
-
Export the .ics File: If the export option is available, download the .ics file to your computer.
-
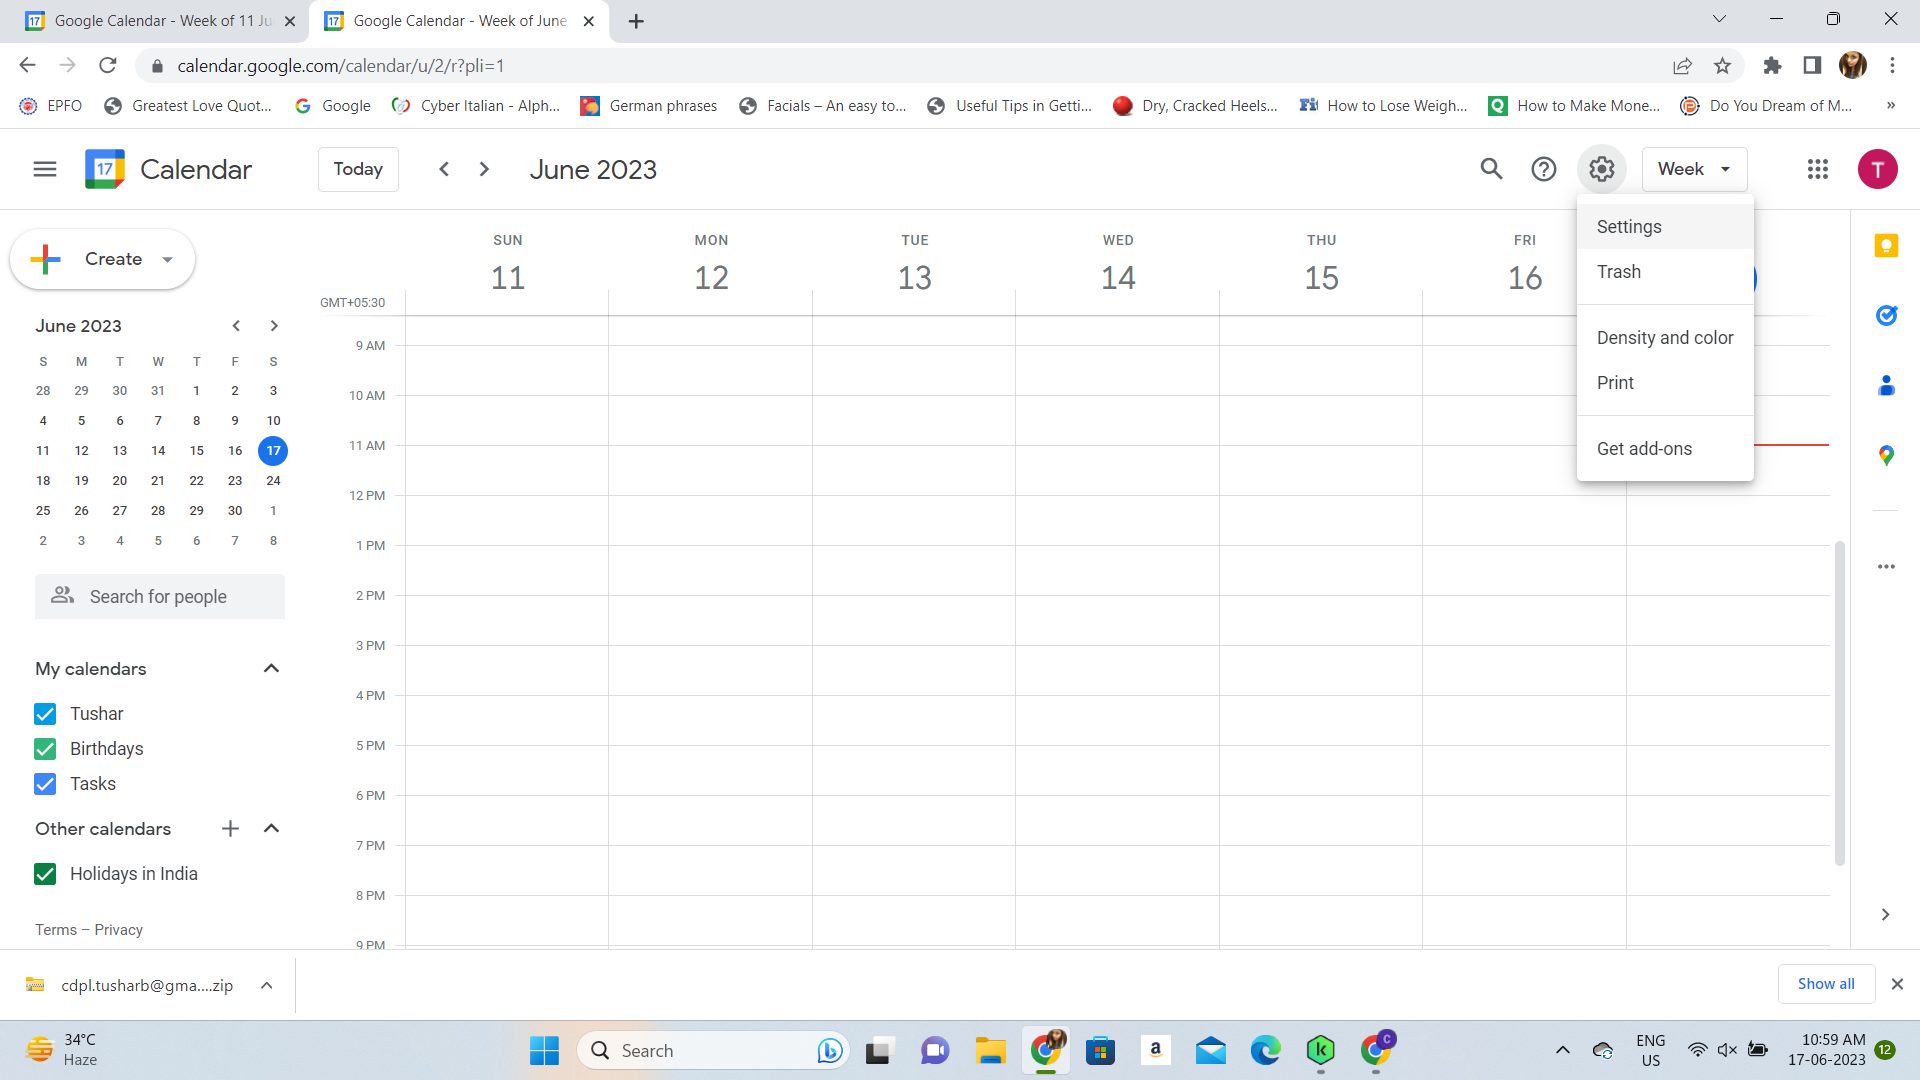
Import into Google Calendar: Open your Google Calendar and click the "+" icon (usually located in the bottom-right corner) to add a new calendar. Select "Import calendar" and upload the downloaded .ics file.
-
Verify Import: After the import is complete, check your Google Calendar to ensure all events have been successfully transferred.
Pros: More efficient than manual entry, reduces manual work compared to Method 1.
Cons: Not all Canvas instances support .ics export. The import might not be perfect and may require manual adjustments. Still requires periodic updates.
Method 3: Third-Party Apps – The Spectacular Solution for Seamless Integration
Several third-party applications and browser extensions claim to integrate Canvas and Google Calendar. While they offer a promising solution for automatic synchronization, exercise caution and thoroughly research any app before granting access to your accounts. Always prioritize reputable developers with positive user reviews.
Steps (General):
-
Research and Select an App: Thoroughly research available apps, focusing on user reviews and security measures.
-
Install and Authorize: Install the chosen app and follow its instructions to authorize access to your Canvas and Google Calendar accounts.
-
Configure Settings: Configure the app’s settings to specify which Canvas courses or calendars to synchronize.
-
Monitor Synchronization: After setup, regularly monitor the synchronization process to ensure accuracy and identify any potential issues.
Pros: Potentially offers fully automated synchronization, eliminates manual work.
Cons: Requires trusting a third-party app with access to your accounts. App quality and reliability can vary. Potential for privacy concerns. May incur subscription fees for advanced features.
Maintaining a Spectacularly Organized Calendar: Best Practices
Regardless of the chosen method, maintaining a well-organized and up-to-date calendar is crucial. Here are some best practices to ensure a breathtakingly efficient workflow:
- Regular Updates: Regardless of the chosen method, periodically check your Canvas calendar for new events and update your Google Calendar accordingly.
- Color-Coding: Use Google Calendar’s color-coding feature to distinguish between different categories of events (lectures, assignments, personal appointments, etc.).
- Set Reminders: Utilize Google Calendar’s reminder feature to receive timely notifications about upcoming events.
- Categorization: Create separate calendars within Google Calendar to organize events by category (e.g., "Canvas Courses," "Personal Appointments," "Work").
- Utilize Google Calendar Features: Explore Google Calendar’s advanced features, such as creating recurring events, setting goals, and sharing calendars with others.
- Regular Backups: If you rely on a third-party app, regularly back up your calendar data to prevent data loss.
Conclusion: A Breathtakingly Unified Schedule Awaits
Merging your Canvas and Google Calendar doesn’t have to be a daunting task. By carefully considering the available methods and implementing the best practices outlined above, you can create a spectacularly unified and breathtakingly efficient schedule. Choose the approach that best suits your needs and technical skills, and enjoy the benefits of a seamlessly integrated calendar that simplifies your academic and personal life. Remember that the key to success lies in consistent effort and a proactive approach to managing your time. Embrace the splendor of a well-organized schedule, and watch your productivity soar!


Closure
Thus, we hope this article has provided valuable insights into Merging Canvas Calendar with Google Calendar: A Spectacular, Breathtaking, and Splendid Guide. We appreciate your attention to our article. See you in our next article!