Mastering the Art of the Out-of-Office Reply in Outlook: A Comprehensive Guide
Related Articles: Mastering the Art of the Out-of-Office Reply in Outlook: A Comprehensive Guide
Introduction
With great pleasure, we will explore the intriguing topic related to Mastering the Art of the Out-of-Office Reply in Outlook: A Comprehensive Guide. Let’s weave interesting information and offer fresh perspectives to the readers.
Table of Content
Mastering the Art of the Out-of-Office Reply in Outlook: A Comprehensive Guide

In today’s hyper-connected world, seamlessly managing communication while away from the office is crucial. A well-crafted out-of-office (OOO) reply in Microsoft Outlook is no longer a mere courtesy; it’s a vital tool for maintaining productivity, managing expectations, and preventing communication breakdowns. This comprehensive guide delves into the nuances of creating effective OOO messages, covering everything from basic setup to advanced techniques for maximizing their impact. We’ll explore how to set up automatic replies, personalize your message for different audiences, and even integrate your OOO status with other calendar features for a truly professional and efficient approach.
I. The Fundamentals: Setting Up Your Automatic Reply
The core functionality of an Outlook OOO message lies in its automatic reply feature. This ensures that anyone emailing you during your absence receives a pre-written response, informing them of your unavailability and providing relevant information. Here’s a step-by-step guide to setting this up:
-
Accessing the Automatic Replies Settings: Open Outlook and navigate to the "File" tab. Select "Automatic Replies (Out of Office)."
-
Enabling Automatic Replies: Check the box that says "Send automatic replies." This activates the feature.
-
Defining the Reply Period: Specify the dates and times your OOO message should be active. Be precise; an inaccurate timeframe can lead to confusion. Consider adding a buffer period before and after your actual absence to account for potential time zone differences and email delivery delays.
-
Crafting Your Internal and External Messages: Outlook allows you to create separate messages for internal recipients (within your organization) and external recipients (outside your organization). This offers flexibility to tailor your message based on the sender’s context. For internal recipients, you might offer more detail or direct them to a colleague who can handle their requests. For external recipients, keep it concise and professional.
-
Composing Your Message: This is where the art comes in. Your OOO message should be clear, concise, and informative. Include the following:
- Your Unavailability: Clearly state that you are out of the office and unavailable to respond to emails.
- Return Date: Specify your expected return date. If this is uncertain, indicate an approximate timeframe.
- Contact Information (Optional): For urgent matters, you may provide alternative contact information, such as a colleague’s email address or phone number. However, be mindful of burdening colleagues unnecessarily.
- Professional Tone: Maintain a professional and courteous tone throughout the message. Avoid informal language or slang.
II. Mastering the Art of Personalization: Tailoring Your OOO Message
A generic OOO message can feel impersonal and lack impact. By personalizing your message, you can significantly enhance its effectiveness and leave a positive impression on senders. Here are some strategies for personalization:
-
Segmenting Your Audience: Leverage Outlook’s ability to create different messages for internal and external recipients. This allows for a more nuanced approach, addressing specific concerns of each group.
-
Using Recipient Information: While Outlook doesn’t directly allow you to dynamically insert recipient names into the OOO message, you can create different messages addressing specific situations or departments.
-
Contextual Information: If your absence is for a specific reason (conference, vacation, etc.), briefly mention it. This provides context and manages expectations. However, avoid oversharing personal details.
-
Call to Action (Optional): If appropriate, include a call to action, such as directing urgent requests to a specific individual or suggesting alternative resources.
III. Advanced Techniques: Integrating OOO with Other Calendar Features
Outlook’s power extends beyond simple automatic replies. Integrating your OOO status with other calendar features enhances its effectiveness and streamlines your workflow:
-
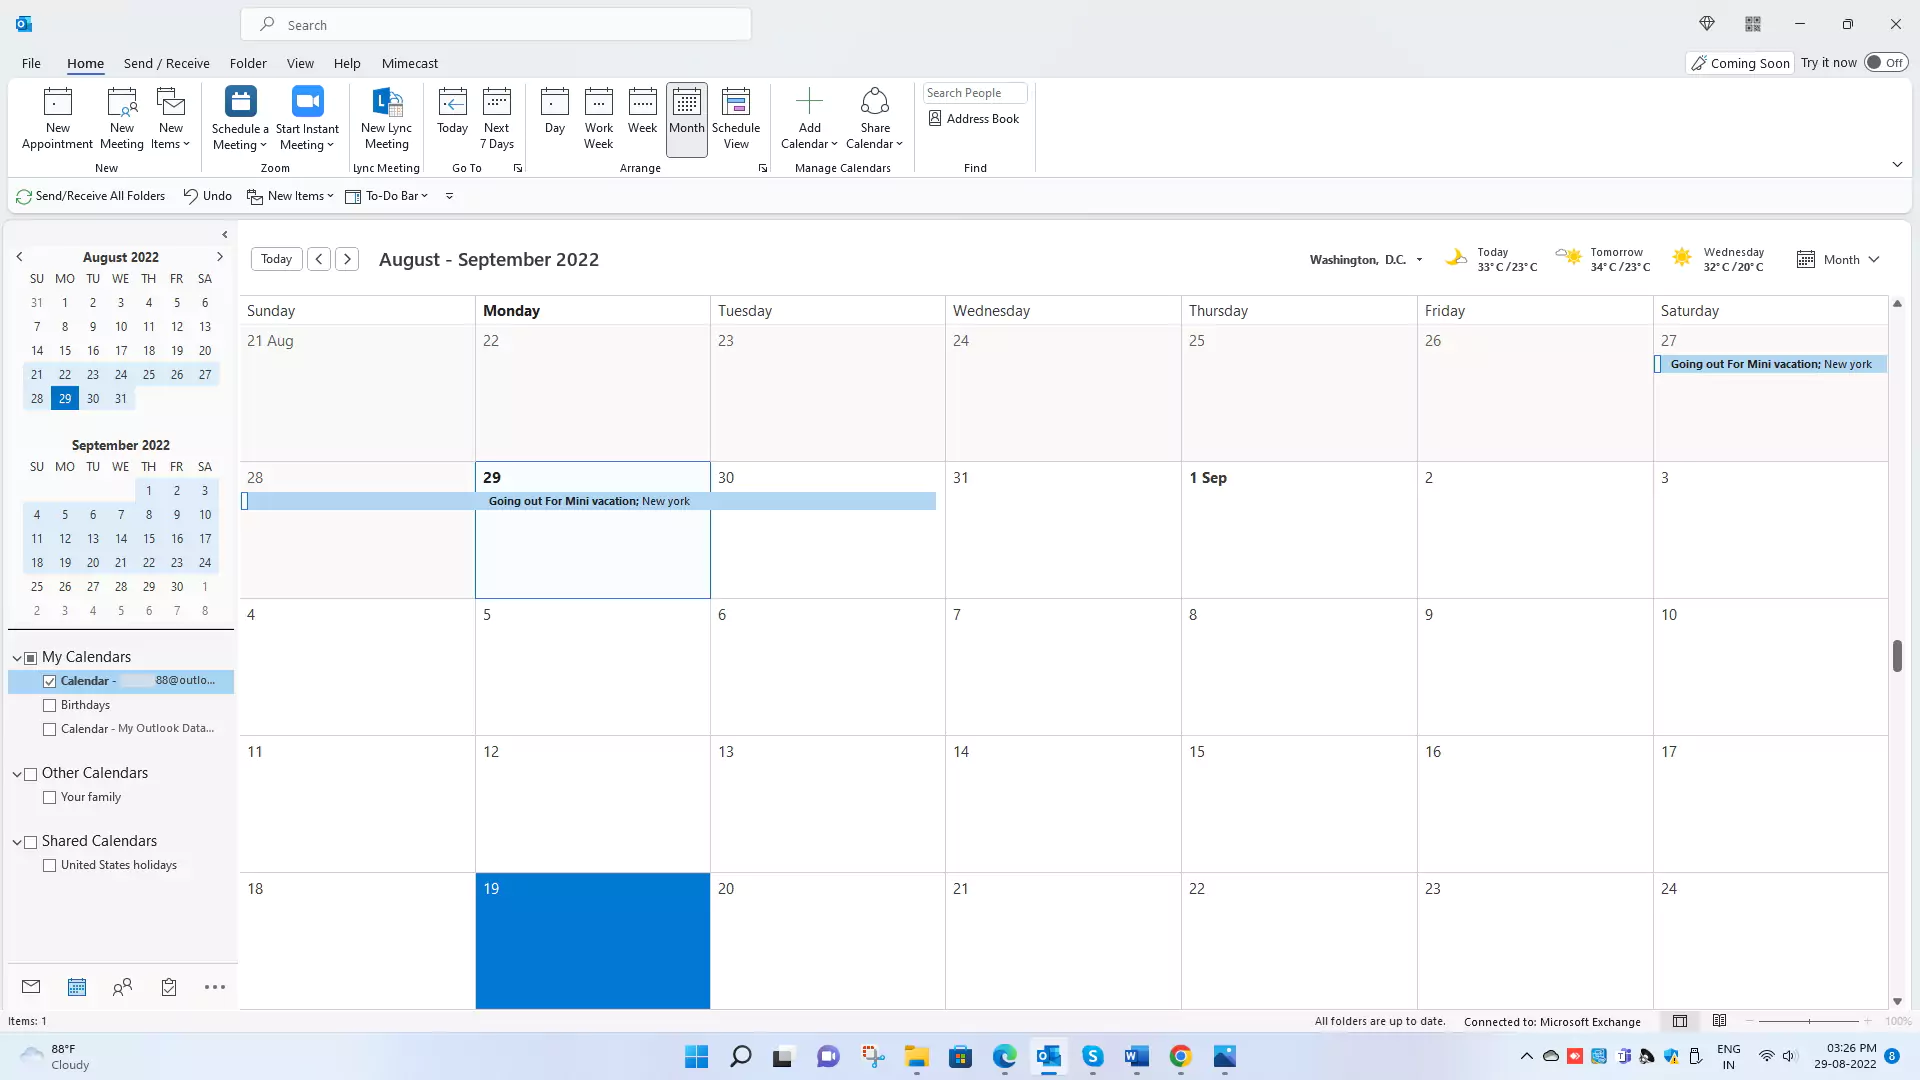
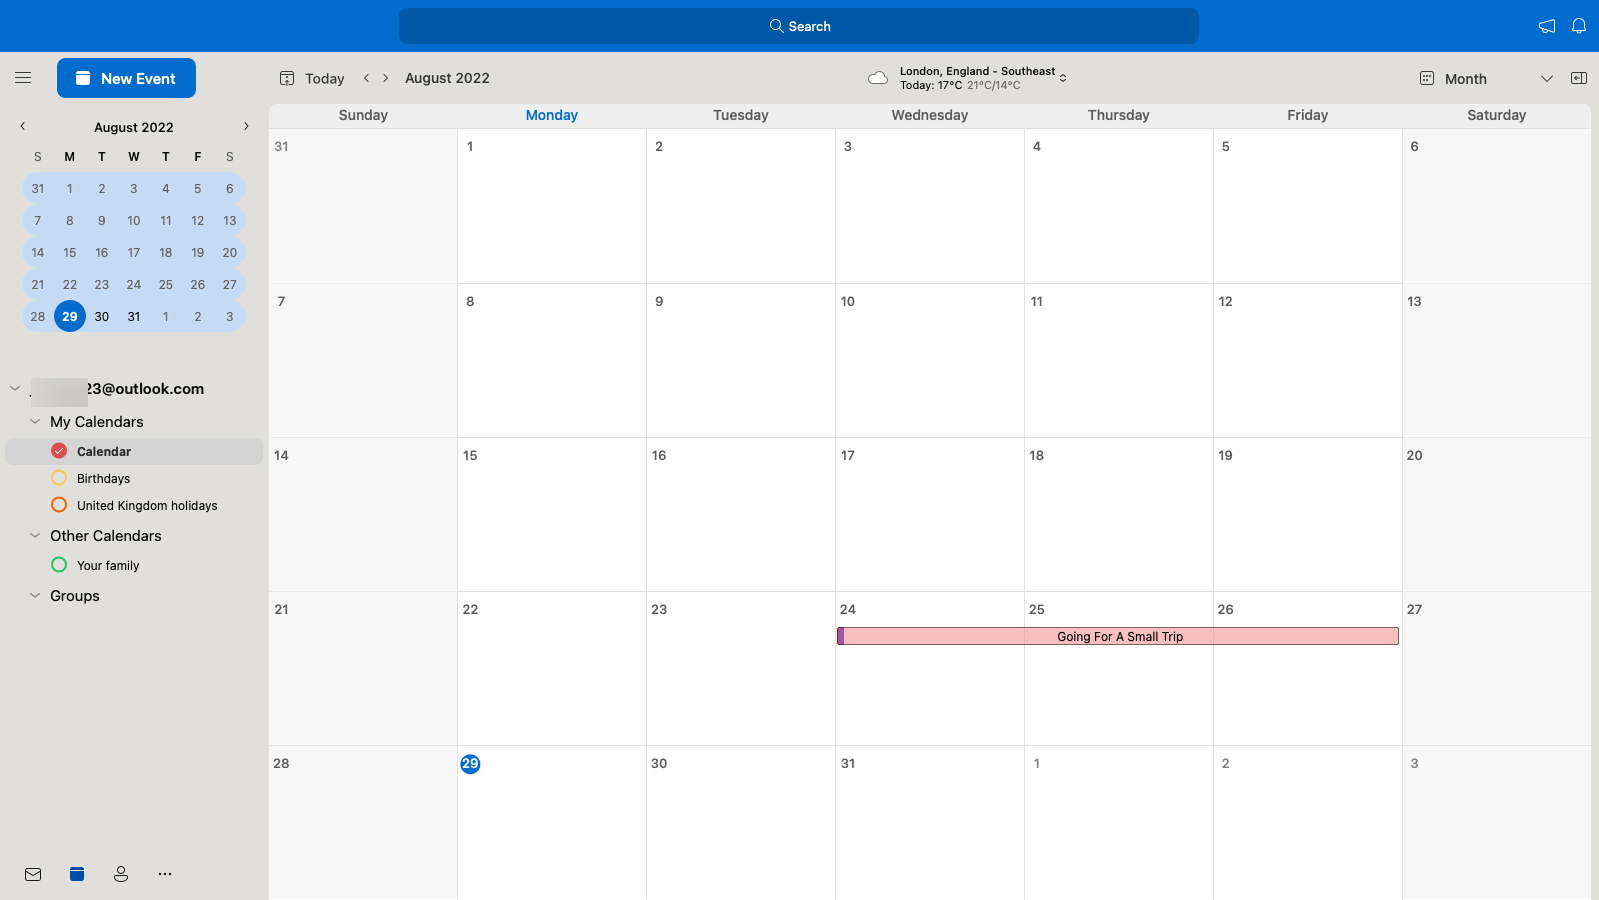
Calendar Scheduling: Ensure your OOO period is reflected in your Outlook calendar. This prevents double-booking and provides a visual reminder of your unavailability.
-
Meeting Invitations: Your OOO settings can automatically decline meeting requests received during your absence. This prevents scheduling conflicts and saves time.
-
Delegate Access (for Internal Users): Granting delegate access to a colleague allows them to manage your emails and calendar during your absence. This ensures that critical matters are addressed promptly.
-
Using Rules for Specific Scenarios: Outlook’s rules feature can be used to automate additional actions based on specific criteria. For example, you could create a rule to forward emails from specific senders to a colleague even when your OOO message is active.
IV. Avoiding Common Mistakes and Best Practices
While setting up an OOO message is straightforward, common mistakes can undermine its effectiveness. Here are some best practices to avoid pitfalls:
-
Avoid Overly Long Messages: Keep your message concise and to the point. Lengthy messages can be overwhelming and may not be read in their entirety.
-
Proofread Carefully: Errors in grammar and spelling can damage your professional image. Thoroughly proofread your message before activating it.
-
Test Your Settings: Before leaving, test your OOO settings to ensure they are functioning correctly. Send a test email to yourself to verify that the automatic reply is working as expected.
-
Consider Time Zones: Account for time zone differences when setting your OOO period. Ensure your message is active during the relevant hours in different locations.
-
Disable Your OOO Message Promptly: Remember to disable your automatic replies promptly upon your return to avoid confusion and delayed responses.
V. Conclusion: The Professional Edge of a Well-Crafted OOO Message
A well-crafted out-of-office reply is more than just a notification; it’s a reflection of your professionalism and attention to detail. By mastering the techniques outlined in this guide, you can leverage Outlook’s capabilities to manage communication effectively during your absence, maintain productivity, and project a polished image to clients, colleagues, and partners alike. Remember, a thoughtfully composed OOO message demonstrates respect for the time of others while ensuring your own absence doesn’t disrupt important workflows. Take the time to perfect your message, and reap the rewards of seamless communication management.


Closure
Thus, we hope this article has provided valuable insights into Mastering the Art of the Out-of-Office Reply in Outlook: A Comprehensive Guide. We appreciate your attention to our article. See you in our next article!