Making Your Outlook Calendar Visible to Others: A Comprehensive Guide
Related Articles: Making Your Outlook Calendar Visible to Others: A Comprehensive Guide
Introduction
With great pleasure, we will explore the intriguing topic related to Making Your Outlook Calendar Visible to Others: A Comprehensive Guide. Let’s weave interesting information and offer fresh perspectives to the readers.
Table of Content
Making Your Outlook Calendar Visible to Others: A Comprehensive Guide
.jpg)
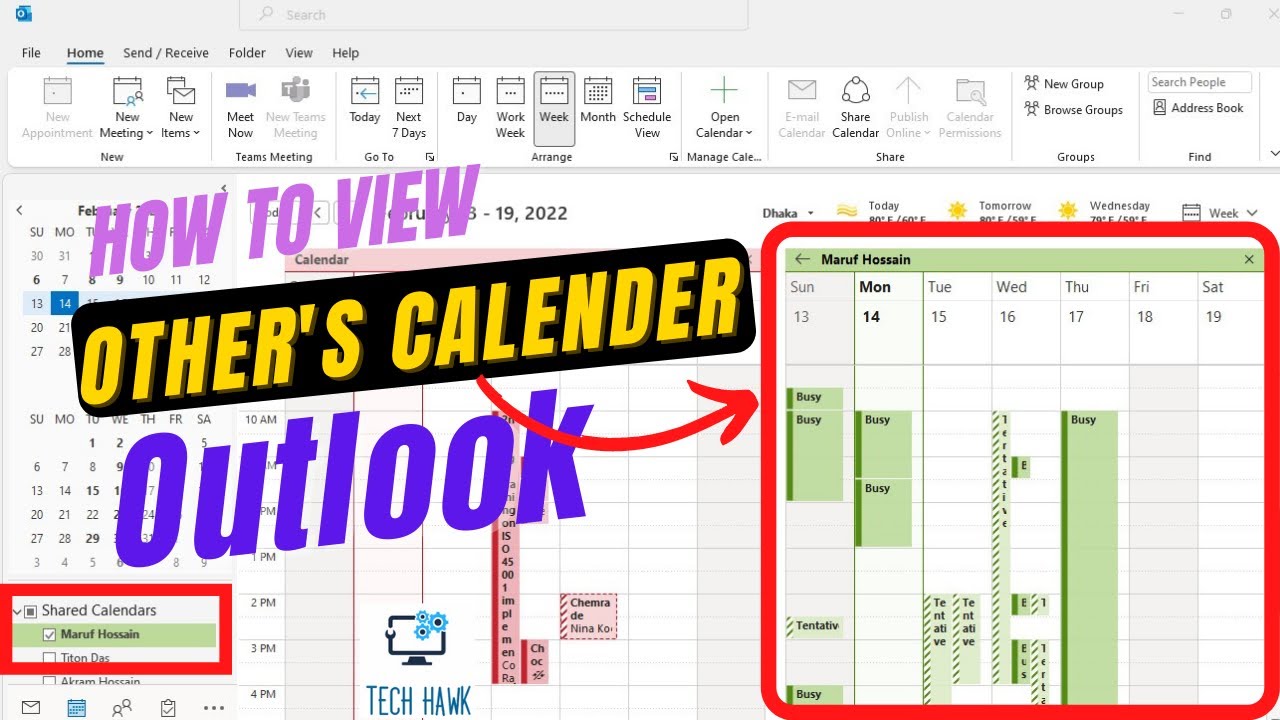
Microsoft Outlook’s calendar is a powerful tool for personal and professional organization. But its true potential is unlocked when you share it with others. Whether you need to coordinate schedules with colleagues, family members, or clients, sharing your Outlook calendar can significantly improve collaboration and efficiency. This comprehensive guide will walk you through various methods of sharing your Outlook calendar, catering to different levels of access and privacy needs, covering both desktop and web versions.
Understanding Sharing Permissions:
Before diving into the specifics, it’s crucial to understand the different permission levels you can grant others:
- Reviewer: Can only view your calendar; they cannot make changes or add appointments. This is ideal for sharing your availability without giving control over your schedule.
- Editor: Can view and modify your calendar, including adding, editing, and deleting appointments. Use this permission cautiously, only with trusted individuals.
- Free/Busy: This only shows your availability (free/busy) without revealing specific details of your appointments. This is the most private option, perfect for general schedule visibility.
Method 1: Sharing Your Calendar via Outlook Desktop (Windows & Mac):
This method is suitable for sharing your calendar with individuals or groups within your organization.
Steps:
-
Open Outlook: Launch the Outlook desktop application.
-
Navigate to Calendar: Click on the "Calendar" icon in the navigation pane.
-
Select the Calendar: If you have multiple calendars, select the specific calendar you want to share.
-
Right-Click and Share: Right-click on the calendar name in the navigation pane. Select "Share Calendar…"
-
Enter Recipient’s Email Address: A dialog box will appear. Enter the email address(es) of the person(s) you want to share your calendar with. You can add multiple email addresses separated by semicolons.
-
Choose Permission Level: Select the appropriate permission level (Reviewer, Editor, or Free/Busy) from the dropdown menu. Consider the level of access needed and the trust you have in the recipient.
-
Add a Message (Optional): You can include a brief message explaining the purpose of sharing the calendar.
-
Send: Click "Send" to share the calendar. The recipients will receive an email invitation to view your calendar. They’ll need to accept the invitation to access it.
Method 2: Sharing Your Calendar via Outlook on the Web (OWA):
This method is accessible from any device with an internet connection and is particularly useful for sharing with external contacts.
Steps:
-
Access Outlook on the Web: Log in to your Outlook account through a web browser (e.g., outlook.live.com, outlook.office365.com).
-
Open Calendar: Click on the "Calendar" icon.
-
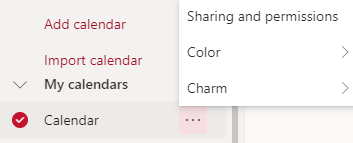
Open Calendar Settings: Click on the gear icon (Settings) in the upper-right corner. Select "View all Outlook settings."
-
Navigate to Calendar: In the settings menu, select "Calendar" from the left-hand navigation pane.
-
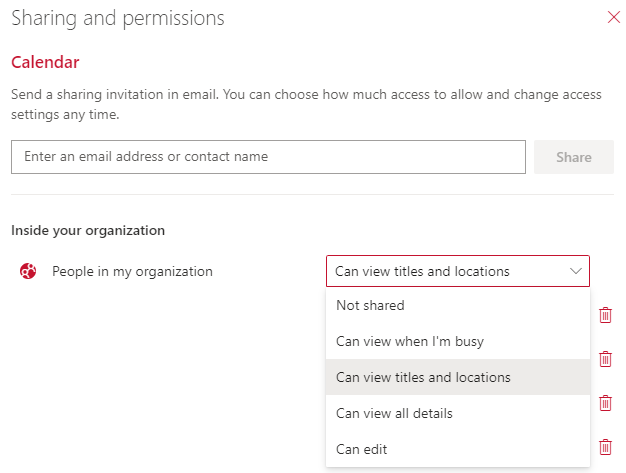
Select "Sharing": Find the "Sharing" option and click on it.
-
Add a Person or Group: Click on the "Add person" button. Enter the email address of the person you wish to share with.
-
Set Permissions: Select the desired permission level (Reviewer, Editor, or Free/Busy).
-
Save Changes: Click "Save" to finalize the sharing settings. The recipient will receive an email notification.
Method 3: Publishing Your Calendar to a Website (Advanced):
This method allows you to embed your calendar on a website, making it publicly accessible. This is generally not recommended for highly sensitive information.
Steps (This process varies slightly based on your Outlook version and hosting provider):
-
Create an ICS File: In most Outlook versions, you can export your calendar as an ICS file. This is a standard calendar file format. The exact steps for this vary depending on your Outlook version (check your Outlook help documentation for instructions).
-
Find a Calendar Hosting Service: Several services allow you to upload your ICS file and create a publicly accessible calendar link. Some options include Google Calendar (which can import ICS files), or dedicated calendar hosting platforms.
-
Upload the ICS File: Upload your ICS file to the chosen hosting service. Follow their instructions to configure the settings and create a public link.
-
Embed the Calendar (Optional): Most services provide an embed code that you can insert into your website to display the calendar.
Troubleshooting Common Issues:
- Recipient can’t see the calendar: Ensure the recipient has accepted the sharing invitation. Check their junk or spam folders for the invitation email.
- Incorrect permissions: Double-check the permission level you’ve granted. If the recipient needs to make changes, ensure you’ve set the permission to "Editor."
- Calendar not syncing: Ensure your Outlook client or web application is properly synced with your account. Check your internet connection and restart your device if necessary.
- Issues with ICS file publishing: If you’re encountering problems publishing your calendar to a website, consult the specific hosting service’s documentation for troubleshooting steps.
Best Practices for Sharing Your Outlook Calendar:
- Use appropriate permission levels: Only grant "Editor" permissions to trusted individuals. "Reviewer" is suitable for most sharing scenarios.
- Clearly communicate the purpose of sharing: Inform recipients why you’re sharing your calendar and what they can expect to see.
- Regularly review sharing settings: Periodically review who you’ve shared your calendar with and remove access if it’s no longer needed.
- Consider using delegated access: For assistants or colleagues who need more extensive access, consider setting up delegated access, which allows them to manage appointments on your behalf.
- Be mindful of sensitive information: Avoid scheduling highly confidential appointments on your shared calendar.
By following these steps and best practices, you can effectively share your Outlook calendar, improving collaboration and communication with others. Remember to choose the sharing method and permission level that best suits your needs and the level of privacy you require. Always prioritize security and only share your calendar with trusted individuals.


Closure
Thus, we hope this article has provided valuable insights into Making Your Outlook Calendar Visible to Others: A Comprehensive Guide. We appreciate your attention to our article. See you in our next article!