Creating a Conclusive, Consequent, and Certain Excel Calendar: A Comprehensive Guide
Related Articles: Creating a Conclusive, Consequent, and Certain Excel Calendar: A Comprehensive Guide
Introduction
With great pleasure, we will explore the intriguing topic related to Creating a Conclusive, Consequent, and Certain Excel Calendar: A Comprehensive Guide. Let’s weave interesting information and offer fresh perspectives to the readers.
Table of Content
Creating a Conclusive, Consequent, and Certain Excel Calendar: A Comprehensive Guide
Excel, despite its reputation as a spreadsheet program, offers surprisingly robust tools for creating calendars. While a simple calendar can be whipped up in minutes, building a truly conclusive, consequent, and certain calendar requires a more strategic approach. This means a calendar that’s not only visually appealing and easy to use, but also reliable, accurate, and seamlessly integrates with other aspects of your workflow. This comprehensive guide will walk you through the process, covering everything from basic setup to advanced features and error prevention.
I. Defining "Conclusive, Consequent, and Certain" in the Context of an Excel Calendar
Before diving into the technical aspects, let’s clarify what we mean by "conclusive, consequent, and certain" in the context of an Excel calendar:
-
Conclusive: Your calendar should be a complete and comprehensive record of your scheduled events. It shouldn’t leave room for ambiguity or missing information. This includes clear descriptions, accurate dates and times, and relevant contacts or links.
-
Consequent: The calendar should be logically structured and easily navigable. Events should be easily searchable and filterable. Dependencies between events (e.g., a meeting following a project deadline) should be readily apparent.
-
Certain: The calendar should be reliable and free from errors. Dates should be accurately calculated, and formulas should be robust enough to handle unexpected inputs without crashing or producing incorrect results. Regular backups are crucial.
II. Building the Foundation: Setting up your Excel Calendar
-
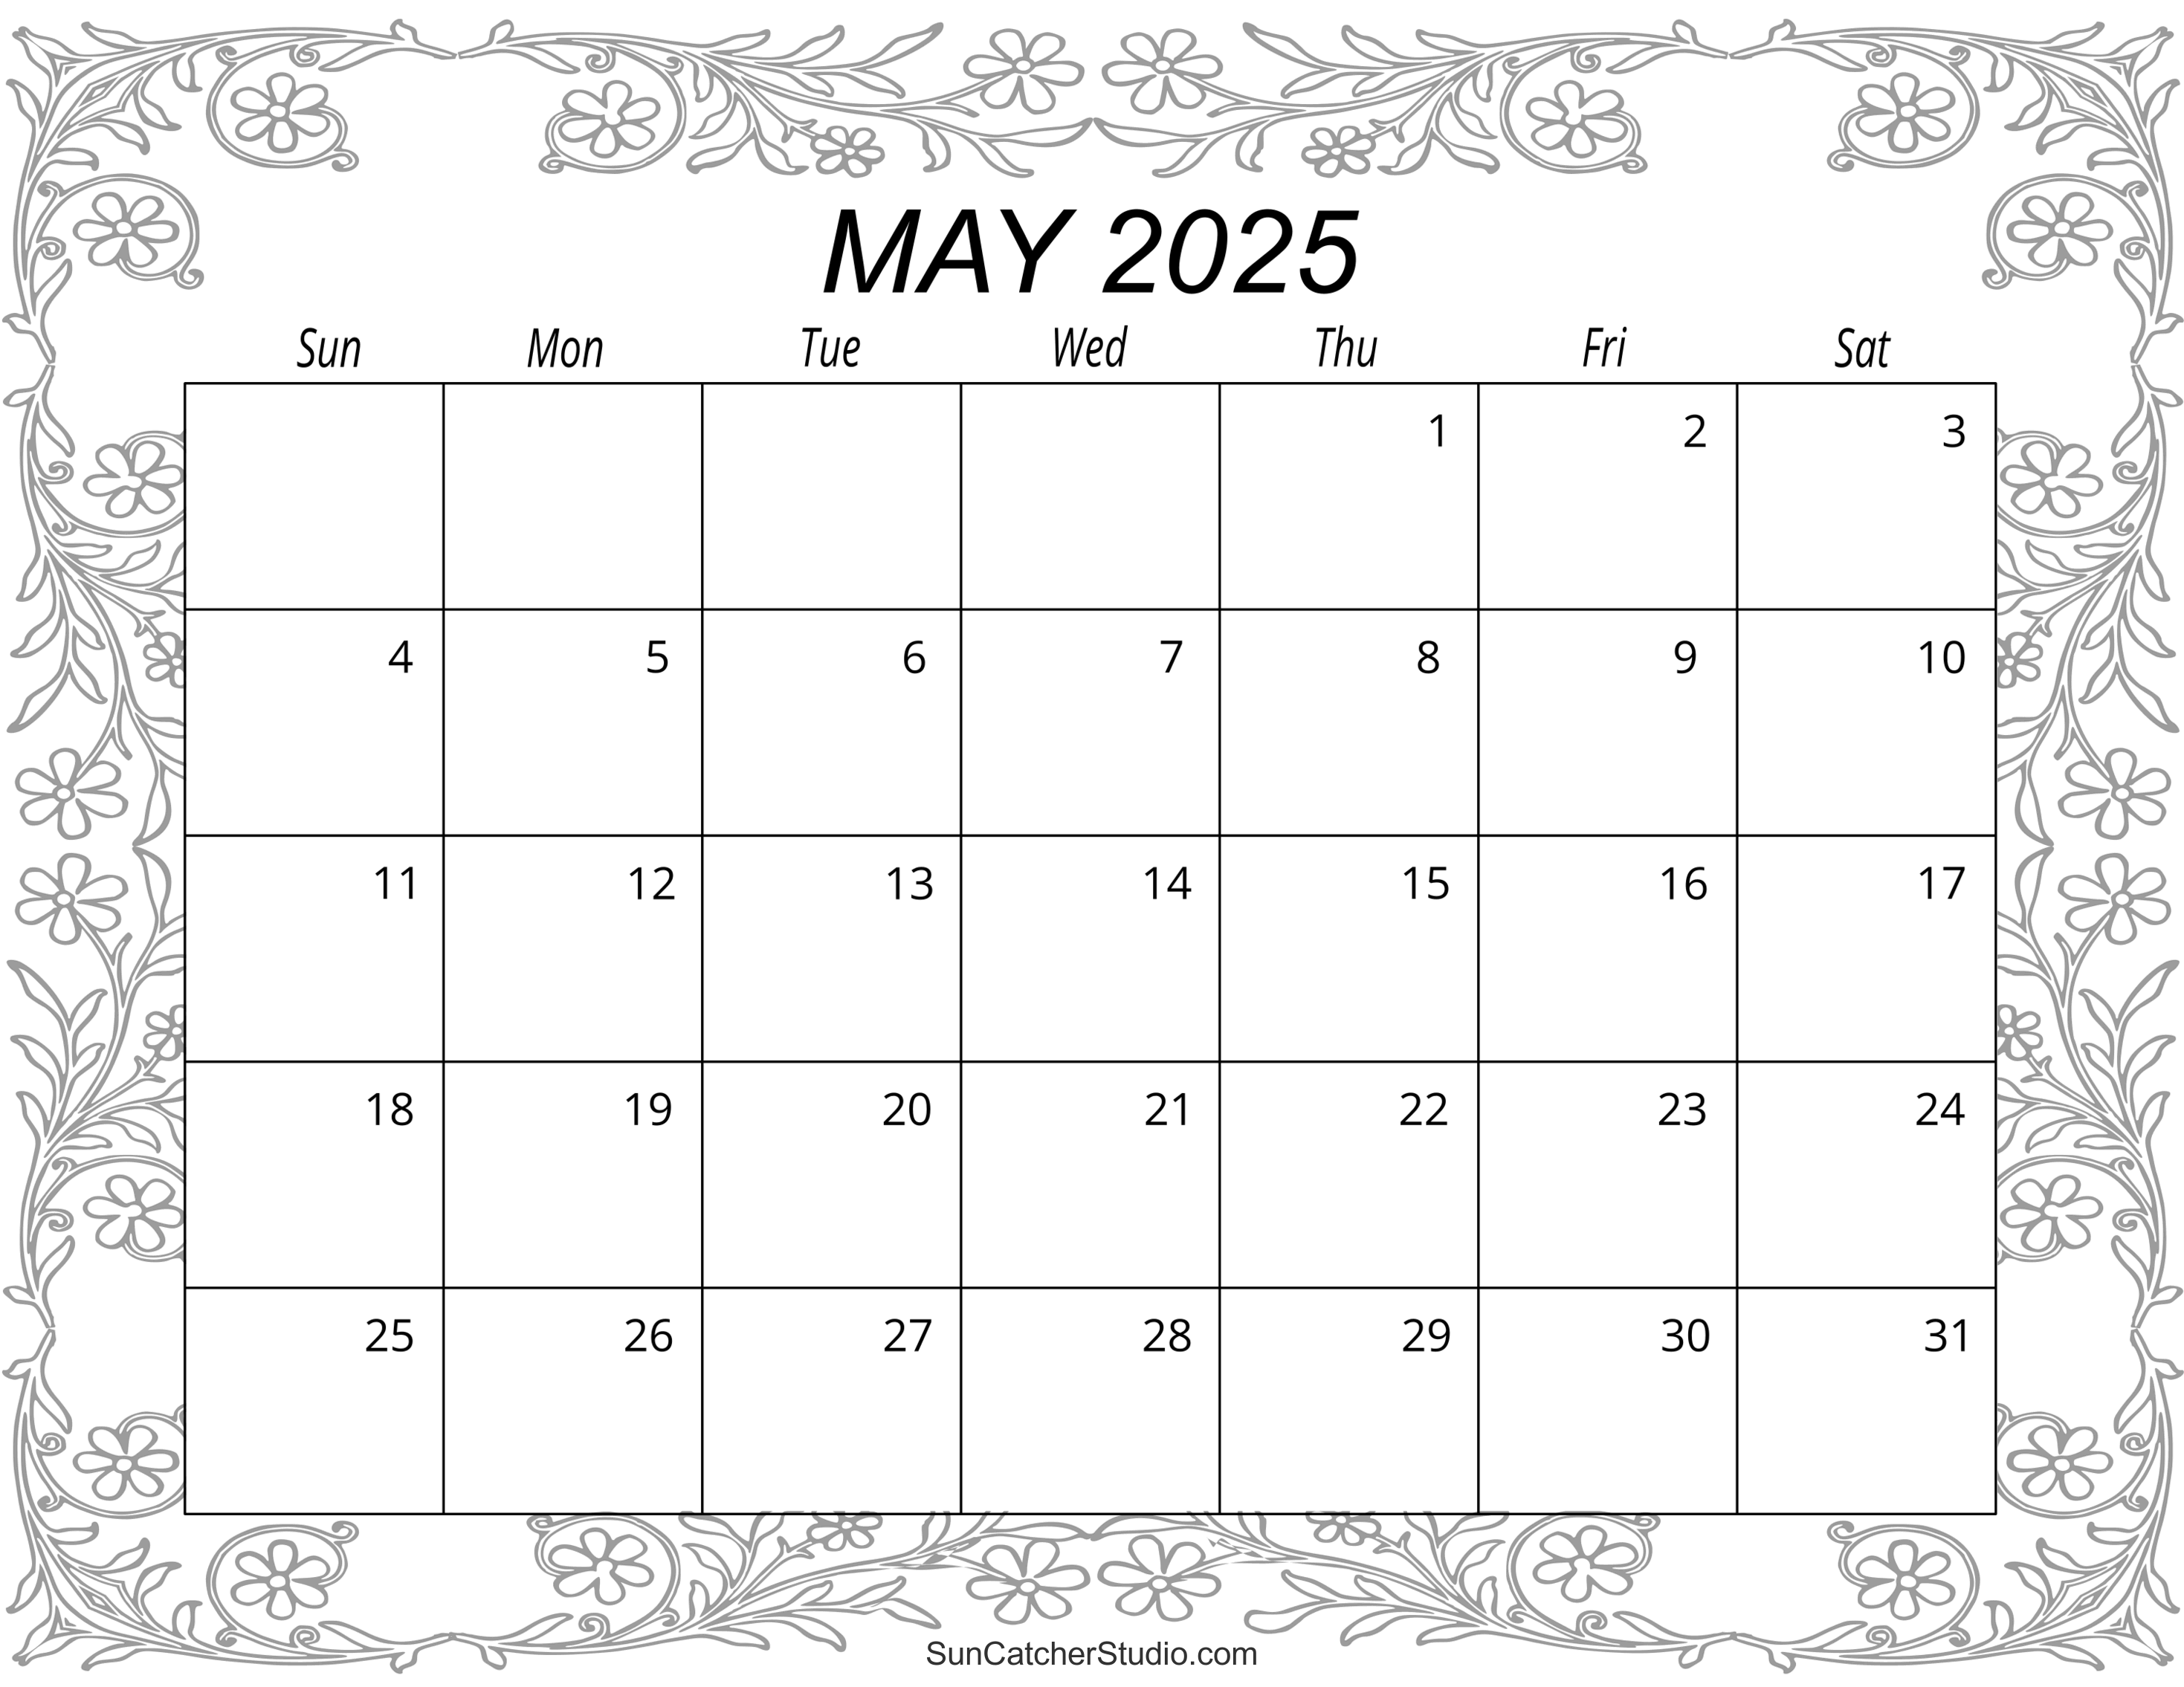
Choosing the Right Layout: Consider your needs. A monthly view is great for overview, while a weekly or daily view is better for detailed scheduling. You can even create multiple sheets for different views.
-
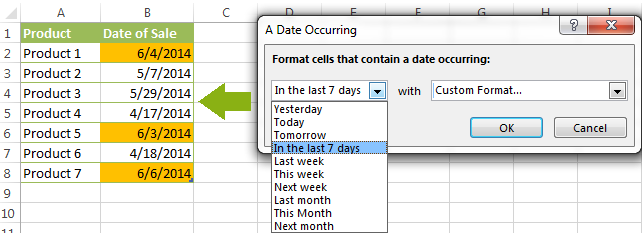
Formatting for Clarity: Use clear fonts, consistent colors, and appropriate cell sizes. Consider using conditional formatting to highlight important events (e.g., deadlines in red, appointments in blue).
-
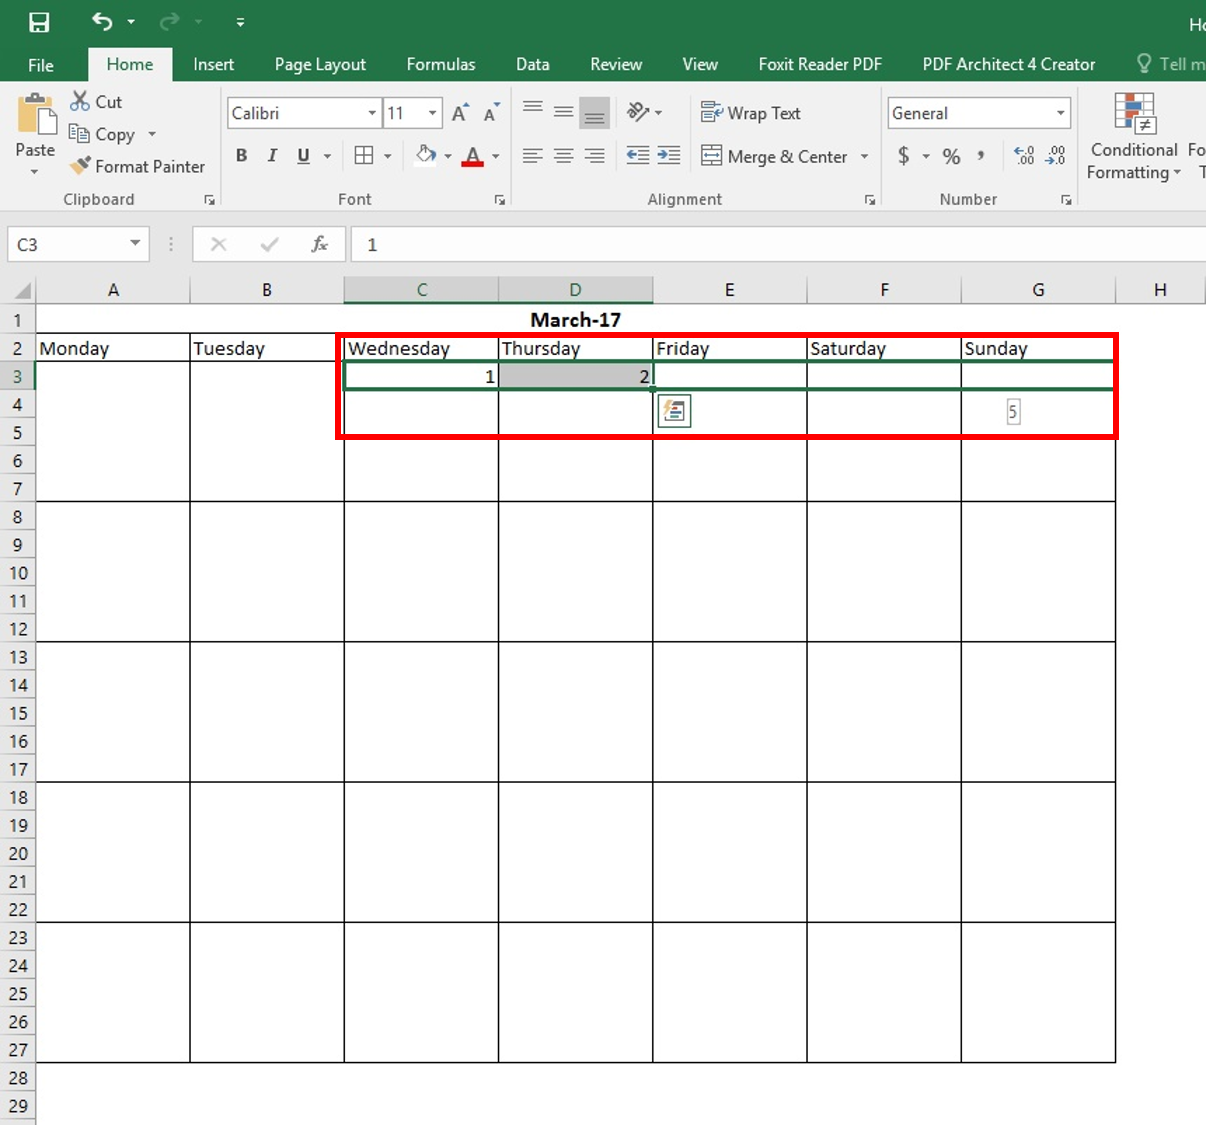
Date Structure: The foundation of any calendar is accurate date representation. You can manually enter dates, but it’s far more efficient to use Excel’s date functions. Start by creating a column with dates for the entire year (or period) you need. You can use the
DATEfunction (=DATE(year,month,day)) or autofill after manually entering the first few dates. Ensure your dates are formatted as dates (not text) to allow for calculations. -
Creating Headers: Clearly label columns and rows. Include headers such as "Date," "Day," "Event," "Time," "Location," "Description," "Priority," "Contact," and any other relevant information. Consider using merged cells for larger titles.
III. Adding Events and Functionality:
-
Data Entry: Enter your events into the appropriate columns. Be consistent and thorough in your data entry to ensure conclusiveness.
-
Using Formulas for Automation: Excel’s power lies in its formulas. Here are some examples:
-
Calculating Durations: If you have start and end times, use the
TIMEandTEXTfunctions to calculate the duration of events. For example,=TEXT(B2-A2,"h:mm")where A2 is the start time and B2 is the end time. -
Highlighting Overlapping Events: Use conditional formatting to highlight events that overlap. This requires a more complex formula comparing event times across rows.
-
Generating Reminders: While Excel doesn’t have built-in reminders, you can create a column indicating the number of days until an event using the
TODAY()andDAYSfunctions. You can then use conditional formatting to highlight events approaching their deadlines. -
Creating Week Numbers: Use the
WEEKNUMfunction to automatically generate week numbers for each date. -
Adding Summations and Counts: Use
SUM,COUNT,COUNTIF, and other functions to summarize data, such as the number of events on a particular day or the total duration of events in a week.
-
-
Data Validation: Use data validation to prevent errors. For example, you can restrict the input for "Priority" to a dropdown list of options (e.g., High, Medium, Low). This ensures consistency and prevents typos.
-
Hyperlinks: Include hyperlinks to relevant documents, websites, or email addresses. This enhances the calendar’s usefulness and makes it a central hub for project information.
IV. Advanced Features and Considerations:
-
Charts and Graphs: Visualize your schedule with charts and graphs. A bar chart showing the number of events per day or a pie chart showing the distribution of event priorities can provide valuable insights.
-
Templates: Create a template for your calendar so you can easily reuse it for future months or years. This saves time and ensures consistency.
-
Protecting Worksheets: Protect your worksheet to prevent accidental changes to formulas or data. You can allow users to enter data in specific cells while protecting the formulas and formatting.
-
External Data Sources: Link your calendar to other data sources, such as a project management software or a CRM. This creates a more integrated and comprehensive system. This might involve using
VLOOKUP,INDEX, andMATCHfunctions to pull data from external spreadsheets or databases. -
Macros (VBA): For highly customized functionality, consider using VBA (Visual Basic for Applications). Macros can automate tasks such as generating reports, sending email reminders, or updating the calendar automatically. However, this requires programming skills.
-
Collaboration: If multiple users need to access and update the calendar, consider using cloud storage (e.g., OneDrive, Google Drive) and exploring options for collaborative editing in Excel. However, be mindful of potential conflicts and version control issues.
V. Error Prevention and Best Practices:
-
Regular Backups: Back up your calendar regularly to prevent data loss. Use Excel’s "Save As" function to create copies of your workbook.
-
Formula Auditing: Regularly audit your formulas to ensure they are still accurate and functioning correctly. Excel’s formula auditing tools can help identify errors.
-
Testing: Thoroughly test your calendar before relying on it for critical scheduling. Input various scenarios and check for unexpected behavior or errors.
-
Documentation: Document your formulas and the logic behind your calendar design. This will help you and others understand how it works and make future modifications easier.
-
User Training: If others will be using your calendar, provide them with training on how to use it effectively. Clear instructions and examples will help prevent errors and ensure consistent usage.
VI. Conclusion:
Creating a truly conclusive, consequent, and certain Excel calendar requires careful planning, attention to detail, and a good understanding of Excel’s features. By following the steps outlined in this guide, you can build a powerful and reliable tool for managing your schedule and improving your productivity. Remember that the key is to start with a solid foundation, gradually add functionality as needed, and always prioritize accuracy and error prevention. This will ensure your Excel calendar remains a valuable and trustworthy asset in your daily workflow.

![[Step-by-Step] How to Make a Calendar in Excel? - QuickExcel](https://quickexcel.com/wp-content/uploads/2021/07/complete-calendar.png)


Closure
Thus, we hope this article has provided valuable insights into Creating a Conclusive, Consequent, and Certain Excel Calendar: A Comprehensive Guide. We hope you find this article informative and beneficial. See you in our next article!