Mastering Shared Calendars on iPhone: A Guide to Seamless Scheduling & Collaboration
Related Articles: Mastering Shared Calendars on iPhone: A Guide to Seamless Scheduling & Collaboration
Introduction
In this auspicious occasion, we are delighted to delve into the intriguing topic related to Mastering Shared Calendars on iPhone: A Guide to Seamless Scheduling & Collaboration. Let’s weave interesting information and offer fresh perspectives to the readers.
Table of Content
Mastering Shared Calendars on iPhone: A Guide to Seamless Scheduling & Collaboration
The iPhone’s calendar app is a powerful tool for personal organization, but its true potential unlocks when you leverage its shared calendar functionality. Sharing calendars allows for effortless collaboration with family, friends, colleagues, or even clients, streamlining scheduling and minimizing the inevitable conflicts that arise when coordinating multiple individuals’ time. This comprehensive guide will walk you through creating, managing, and maximizing your shared calendars on iPhone, elevating your scheduling from merely functional to innovative, outstanding, and superior.
I. Choosing the Right Sharing Method: iCloud vs. Third-Party Apps
Before diving into the specifics, understanding the different avenues for sharing calendars is crucial. The primary methods are utilizing Apple’s built-in iCloud calendar sharing and leveraging third-party calendar applications.
A. iCloud Calendar Sharing: This is the simplest and most integrated option, ideal for sharing with other Apple users. It leverages your existing iCloud account and seamlessly integrates with other Apple devices and services. However, its functionality is limited when sharing with non-Apple users or requiring advanced features.
B. Third-Party Calendar Apps: Applications like Fantastical, Outlook, Google Calendar, and others offer more advanced features, including granular permission controls, customizable views, and often better integration with non-Apple ecosystems. While offering greater flexibility, they necessitate downloading and setting up an additional application, adding a layer of complexity. The choice between iCloud and a third-party app hinges on your specific needs and the technical proficiency of those you’ll be sharing with.
II. Creating and Sharing an iCloud Calendar:
This section details the process of creating and sharing a calendar using Apple’s built-in iCloud functionality.
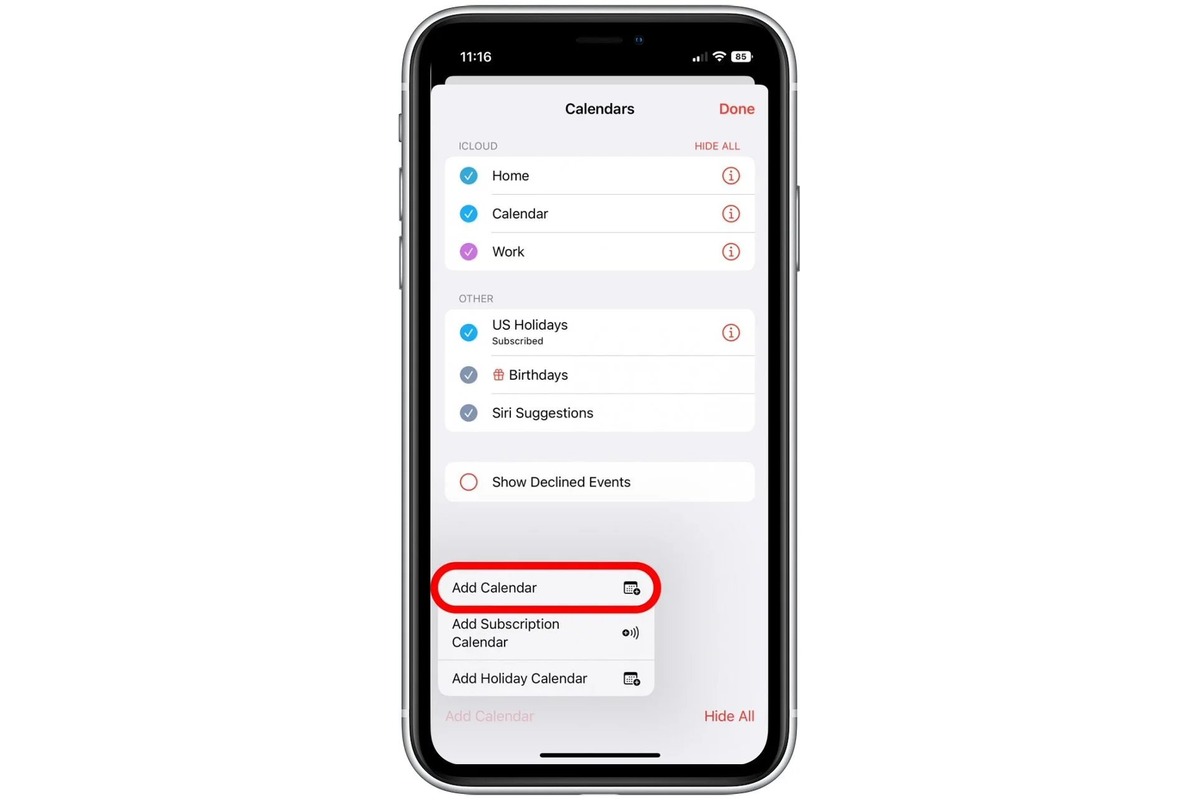
A. Creating a New Calendar:
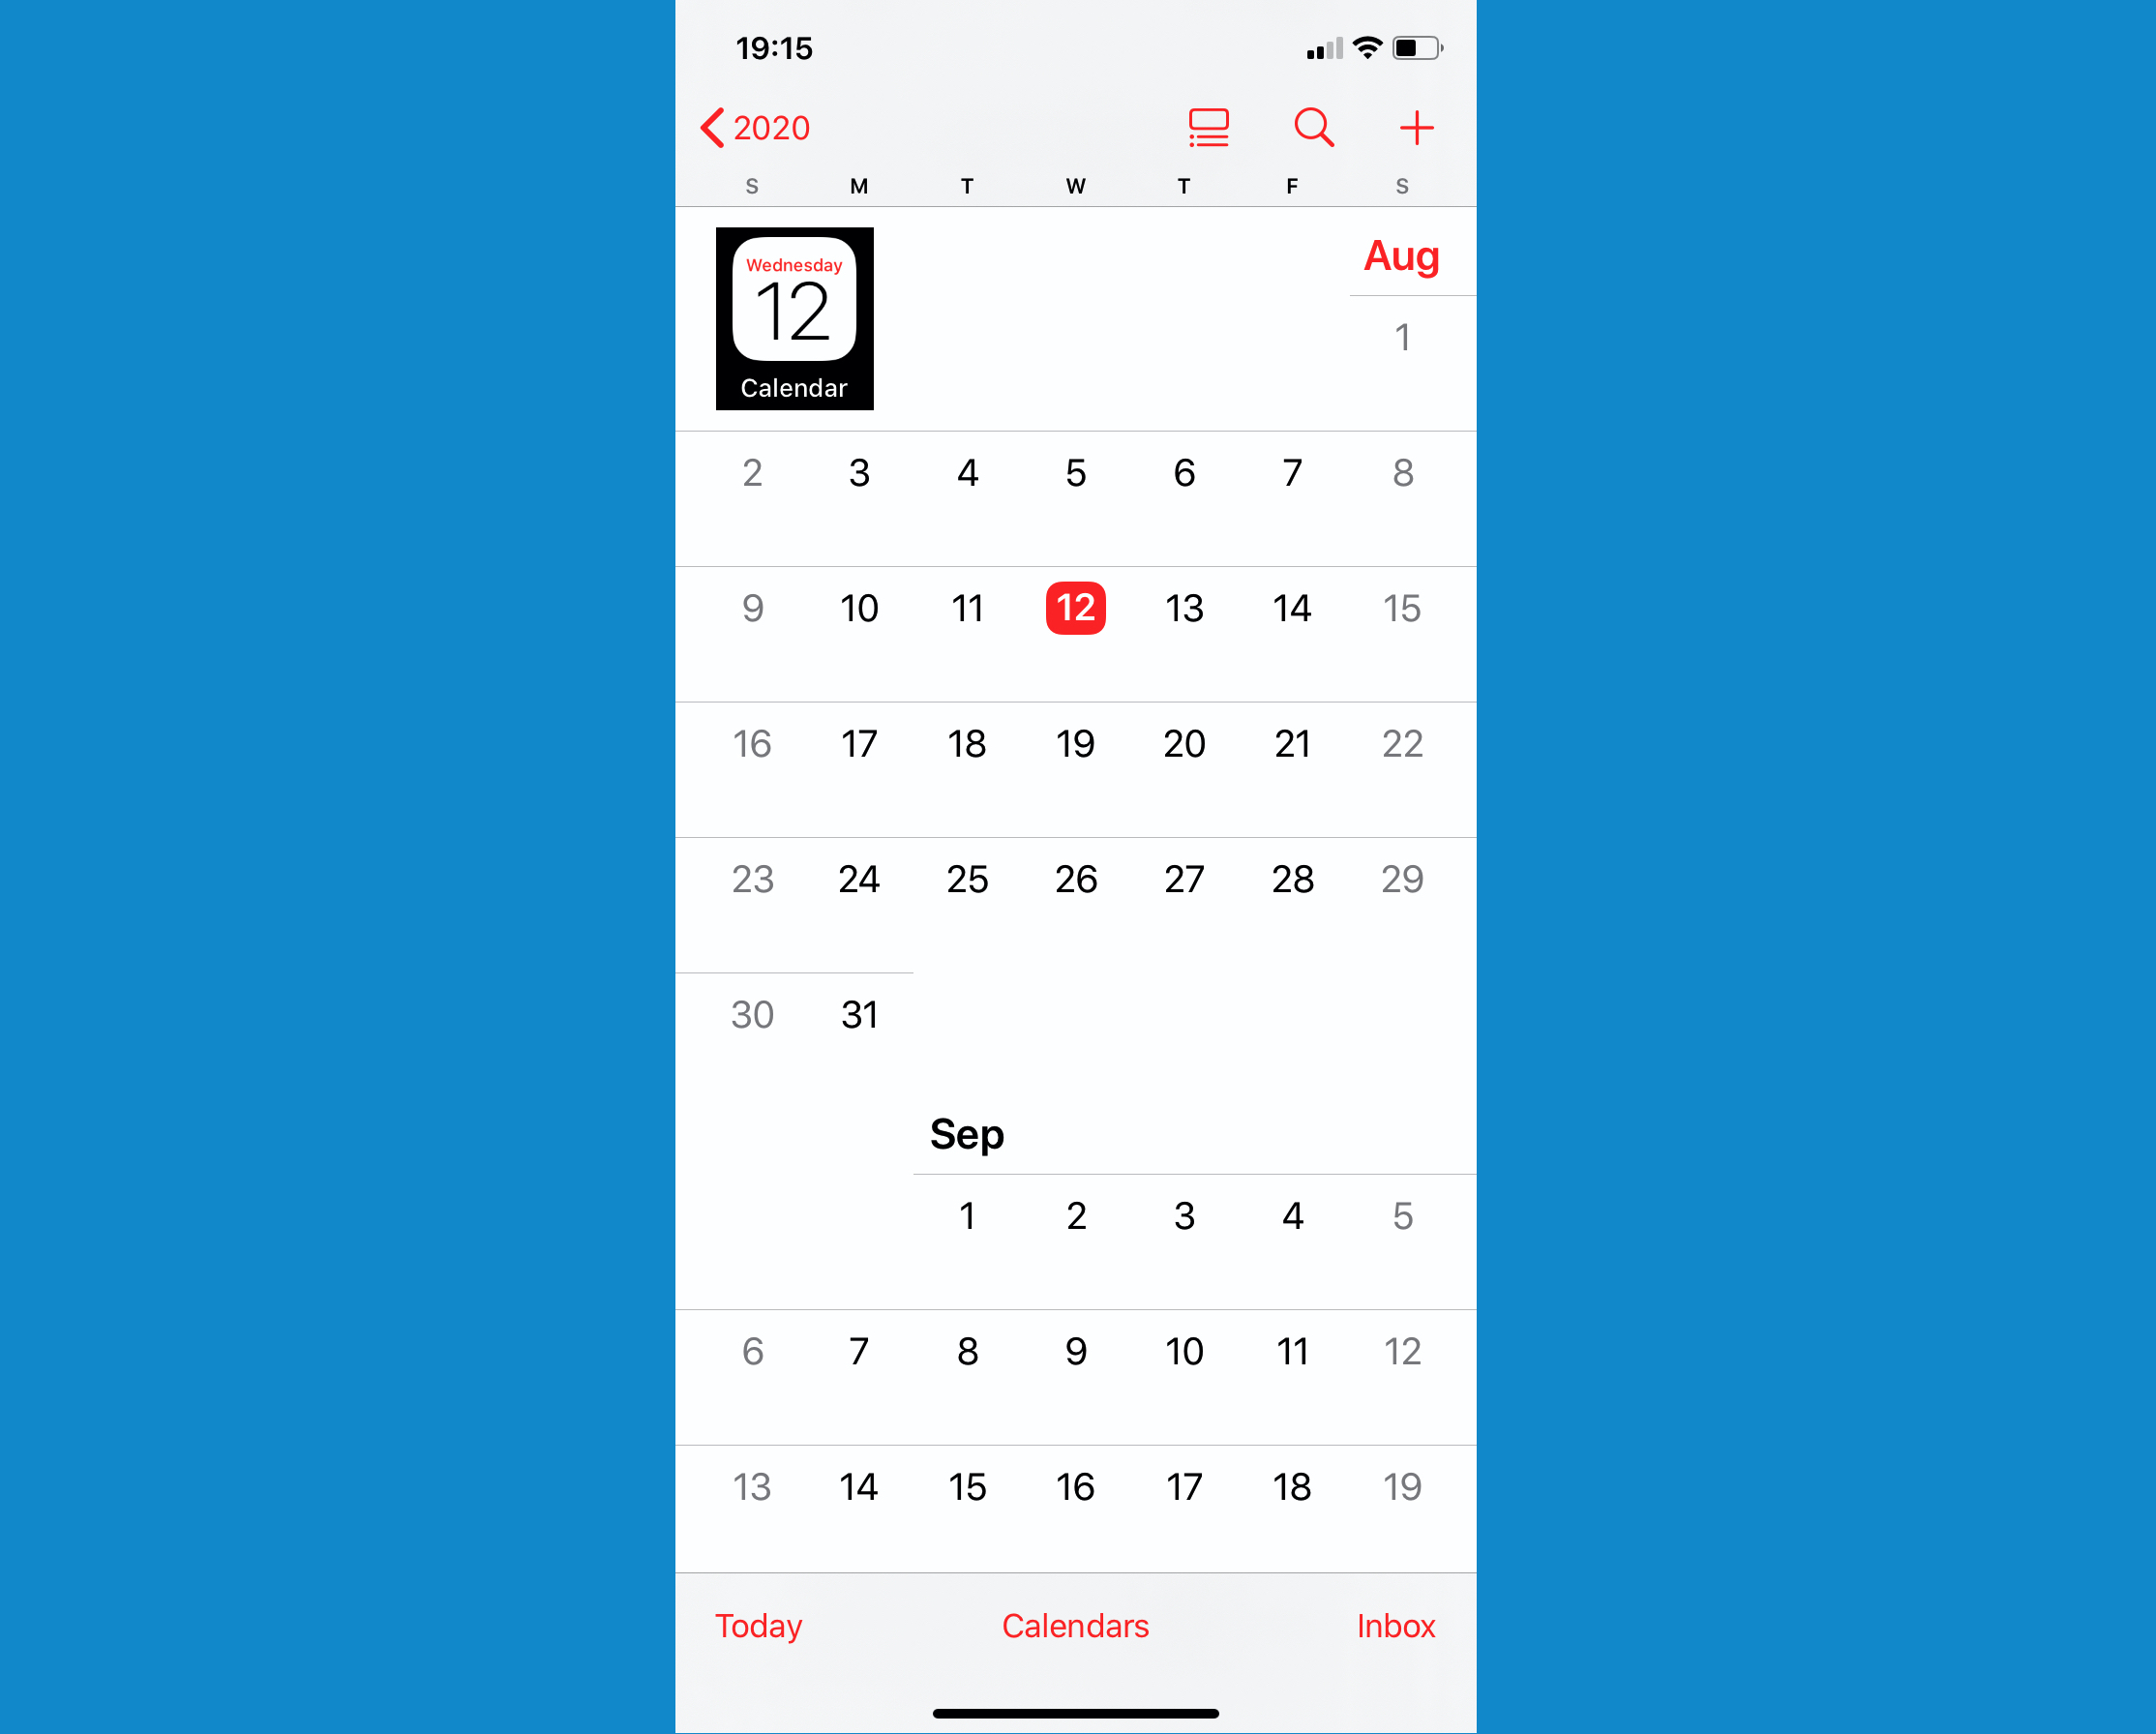
- Open the Calendar app: Locate the Calendar app icon on your iPhone’s home screen and tap to open it.
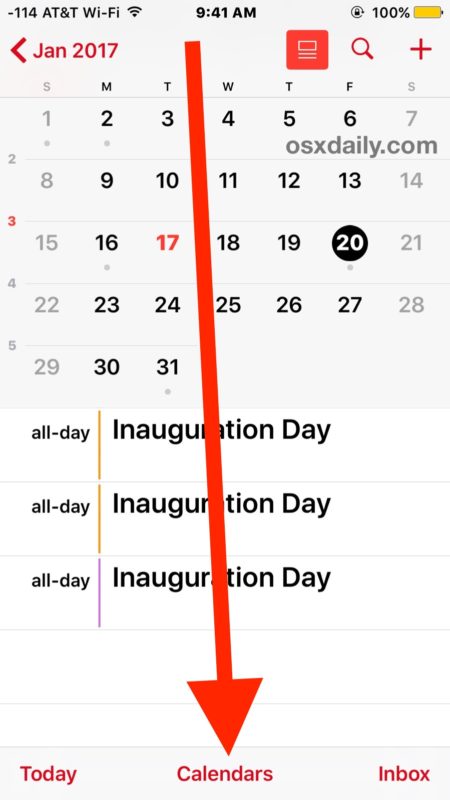
- Navigate to Calendars: At the bottom of the screen, you’ll typically find a "Calendars" tab. Tap on it.
- Add a New Calendar: Look for an "Add Calendar" button (it may be represented by a "+" symbol). Tap it.
- Name Your Calendar: Provide a descriptive name for your shared calendar (e.g., "Family Events," "Team Project," "Work Schedule").
- Choose a Calendar Type: Select "iCloud" as the calendar type.
- Save the Calendar: Once you’ve named and chosen the type, tap "Save" to create the new calendar.
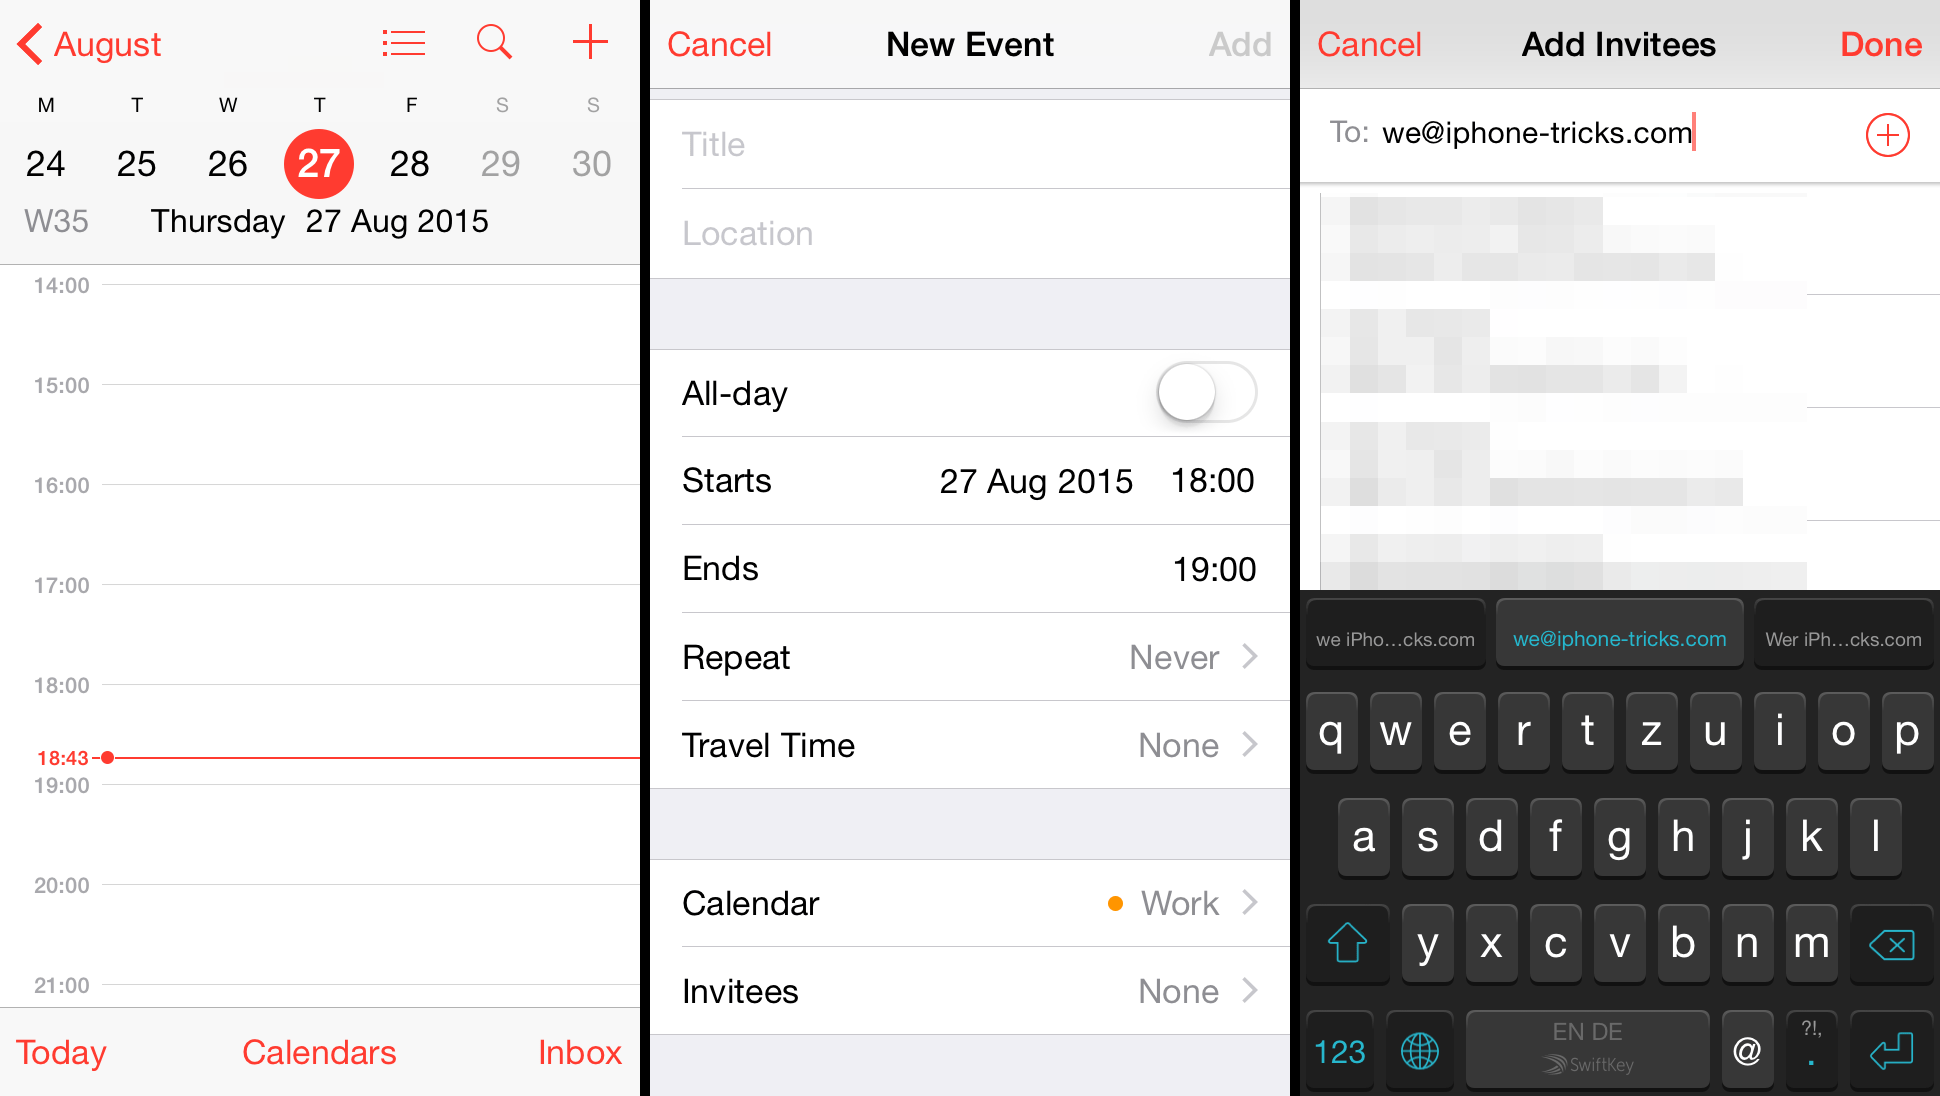
B. Sharing Your Calendar:
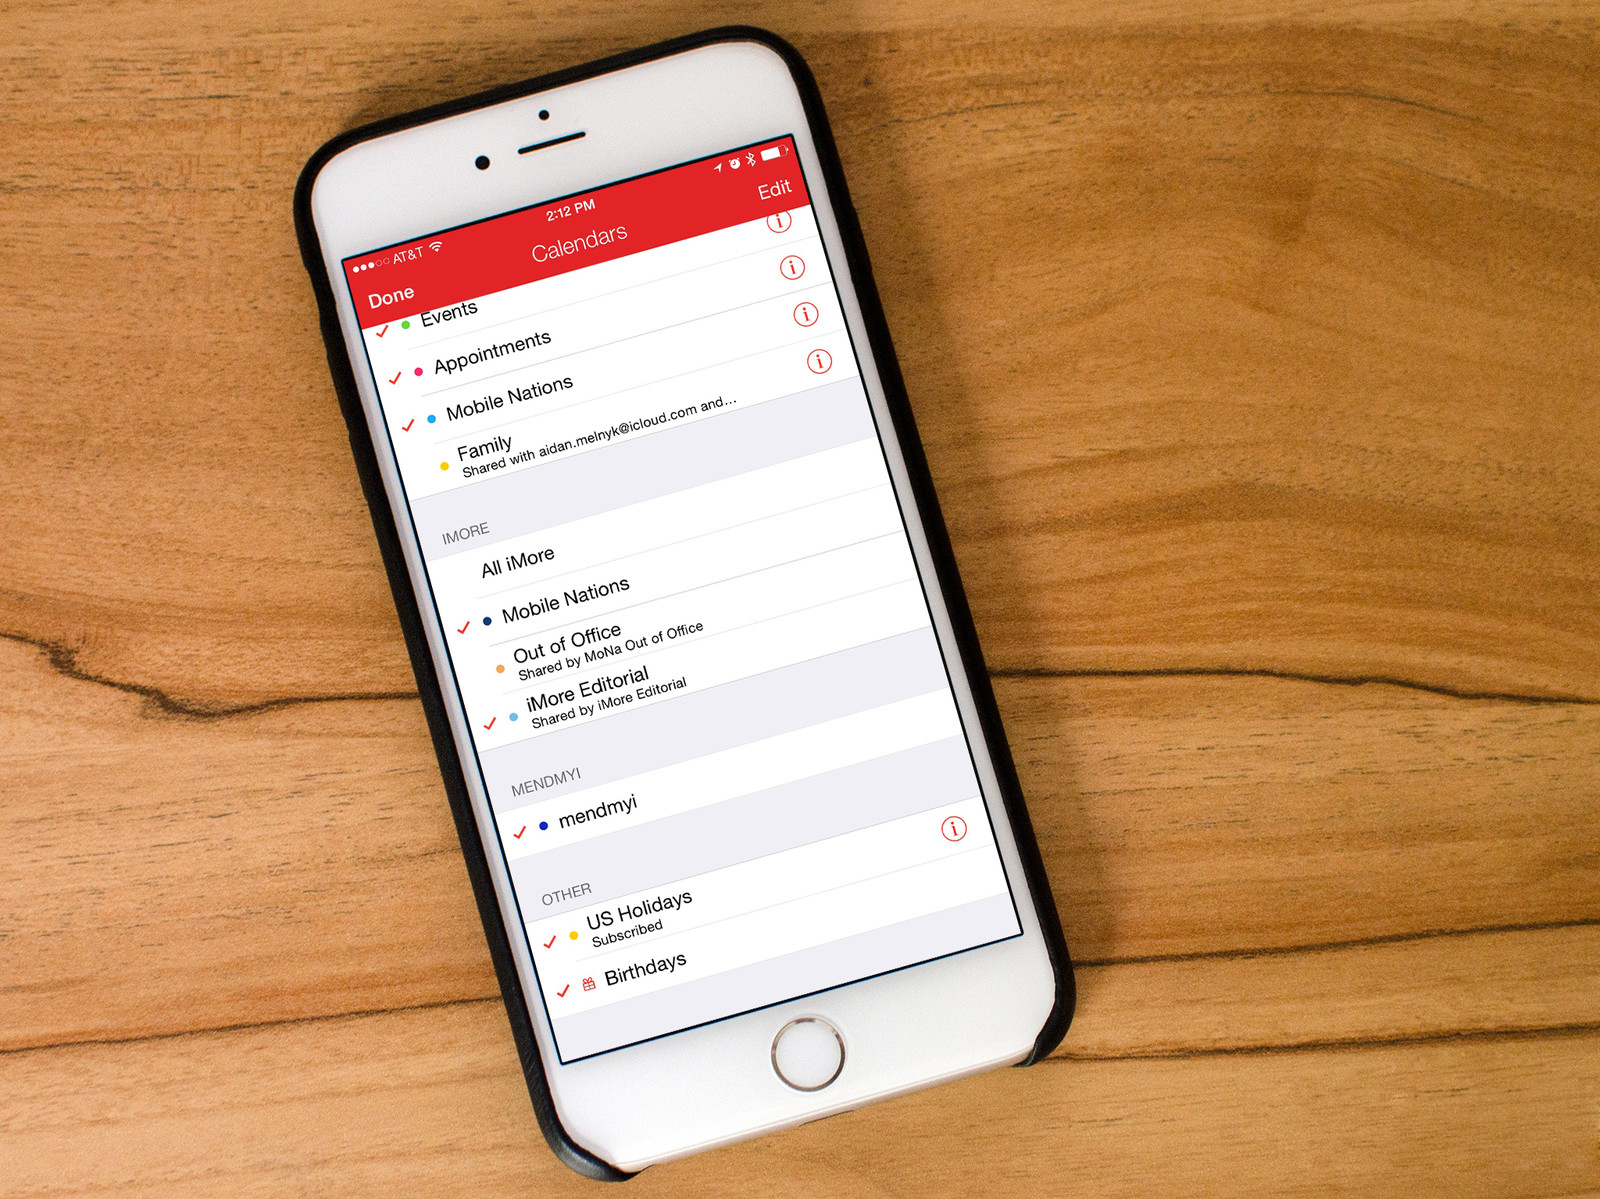
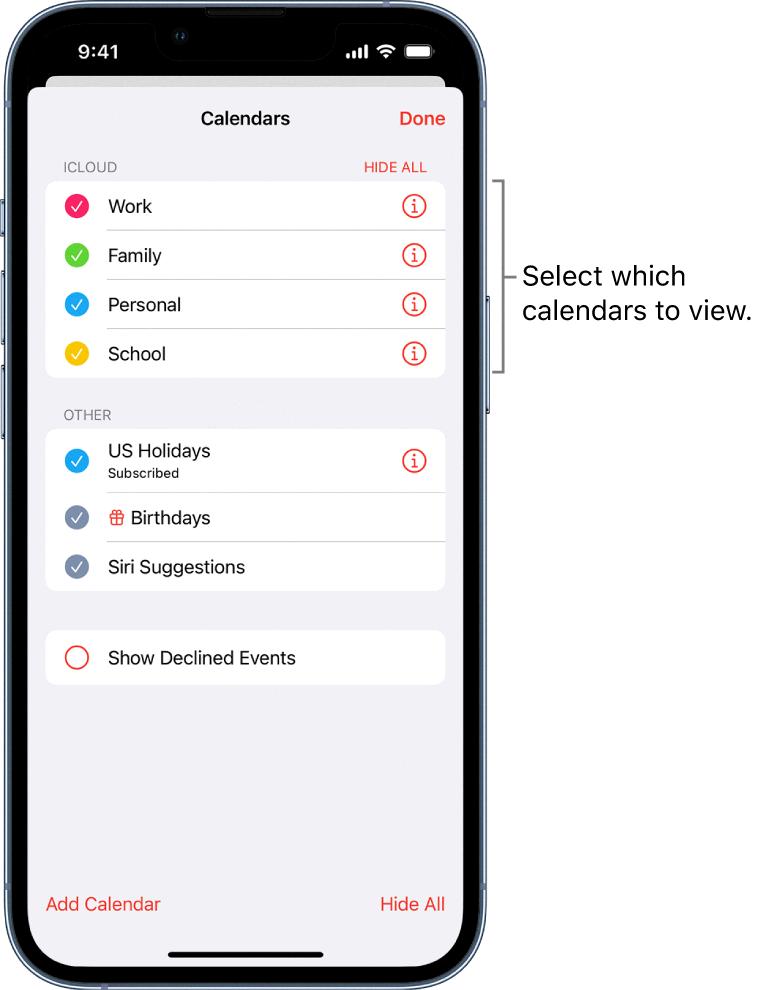
- Locate the Calendar: Go back to the "Calendars" tab and ensure the newly created calendar is visible.
- Access Sharing Options: Tap on the newly created calendar’s name. You’ll see options to edit the calendar’s details. Look for a "Share Calendar" button or a similar option (it might be represented by an icon of two people).
- Add People: You’ll be prompted to enter the email addresses of the people you want to share the calendar with. You can also choose specific permission levels (View Only or Editor). "View Only" allows recipients to see events but not add or modify them, while "Editor" grants them full editing privileges.
- Send the Invitation: Once you’ve added the recipients and chosen their permission levels, tap "Send" to invite them to the shared calendar. They’ll receive an email invitation.
- Accepting the Invitation: The recipients need to accept the invitation through their email client or the Calendar app on their device. Once accepted, the shared calendar will appear in their Calendar app.
III. Leveraging Third-Party Calendar Apps for Superior Collaboration:
While iCloud provides a simple solution, third-party apps often offer superior features for complex scheduling needs. This section outlines the advantages and considerations.
A. Enhanced Features: Many third-party apps offer features absent in the default iCloud calendar, such as:
- Granular Permission Control: More nuanced control over who can see and edit specific events.
- Customizable Views: Different calendar views (e.g., list, day, week, month) tailored to individual preferences.
- Advanced Filtering and Search: Quickly find specific events based on keywords, participants, or other criteria.
- Integration with Other Apps: Seamless integration with email, task management apps, and other productivity tools.
- Cross-Platform Compatibility: Seamless syncing across different operating systems (iOS, Android, Windows, macOS).
B. Choosing the Right App: Selecting the optimal third-party app depends on individual needs. Consider factors like:
- Ease of Use: How intuitive is the interface?
- Feature Set: Does it offer the necessary features for your collaboration needs?
- Platform Compatibility: Will it work across all the devices and operating systems used by those involved?
- Cost: Are there subscription fees or in-app purchases?
IV. Optimizing Shared Calendars for Maximum Efficiency:
Regardless of the chosen method, effective use of shared calendars requires careful planning and consistent maintenance.
A. Clear Naming Conventions: Use descriptive names for calendars and events to avoid confusion. Consistent naming helps everyone quickly understand the purpose of each calendar and event.
B. Color-Coding: Assign different colors to different calendars to distinguish them at a glance. This visual cue makes it easier to navigate and identify relevant events.
C. Utilizing Event Descriptions: Provide detailed descriptions for each event, including location, contact information, and any other pertinent details. This minimizes the need for back-and-forth communication.
D. Regular Maintenance: Periodically review the shared calendar to remove outdated events and ensure accuracy. This prevents clutter and maintains a clear overview of upcoming schedules.
E. Establishing Communication Protocols: Agree on communication protocols for updates and changes. This might involve using specific notification settings or designating a single point of contact for calendar modifications.
V. Troubleshooting Common Issues:
Despite the simplicity of the process, occasional issues may arise. Here are some common problems and their solutions:
- Calendar Not Syncing: Ensure that iCloud is enabled and that your device has a stable internet connection. Restart your device if necessary.
- Invitation Not Received: Check your spam or junk mail folder. Ensure the email address used for sharing is correct.
- Permission Issues: Verify that the correct permission levels have been assigned to each user.
- Conflicting Events: Use the calendar’s notification features to alert users of potential scheduling conflicts.
VI. Conclusion: Elevating Your Scheduling with Shared Calendars
Mastering shared calendars on your iPhone transforms your scheduling from a tedious chore into a seamless, collaborative process. By understanding the different methods of sharing, leveraging the features of various apps, and implementing effective organizational strategies, you can significantly improve efficiency and minimize scheduling conflicts. Whether you opt for the simplicity of iCloud or the advanced features of third-party applications, the benefits of shared calendars are undeniable, offering a superior way to manage time and coordinate activities with others. Embrace the power of shared calendars and experience the difference in your productivity and collaborative efforts.


Closure
Thus, we hope this article has provided valuable insights into Mastering Shared Calendars on iPhone: A Guide to Seamless Scheduling & Collaboration. We appreciate your attention to our article. See you in our next article!