Crafting the Ultimate Photo Calendar: A 2000-Word Guide to Finest Prime Results
Related Articles: Crafting the Ultimate Photo Calendar: A 2000-Word Guide to Finest Prime Results
Introduction
In this auspicious occasion, we are delighted to delve into the intriguing topic related to Crafting the Ultimate Photo Calendar: A 2000-Word Guide to Finest Prime Results. Let’s weave interesting information and offer fresh perspectives to the readers.
Table of Content
Crafting the Ultimate Photo Calendar: A 2000-Word Guide to Finest Prime Results

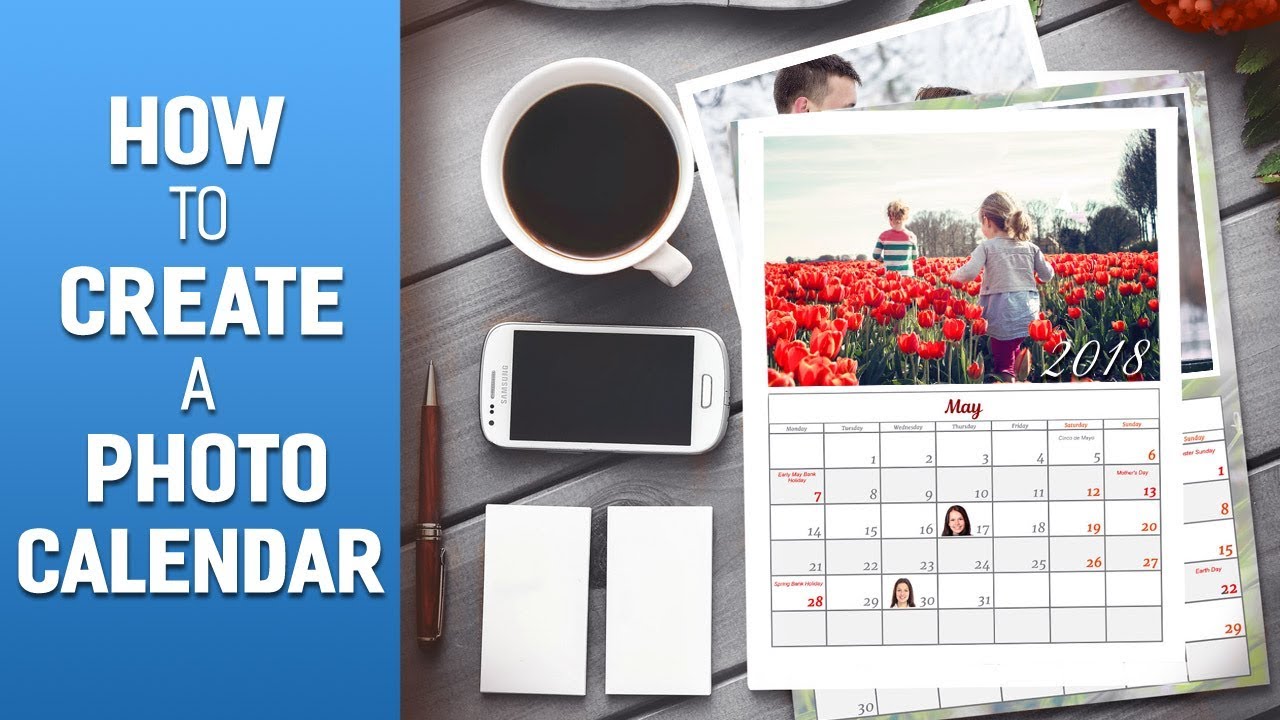
Creating a personalized photo calendar is a rewarding project, transforming cherished memories into a practical and beautiful year-long companion. This comprehensive guide takes you through the entire process, from initial concept to final print, aiming for "Finest Ultimate Prime" results. We’ll cover everything from selecting the perfect photos to mastering design software and choosing the optimal printing service.
Part 1: The Foundation – Photo Selection and Theme
The success of your photo calendar hinges on the quality and coherence of your images. Don’t just grab any random snapshots; thoughtful selection is crucial.
1.1 Curating Your Photos:
- Quantity: Aim for at least 13 high-resolution images – one for each month plus a cover image. Consider including additional images for smaller calendar elements, like week numbers or holidays.
- Quality: Use only high-resolution images (at least 300 DPI). Low-resolution photos will appear blurry and pixelated when printed. Check your camera’s settings and ensure you’re shooting in the highest quality possible. Avoid blurry, overexposed, or underexposed images.
- Variety: While a cohesive theme is desirable, a monotonous selection can be boring. Vary the subjects, perspectives, and lighting to create visual interest. Consider seasonal variations – bright summer scenes, cozy winter landscapes, etc.
- Backups: Before you begin, back up your photos to multiple locations (cloud storage, external hard drive) to prevent accidental data loss.
1.2 Defining Your Theme:
A cohesive theme elevates your calendar from a simple collection of photos to a curated visual narrative. Consider these options:
- Travel: Showcase your favorite travel destinations, capturing the essence of each location.
- Family & Friends: Celebrate your loved ones with heartwarming photos throughout the year.
- Nature: Capture the beauty of the natural world, showcasing changing seasons and landscapes.
- Hobbies & Interests: Highlight your passions, whether it’s gardening, photography, or a specific sport.
- Abstract & Artistic: If you’re artistically inclined, use abstract photos or creatively edited images.
- A Specific Year: Dedicate the calendar to a significant year in your life, filled with memories from events and milestones.
Once you’ve chosen a theme, stick to it consistently throughout the calendar design process. This will ensure a unified and visually appealing final product.
Part 2: Design & Software – Achieving Professional Results
Choosing the right software is critical for achieving "Finest Ultimate Prime" quality. Several options are available, each with its strengths and weaknesses:
2.1 Software Options:
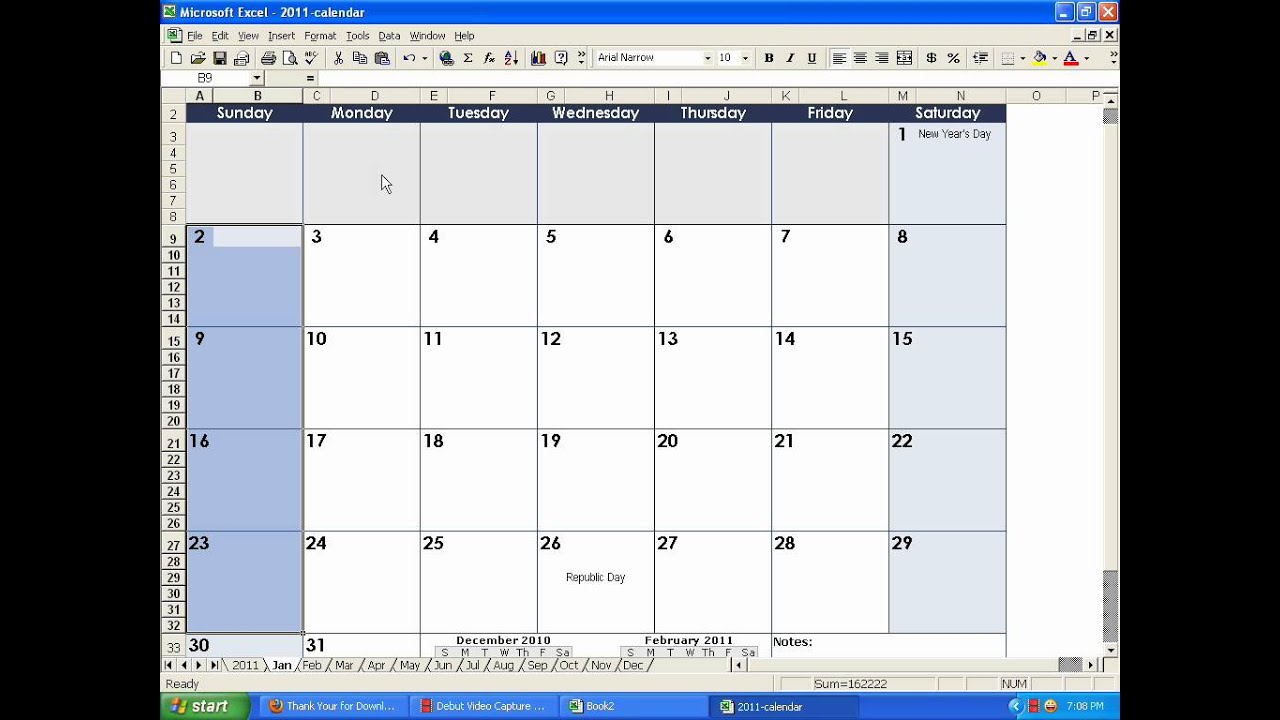
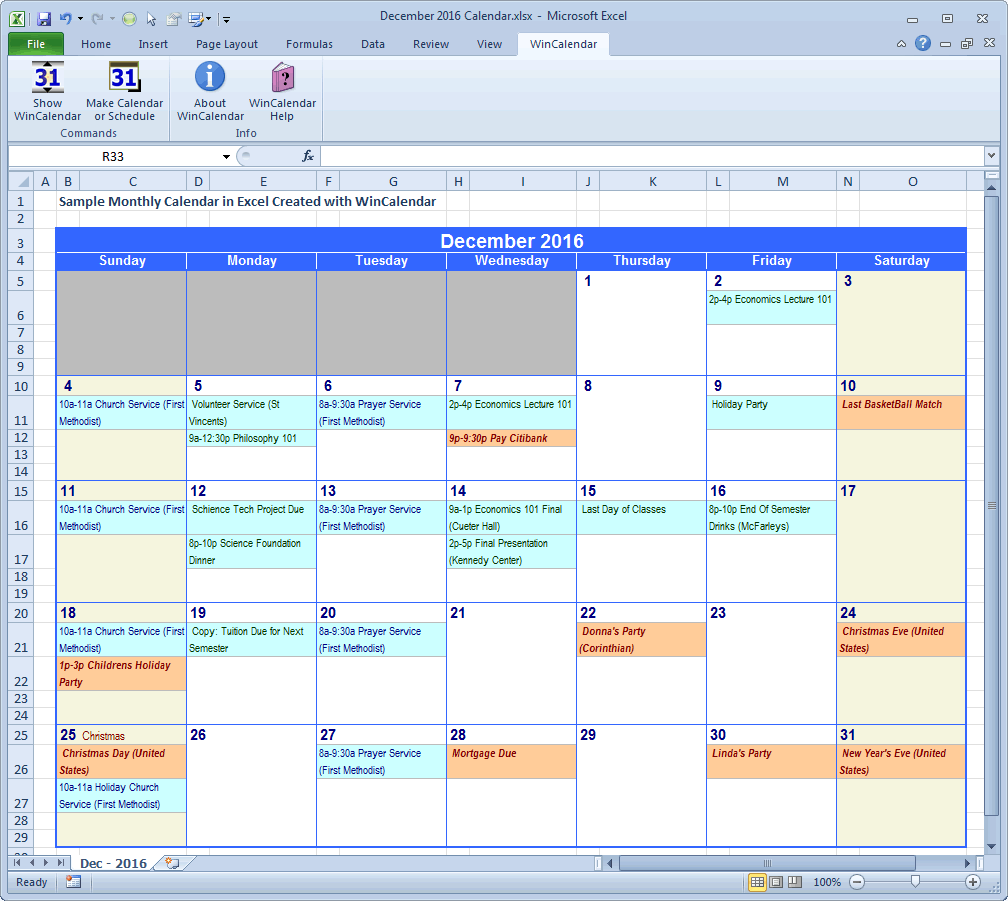
- Adobe Photoshop: The industry standard, offering unparalleled control and editing capabilities. Ideal for advanced users who want maximum customization.
- Adobe InDesign: Best for complex layouts and professional-looking results. Excellent for precise control over typography and grid systems.
- Canva: A user-friendly online platform with pre-designed templates and drag-and-drop functionality. Perfect for beginners or those seeking a quick and easy solution.
- Microsoft Publisher: A readily available option for Windows users, offering basic design tools and calendar templates. Suitable for simple calendars.
2.2 Design Elements:
- Layout: Consider a clear and uncluttered layout. Avoid overcrowding the calendar with too many design elements. Ensure sufficient space for dates and notes.
- Font Selection: Choose legible and aesthetically pleasing fonts. Avoid using too many different fonts, sticking to 1-2 at most. Consider the overall theme when selecting fonts.
- Color Palette: Select a color palette that complements your photos and theme. Use consistent colors throughout the calendar for a unified look.
- Image Quality: Ensure your images are appropriately sized and positioned within the calendar layout. Avoid pixelation or distortion.
- Grid System: Employ a grid system to maintain consistency and alignment of elements. This will ensure a professional and visually appealing result.
2.3 Mastering the Software:
Regardless of the software you choose, familiarize yourself with its features before starting your design. Watch tutorials, experiment with different tools, and practice creating mockups before working on your final calendar. Pay close attention to:
- Image Resolution: Ensure all images are high-resolution to prevent pixelation during printing.
- Color Management: Use a consistent color profile throughout the design process to ensure accurate color reproduction.
- Export Settings: Select the appropriate export settings (resolution, file format) for your chosen printing method. Generally, a high-resolution PDF is recommended.
Part 3: Printing & Finishing – The Final Touches
The final step is printing and finishing your calendar, where you can truly elevate it to "Finest Ultimate Prime" status.
3.1 Choosing a Printing Service:
Several online printing services offer high-quality calendar printing. Research different options, comparing prices, paper quality, and printing options. Consider factors like:
- Paper Type: Opt for high-quality photo paper for vibrant colors and sharp images. Consider matte, glossy, or lustre finishes depending on your preference.
- Binding Options: Choose a binding method that suits your calendar design and desired aesthetic. Popular options include wire-o binding, spiral binding, and saddle-stitch binding.
- Printing Resolution: Ensure the printing service offers high-resolution printing (at least 300 DPI) for optimal image quality.
- Reviews and Customer Service: Check online reviews to gauge the quality of the printing service and their customer support.
3.2 Advanced Printing Options:
For truly exceptional results, consider these advanced printing options:
- Professional Color Calibration: Some printing services offer professional color calibration to ensure accurate color reproduction.
- Spot UV Coating: Add a selective gloss finish to specific areas of the calendar for a luxurious touch.
- Embossing or Debossing: Elevate your calendar with embossed or debossed text or images for a three-dimensional effect.
- Custom Sizes and Shapes: Explore custom calendar sizes and shapes to create a truly unique and personalized product.
3.3 Final Quality Check:
Before submitting your design for printing, conduct a thorough quality check. Verify:
- Image Resolution: Ensure all images are high-resolution and sharp.
- Color Accuracy: Check for color inconsistencies or inaccuracies.
- Text Legibility: Ensure all text is legible and clearly visible.
- Layout Accuracy: Verify that all elements are correctly aligned and positioned.
- File Format: Ensure you’re submitting the correct file format (usually a high-resolution PDF).
Part 4: Beyond the Basics – Adding Extra Flair
To truly achieve "Finest Ultimate Prime" status, consider adding these extra touches:
- Custom Cover Design: Create a unique and eye-catching cover design that reflects your chosen theme.
- Handwritten Notes: Add handwritten notes or quotes to personalize each month.
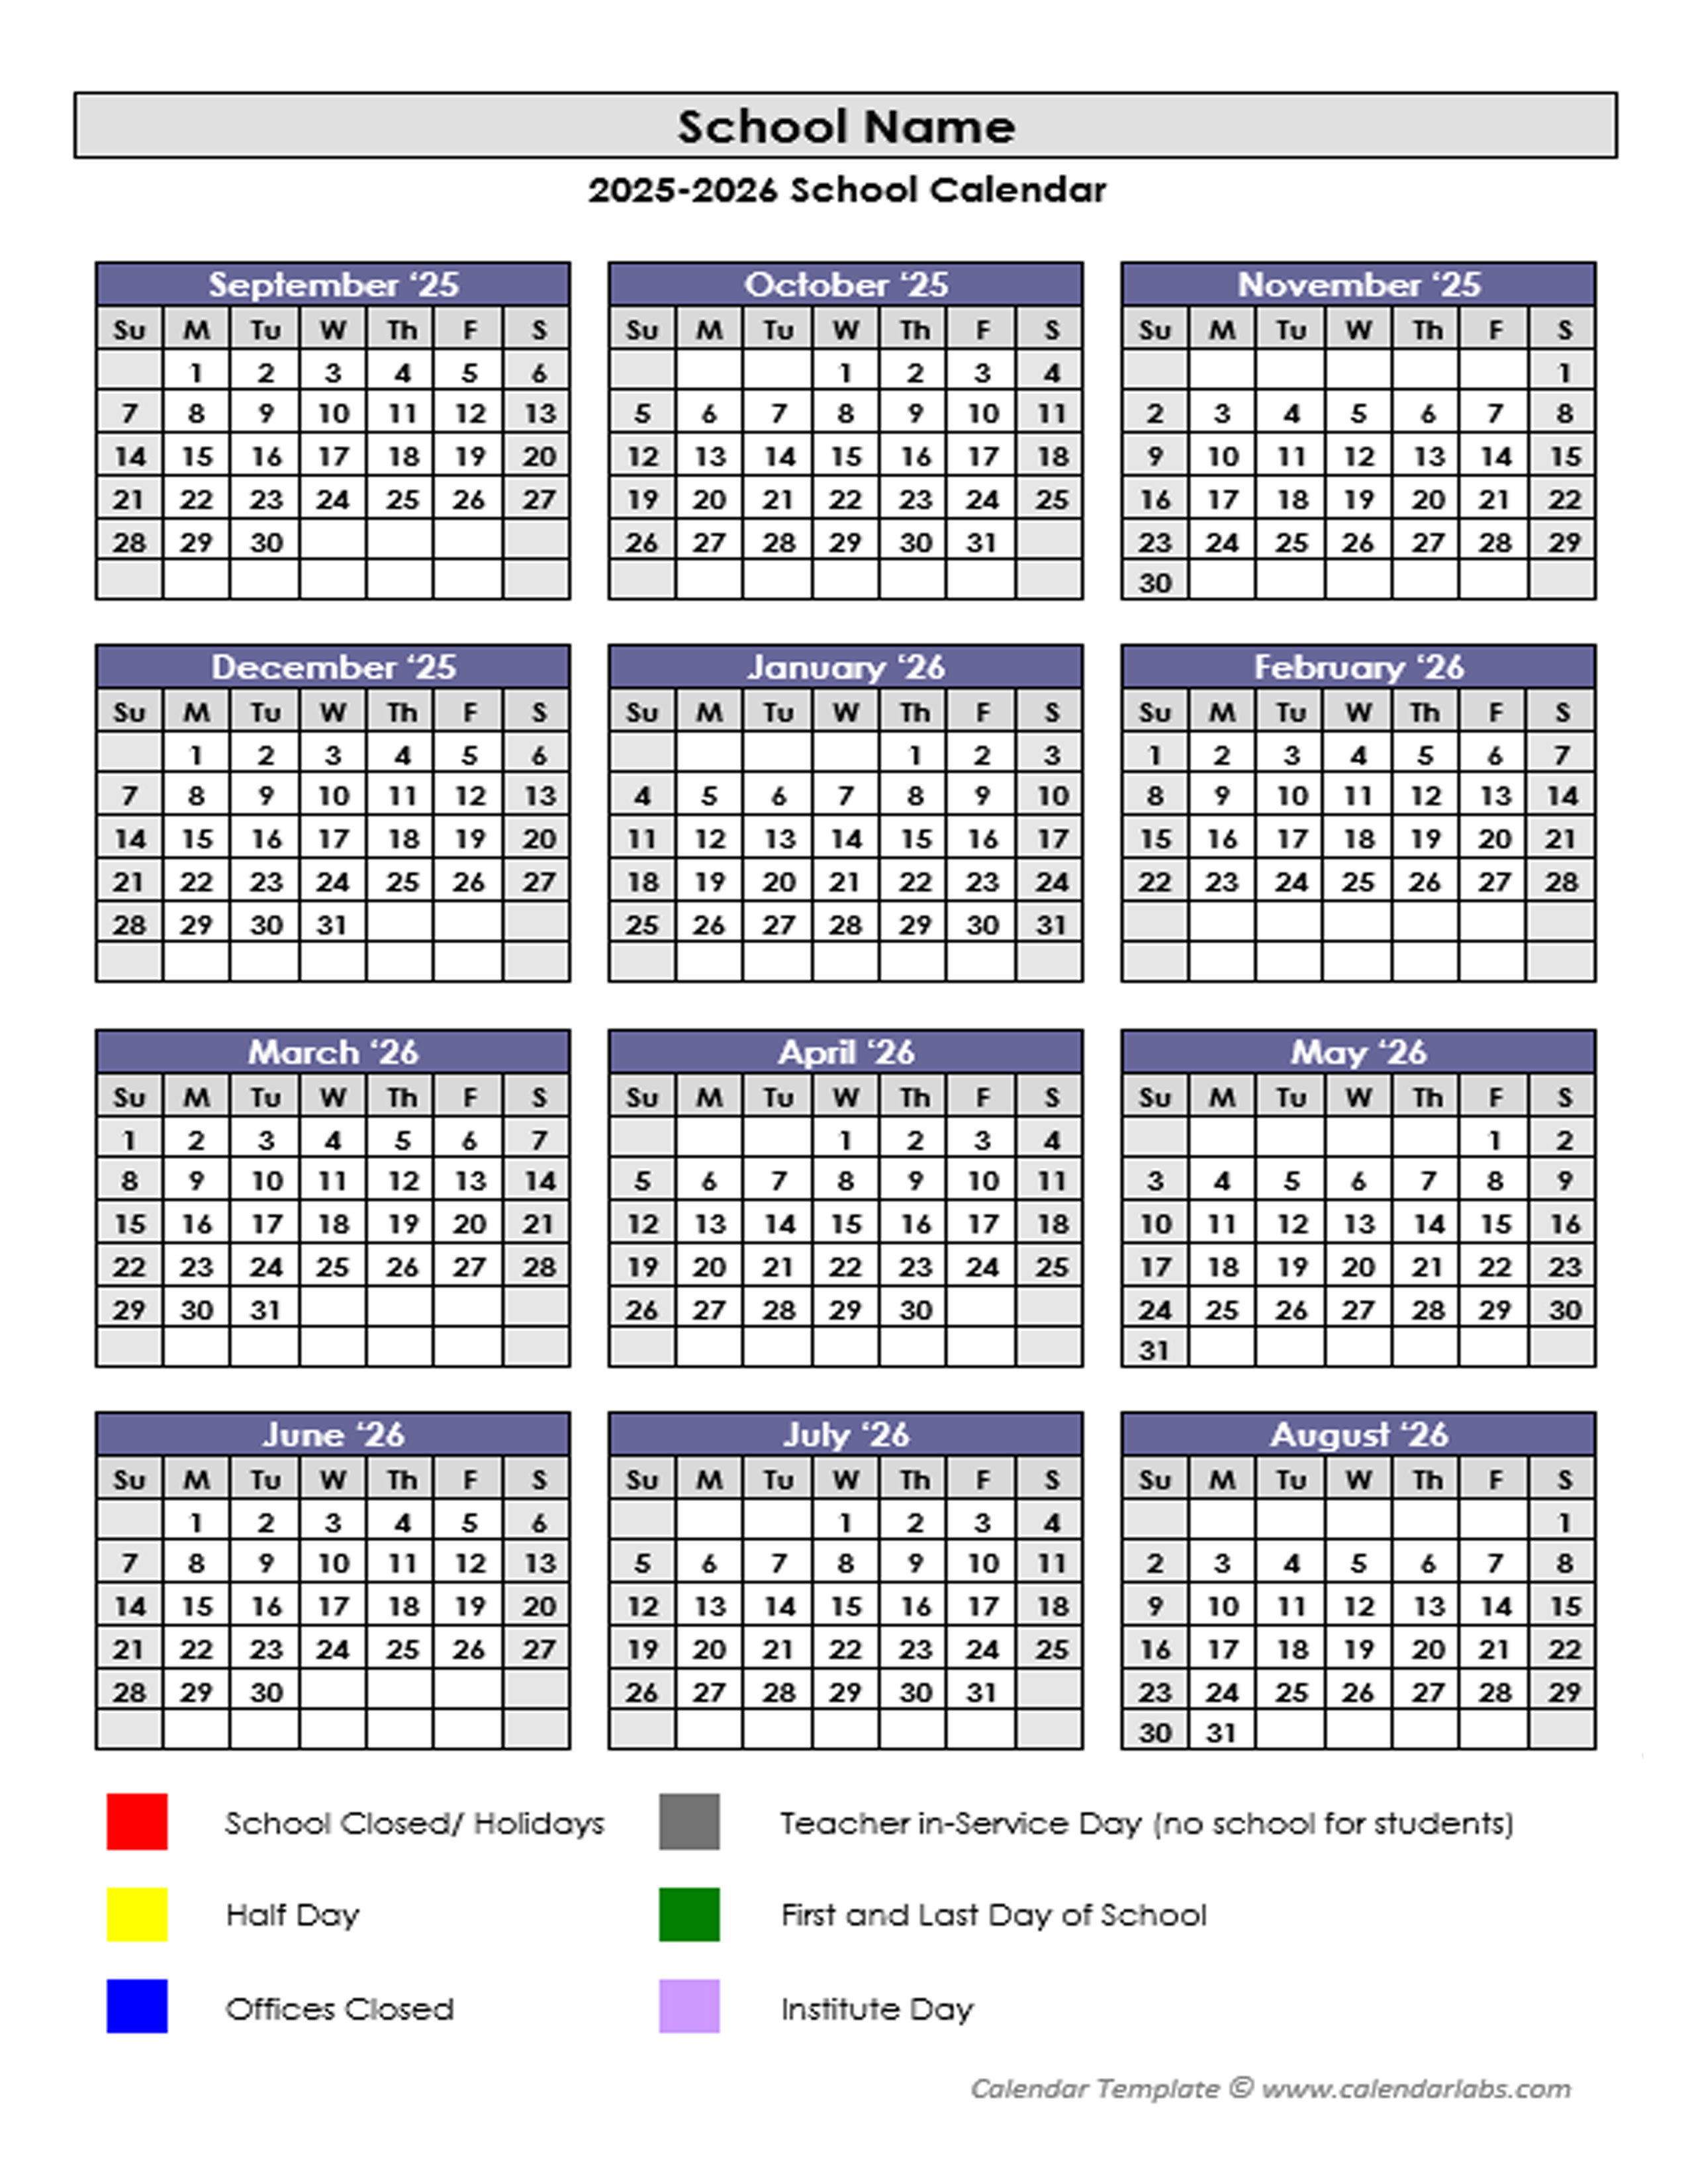
- Special Events: Mark important dates, birthdays, and anniversaries directly on the calendar.
- High-Quality Packaging: Present your finished calendar in elegant packaging to enhance its perceived value.
- Extra Pages: Include additional pages for notes, contact information, or other relevant information.
By following this comprehensive guide, you can create a stunning, personalized photo calendar that captures your memories and showcases your design skills. Remember, attention to detail at every stage – from photo selection to final printing – is key to achieving "Finest Ultimate Prime" results. Your finished calendar will be a cherished keepsake, a testament to your creativity and a beautiful reminder of the year gone by.


Closure
Thus, we hope this article has provided valuable insights into Crafting the Ultimate Photo Calendar: A 2000-Word Guide to Finest Prime Results. We thank you for taking the time to read this article. See you in our next article!