Mastering Date Input: Implementing Drop-Down Calendars in Excel (Finest Ultimate Prime)
Related Articles: Mastering Date Input: Implementing Drop-Down Calendars in Excel (Finest Ultimate Prime)
Introduction
With great pleasure, we will explore the intriguing topic related to Mastering Date Input: Implementing Drop-Down Calendars in Excel (Finest Ultimate Prime). Let’s weave interesting information and offer fresh perspectives to the readers.
Table of Content
Mastering Date Input: Implementing Drop-Down Calendars in Excel (Finest Ultimate Prime)
Excel, even in its most advanced iterations like Finest Ultimate Prime (assuming this refers to a highly featured version), lacks a built-in drop-down calendar control for direct cell input. However, achieving this desired functionality is entirely possible through a combination of techniques, ranging from simple data validation to more complex VBA solutions. This article will explore several methods, progressing from the easiest to the most sophisticated, allowing you to choose the approach best suited to your skills and needs.
Method 1: Data Validation with a List (Simple, Limited Functionality)
This is the simplest method, suitable for situations where you need a basic date selection within a predetermined range. It doesn’t offer the visual appeal of a calendar, but it provides a drop-down list of dates for selection.
-
Create a Date List: First, you need a list of dates. You can manually type them, but for larger ranges, use a formula. In a hidden column (e.g., Column Z), enter the starting date in the first cell (e.g., Z1). In the cell below (Z2), enter the formula
=Z1+1and drag it down to cover your desired date range. Format this column as "Date" to ensure proper display. -
Apply Data Validation: Select the cell where you want the drop-down calendar. Go to the "Data" tab and click "Data Validation."
-
Set Validation Criteria: In the "Settings" tab, under "Allow," choose "List." In the "Source" box, select the range containing your dates (e.g.,
=$Z$1:$Z$365for a year’s worth of dates). You can also directly type the range here, separated by commas if needed. Click "OK." -
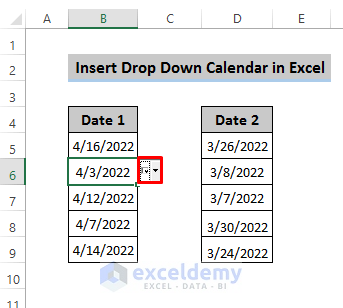
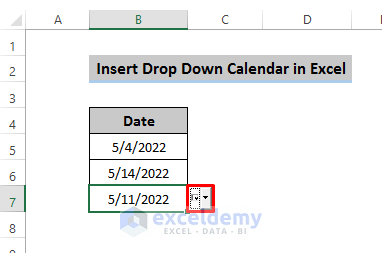
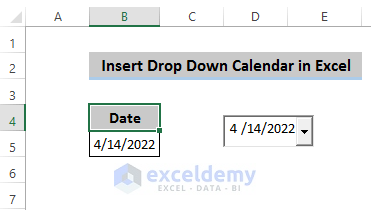
Testing: Now, clicking the cell will reveal a drop-down list containing the dates you specified.
Limitations: This method is limited by the pre-defined date range. Adding or removing dates requires updating the list. It also lacks the visual calendar interface.
Method 2: Using a UserForm (Intermediate, Customizable)
This method leverages VBA to create a custom userform with a calendar control. It provides a more user-friendly experience but requires some VBA programming knowledge.
-
Open VBA Editor: Press Alt + F11 to open the VBA editor.
-
Insert a UserForm: In the VBA editor, go to "Insert" > "UserForm."
-
Add Controls: From the Toolbox (View > Toolbox), drag and drop the following controls onto the UserForm:
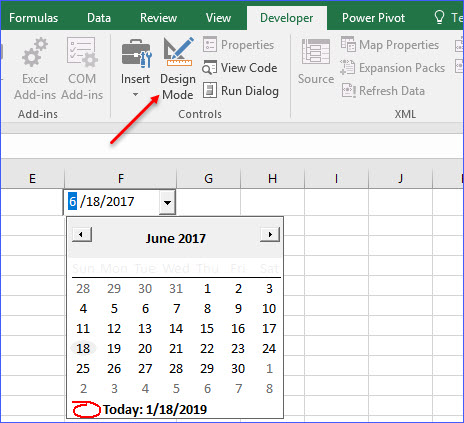
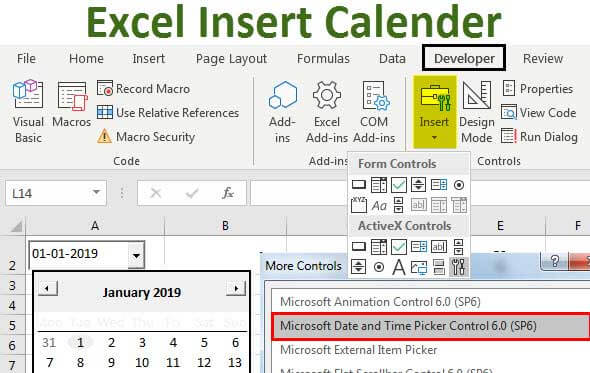
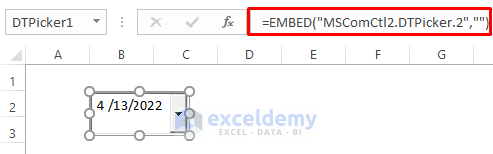
- Calendar Control: This is crucial. You might need to add the Microsoft Windows Common Controls 6.0 (SP6) reference if it’s not already available (Tools > References).
- Command Button: This will be used to close the form after date selection.
- Label (Optional): For a title or instructions.
-
Write VBA Code: Double-click the Command Button. The code editor will open. Paste the following code, modifying the
TargetCellvariable to match the cell where you want the date to be inserted:
Private Sub CommandButton1_Click()
    Dim TargetCell As Range
    Set TargetCell = ThisWorkbook.Sheets("Sheet1").Range("A1") ' Change "Sheet1" and "A1" as needed
    TargetCell.Value = Calendar1.Value
    Unload Me
End Sub-
Run the UserForm: Go back to your Excel sheet. You can run the UserForm by assigning a macro to a button or using a shortcut. For example, you can create a button and assign the macro
UserForm1.Showto it. -
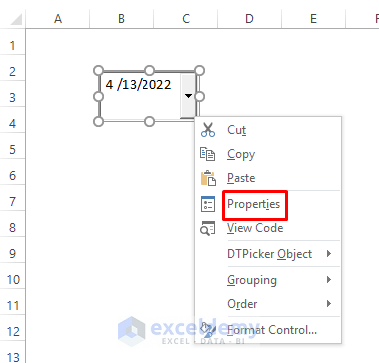
Customization: You can customize the UserForm’s appearance (font, size, color) and add more features as needed.
Method 3: Leveraging Third-Party Add-ins (Advanced, Feature-Rich)
Several third-party add-ins offer advanced calendar controls with features not readily available through standard Excel functionality or VBA. These often provide enhanced visual appeal, date formatting options, and integration with other features. Research and choose an add-in that suits your needs and budget. Many offer free trials. Installation instructions vary depending on the specific add-in.
Method 4: Combining Data Validation and VBA for Enhanced Functionality (Advanced)
This method combines the simplicity of data validation with the customizability of VBA to create a more robust solution. It allows for date validation while still offering a calendar-like experience.
-
Data Validation Setup: Set up data validation as described in Method 1, but instead of a long list of dates, use a smaller range (e.g., a few months).
-
VBA for Extended Range: Create a VBA userform with a calendar control (as in Method 2). However, instead of directly populating the cell, use the selected date to update the data validation list dynamically. This requires more complex VBA code to interact with the data validation settings.
-
Code Example (Conceptual): The code would need to:
- Show the calendar userform.
- Upon date selection, retrieve the selected date.
- Update the data validation source range to include the selected date and a surrounding range (e.g., the current month).
- Refresh the data validation drop-down.
- Close the userform.
This approach requires significant VBA programming expertise to handle dynamic data validation updates efficiently.
Choosing the Right Method:
-
Method 1 (Data Validation List): Best for simple scenarios with a limited, pre-defined date range. Easy to implement but lacks visual appeal and flexibility.
-
Method 2 (UserForm): Provides a more user-friendly calendar experience but requires VBA programming knowledge. Offers good customization options.
-
Method 3 (Third-Party Add-ins): Ideal for advanced features and visual appeal, but involves using external software and may incur costs.
-
Method 4 (Data Validation + VBA): The most complex but provides a balance between user experience and efficient resource utilization. Requires advanced VBA skills.
Remember to always back up your Excel file before implementing VBA code or installing add-ins. Thoroughly test your solution after implementation to ensure it functions correctly and meets your requirements. The choice of method depends heavily on your technical skills and the complexity of your date input needs. Start with the simplest method and progress to more advanced techniques as needed.

Closure
Thus, we hope this article has provided valuable insights into Mastering Date Input: Implementing Drop-Down Calendars in Excel (Finest Ultimate Prime). We appreciate your attention to our article. See you in our next article!