Mastering Time Zones in Outlook Calendar: A Finest, Magnificent, Coruscating Guide
Related Articles: Mastering Time Zones in Outlook Calendar: A Finest, Magnificent, Coruscating Guide
Introduction
With enthusiasm, let’s navigate through the intriguing topic related to Mastering Time Zones in Outlook Calendar: A Finest, Magnificent, Coruscating Guide. Let’s weave interesting information and offer fresh perspectives to the readers.
Table of Content
Mastering Time Zones in Outlook Calendar: A Finest, Magnificent, Coruscating Guide

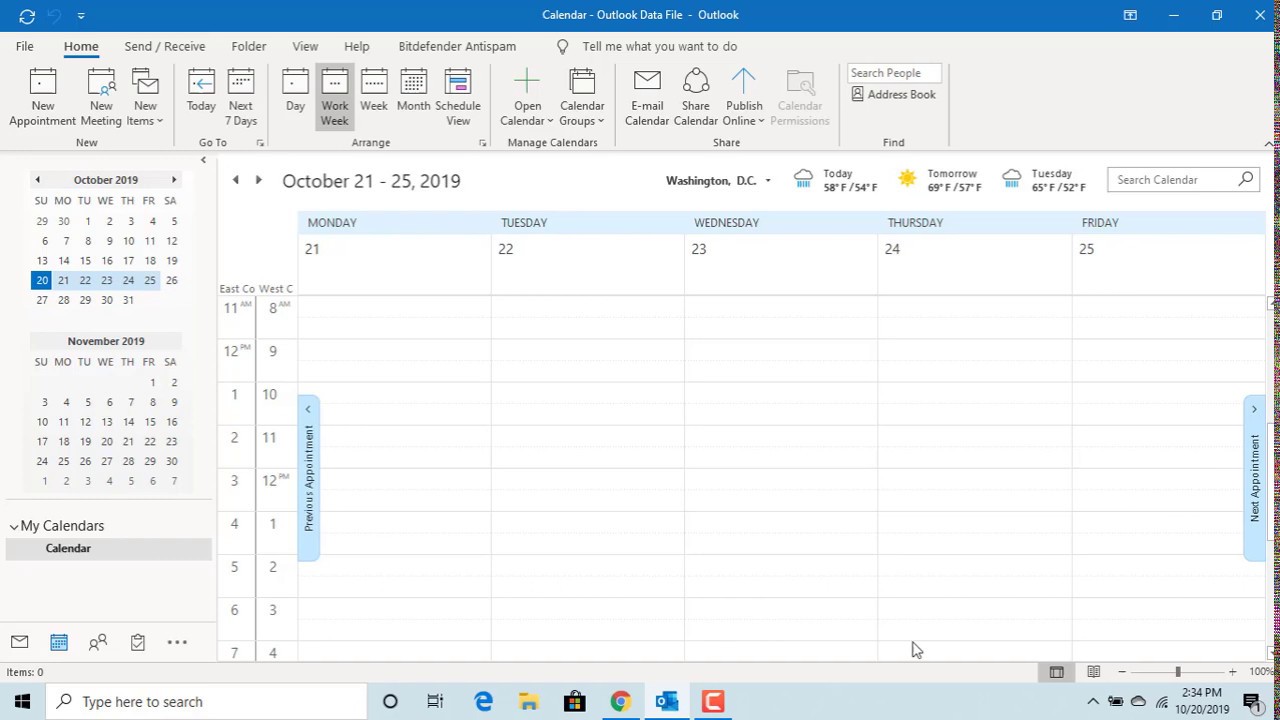
Navigating the complexities of scheduling across time zones can be a frustrating experience, leading to missed meetings and scheduling conflicts. However, Outlook’s calendar features offer robust tools to manage time zones effectively, ensuring your appointments are accurately reflected for everyone involved, regardless of their location. This comprehensive guide will illuminate the finest, most magnificent, and coruscating aspects of managing time zones within your Outlook calendar, transforming your scheduling from a source of stress to a smoothly functioning, meticulously organized system.
I. Understanding the Fundamentals: Time Zones and Outlook’s Role
Before diving into the specifics of manipulating time zones within Outlook, it’s crucial to grasp the underlying principles. Outlook, by default, uses your operating system’s time zone setting. This means your calendar displays times according to your local time. However, when scheduling meetings with individuals in different time zones, Outlook needs to accurately translate these times to ensure everyone understands when the meeting is actually taking place in their local time.
Outlook achieves this through a combination of:
-
Your Time Zone Setting: This is the foundation. Ensure your operating system’s time zone is correctly configured. Incorrect settings will cascade into inaccurate calendar displays and invitations.
-
Recipient Time Zones: Outlook retrieves the time zone information of the recipients you invite to meetings. This information is usually drawn from their Outlook profile or their email server settings.
-
Time Zone Conversion: The core functionality. Outlook automatically converts the meeting time you set to the correct local time for each recipient, displaying it accurately in their calendar invitations.
II. Setting Your Time Zone in Outlook:
The first and most critical step is ensuring your Outlook time zone is accurate. An incorrect setting will render all subsequent time zone management efforts futile.
-
Access Outlook Options: Depending on your Outlook version (Outlook 2016, 2019, 365, etc.), the exact steps may vary slightly. Generally, you’ll find this under "File" > "Options" (or similar).
-
Navigate to Calendar Options: Within the Outlook Options window, locate and select "Calendar."
-
Time Zone Settings: You should find a section dedicated to time zone settings. Here, you’ll typically have a dropdown menu allowing you to select your current time zone from a comprehensive list. Choose the time zone that accurately reflects your location.
-
Apply Changes: Save the changes and close the Options window. Outlook will now use this time zone as its default for all calendar entries.
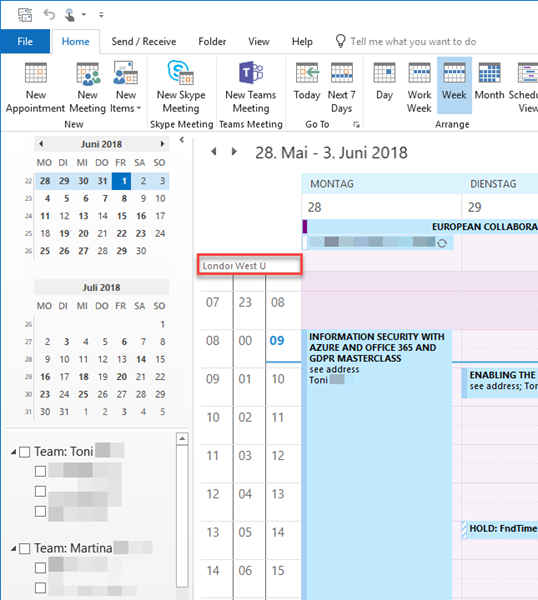
III. Adding Time Zones to Calendar Appointments and Meetings:
This is where the true power of Outlook’s time zone management shines. Let’s explore how to handle time zones during the scheduling process:
A. Creating a New Appointment with Specific Time Zones:
-
Create a New Appointment: Start by creating a new appointment in the usual manner.
-
Adding Attendees: Add the recipients of the meeting, ensuring their email addresses are correctly entered. Outlook will attempt to retrieve their time zone information.
-
Time Zone Display: As you enter the meeting time, Outlook will automatically display the time in your local time zone. However, it will also display the time in the local time zones of your attendees. This is crucial for clarity.
-
Manual Time Zone Override (if necessary): In certain circumstances, Outlook might not correctly identify an attendee’s time zone. In such cases, you might need to manually specify their time zone. This is usually done by clicking on the attendee’s name and selecting their correct time zone from a menu. This feature varies slightly depending on your Outlook version.
-
Sending the Invitation: Once you’re satisfied with the time and time zone displays, send the meeting invitation. Each recipient will receive an invitation displaying the meeting time in their local time.
B. Working with Existing Appointments and Meetings:
If you need to modify an existing appointment’s time zone information, the process is similar:
-
Open the Appointment: Double-click the appointment to open it for editing.
-
Modify Attendees: Add or remove attendees as needed. Outlook will automatically update the time zone display for the new attendees.
-
Adjust Meeting Time: Change the meeting time, and Outlook will automatically adjust the time for all attendees based on their respective time zones.
-
Update the Invitation: After making the changes, update the meeting invitation to reflect the modifications. This ensures all attendees receive the corrected information.
IV. Troubleshooting Common Time Zone Issues:
Despite Outlook’s robust time zone management, occasional issues might arise. Here are some common problems and their solutions:
-
Incorrect Time Zone Display: If an attendee’s time zone is displayed incorrectly, verify their time zone settings in their Outlook profile. They might need to adjust their own time zone settings within Outlook or their email client.
-
Missing Time Zone Information: If Outlook fails to retrieve an attendee’s time zone, you might need to manually specify it as described above.
-
Daylight Saving Time Discrepancies: Ensure your operating system and Outlook are correctly configured to handle daylight saving time transitions. Inconsistencies here can lead to scheduling errors.
-
Outdated Outlook Version: An outdated Outlook version might lack the latest time zone data. Updating to the latest version is often a solution to many time zone-related problems.
-
Server-Side Issues: In rare cases, problems might stem from the email server’s inability to accurately communicate time zone information. Contact your IT support if you suspect this is the case.
V. Advanced Techniques: Utilizing World Clocks and Time Zone Converters:
For enhanced time zone management, consider leveraging additional tools:
-
World Clock Add-ins: Several add-ins are available that integrate a world clock directly into your Outlook interface. These provide a visual representation of different time zones, simplifying time comparisons and reducing the risk of errors.
-
Online Time Zone Converters: Numerous websites offer free time zone converters. These tools can be invaluable for quickly determining the equivalent time in different locations before scheduling meetings.
VI. Conclusion: A Coruscatingly Efficient Scheduling System
Mastering time zone management in Outlook elevates your scheduling from a potentially chaotic process to a finely tuned, efficient system. By understanding the fundamentals, correctly configuring your settings, and utilizing the advanced features described above, you can ensure all your meetings and appointments are accurately scheduled and communicated, regardless of the geographical locations of the participants. Embrace these techniques, and experience the finest, most magnificent, and coruscating organization your calendar has ever known. The elimination of time zone-related scheduling conflicts will free up valuable time and significantly reduce stress, allowing you to focus on the substance of your meetings rather than the logistical hurdles. By following this guide, you’ll transform your Outlook calendar into a truly powerful and efficient tool for global collaboration.


![]()
Closure
Thus, we hope this article has provided valuable insights into Mastering Time Zones in Outlook Calendar: A Finest, Magnificent, Coruscating Guide. We appreciate your attention to our article. See you in our next article!