Mastering Outlook Calendar: A Spectacular, Breathtaking, and Splendid Guide to Adding Tasks
Related Articles: Mastering Outlook Calendar: A Spectacular, Breathtaking, and Splendid Guide to Adding Tasks
Introduction
With great pleasure, we will explore the intriguing topic related to Mastering Outlook Calendar: A Spectacular, Breathtaking, and Splendid Guide to Adding Tasks. Let’s weave interesting information and offer fresh perspectives to the readers.
Table of Content
Mastering Outlook Calendar: A Spectacular, Breathtaking, and Splendid Guide to Adding Tasks

Microsoft Outlook’s calendar isn’t just for scheduling appointments; it’s a powerful task management tool when used effectively. This comprehensive guide will transform your Outlook calendar from a simple scheduling aid into a spectacular, breathtaking, and splendid personal and professional productivity powerhouse. We’ll explore various methods for adding tasks, customizing their appearance, and leveraging advanced features to streamline your workflow. Prepare to be amazed by the untapped potential of your Outlook calendar!
Part 1: The Fundamentals – Adding Tasks Directly to the Calendar
The simplest way to add tasks to your Outlook calendar is directly within the calendar view. This method is ideal for quick task additions, especially those linked to specific dates or times.
Method 1: Using the "New Task" Feature
-
Navigate to your Calendar: Open Outlook and select the "Calendar" view.
-
Locate the "New Task" Button: This button’s location might vary slightly depending on your Outlook version, but it’s usually found in the "Home" tab, often within a group labeled "New." It might be represented by a small icon depicting a task or a plus sign (+).
-
Click "New Task": Clicking this button opens a new task window.
-
Populate the Task Details: This window allows you to input crucial information:
- Subject: A concise and descriptive title for your task.
- Start Date and Time: Specify when the task should ideally begin. Leave these blank for tasks without a specific start time.
- Due Date and Time: Set a deadline for task completion. This is arguably the most important field for effective task management.
- Reminder: Set a reminder to alert you before the task’s due date or start time. Choose the appropriate time interval (e.g., 15 minutes, 1 hour, 1 day).
- Status: Mark the task as "Not Started," "In Progress," "Completed," or "Deferred," depending on its current state.
- Categories: Assign categories to group similar tasks (e.g., "Work," "Personal," "Projects"). This allows for efficient filtering and organization.
- Priority: Set the task’s priority level (e.g., High, Normal, Low) to highlight urgent items.
- Assigned To: If the task is delegated to someone else, enter their name or email address.
- Location: Add a location if the task requires it (e.g., "Conference Room A").
- Attachments: Attach relevant documents or files.
-
Save the Task: Click "Save & Close" to add the task to your calendar.
Method 2: Using the "New Appointment" Feature (for Time-Bound Tasks)
While primarily for appointments, the "New Appointment" feature can also be used for tasks with specific time allocations. The key difference is that appointments typically involve scheduled meetings or events, while tasks represent individual work items. However, if a task requires a dedicated block of time, this approach is beneficial. The process is similar to creating a new task, but you’ll define a start and end time, essentially reserving that time slot for the task.
Part 2: Enhancing Task Management with Advanced Techniques
The basic methods are excellent for simple tasks, but Outlook offers more sophisticated features for complex projects and workflows.
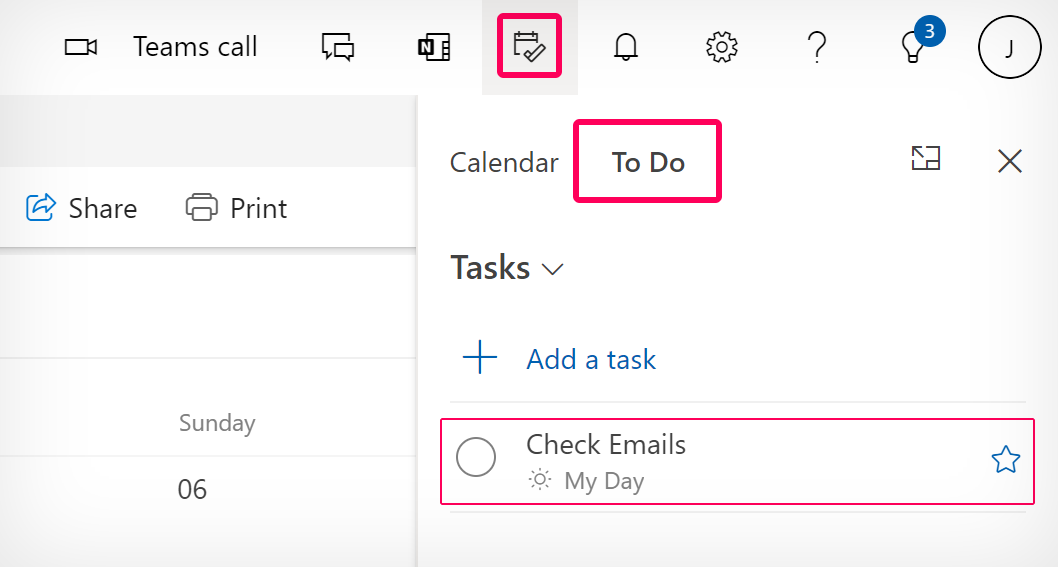
Method 3: Leveraging the Tasks Pane
Outlook’s Tasks pane provides a dedicated space for managing all your tasks, regardless of how they were added.
-
Open the Tasks Pane: This is usually accessed via the "View" tab, where you’ll find an option to show or hide the "To-Do Bar" or "Tasks Pane."
-
Add Tasks Directly to the Pane: The Tasks pane allows you to add new tasks without navigating to the calendar view. You’ll typically find an "Add New Task" button within the pane itself.
-
Organize Tasks: The Tasks pane offers various views (e.g., list, table) and sorting options (e.g., by due date, priority) to customize your task management experience.
-
Flagging for Importance: Mark tasks with flags to visually highlight their importance or urgency. This is particularly useful for quickly identifying critical tasks within a large list.
Method 4: Integrating with To-Do Lists and Other Applications
Outlook can seamlessly integrate with other task management applications or to-do lists. This allows you to consolidate all your tasks in one central location. Many apps offer Outlook plugins or synchronization options. Check the settings of your preferred to-do app for integration instructions.
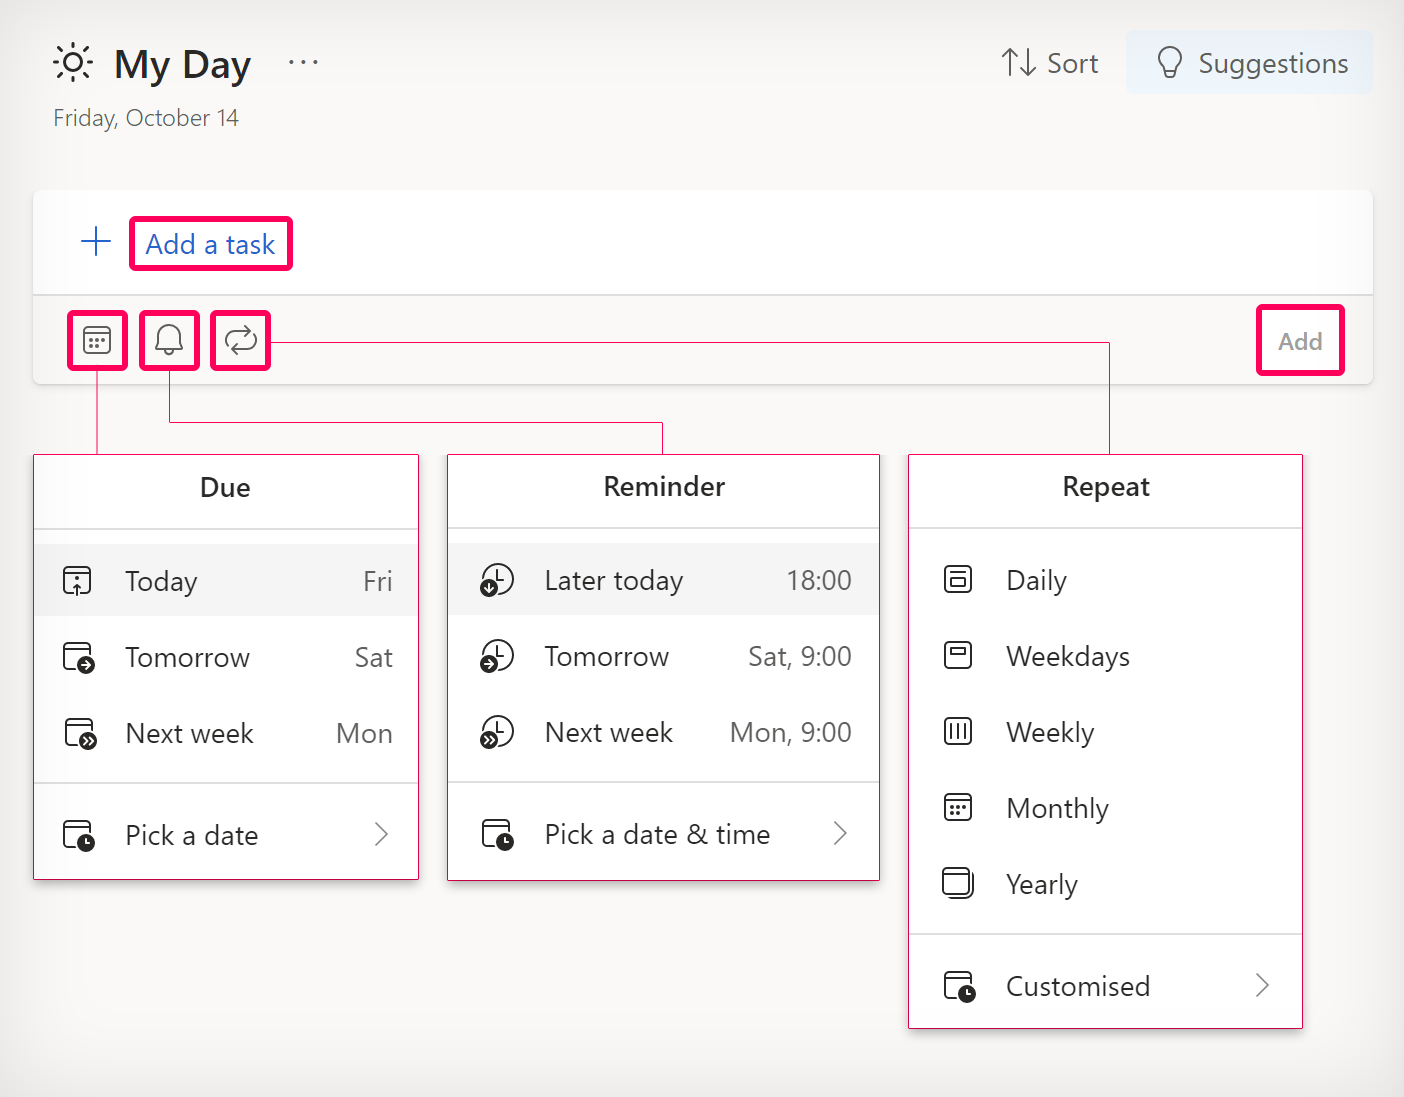
Method 5: Utilizing Recurring Tasks
For repetitive tasks, set up recurring tasks to save time and ensure consistency.
-
Create a New Task: Follow the steps in Method 1.
-
Set Recurrence: In the task window, find the "Recurrence" option. This allows you to specify how often the task should repeat (e.g., daily, weekly, monthly). You can customize the recurrence pattern to fit your needs.
-
Define Recurrence End Date: Specify when the recurring task should stop repeating. This prevents tasks from accumulating indefinitely.
Part 3: Customizing Your Outlook Calendar for Spectacular Task Management
Optimizing the visual presentation of your tasks significantly enhances productivity.
1. Categorization and Color-Coding: Assign categories to your tasks and color-code them for quick visual identification. This allows you to instantly differentiate between work, personal, and project-related tasks.
2. Custom Views: Create custom calendar views to focus on specific task categories or priority levels. This allows you to filter out less urgent items and concentrate on high-priority tasks.
3. Using Flags and Icons: Employ flags and icons to visually distinguish tasks based on their urgency or importance. This provides a rapid visual assessment of your workload.
4. Task Grouping: Group similar tasks together to improve organization and workflow efficiency. This can be done by category, priority, or due date.
5. Utilizing the Search Function: Outlook’s powerful search function allows you to quickly locate specific tasks based on keywords, categories, or due dates.
Part 4: Beyond the Basics – Advanced Techniques for Breathtaking Efficiency
To achieve breathtaking efficiency, explore these advanced techniques:
1. Task Dependencies: For complex projects, establish dependencies between tasks to ensure a logical workflow. This prevents starting tasks prematurely before their prerequisites are complete.
2. Custom Fields: Add custom fields to your tasks to capture additional information relevant to your workflow. This might include project names, client names, or specific task instructions.
3. Sharing Tasks: Share tasks with colleagues to facilitate collaboration and ensure accountability. This is particularly beneficial for team projects.
4. Integrating with Project Management Software: For larger projects, integrate Outlook with dedicated project management software to leverage more advanced features like Gantt charts and resource allocation tools.
5. Regular Review and Optimization: Regularly review your task management system to identify areas for improvement. Adjust your categories, views, and workflows to optimize your productivity.
Conclusion: A Splendidly Organized Future
By mastering these techniques, you’ll transform your Outlook calendar into a spectacular, breathtaking, and splendid task management system. From simple task additions to complex project planning, Outlook offers the tools you need to achieve peak productivity. Remember that consistent application and periodic optimization are key to reaping the full benefits of this powerful tool. Embrace the potential, and watch your productivity soar to new heights!


Closure
Thus, we hope this article has provided valuable insights into Mastering Outlook Calendar: A Spectacular, Breathtaking, and Splendid Guide to Adding Tasks. We appreciate your attention to our article. See you in our next article!