Adding Shared Google Calendars to Your iPhone: A Comprehensive Guide
Related Articles: Adding Shared Google Calendars to Your iPhone: A Comprehensive Guide
Introduction
With great pleasure, we will explore the intriguing topic related to Adding Shared Google Calendars to Your iPhone: A Comprehensive Guide. Let’s weave interesting information and offer fresh perspectives to the readers.
Table of Content
Adding Shared Google Calendars to Your iPhone: A Comprehensive Guide
Staying organized in today’s fast-paced world requires efficient tools, and calendars are paramount. If you rely on Google Calendar for scheduling and collaboration, seamlessly integrating it with your iPhone is crucial. This comprehensive guide provides a conclusive, consequent, and certain method for adding shared Google calendars to your iPhone, covering various scenarios and troubleshooting potential issues. We’ll delve into the details, ensuring you have a clear and reliable process for managing all your appointments and events in one place.
Part 1: Prerequisites and Account Setup
Before embarking on the process of adding shared Google calendars to your iPhone, ensure you have the following:
-
A Google Account: This is fundamental. You need a Google account to access Google Calendar and its shared features. If you don’t have one, create a free account at accounts.google.com.
-
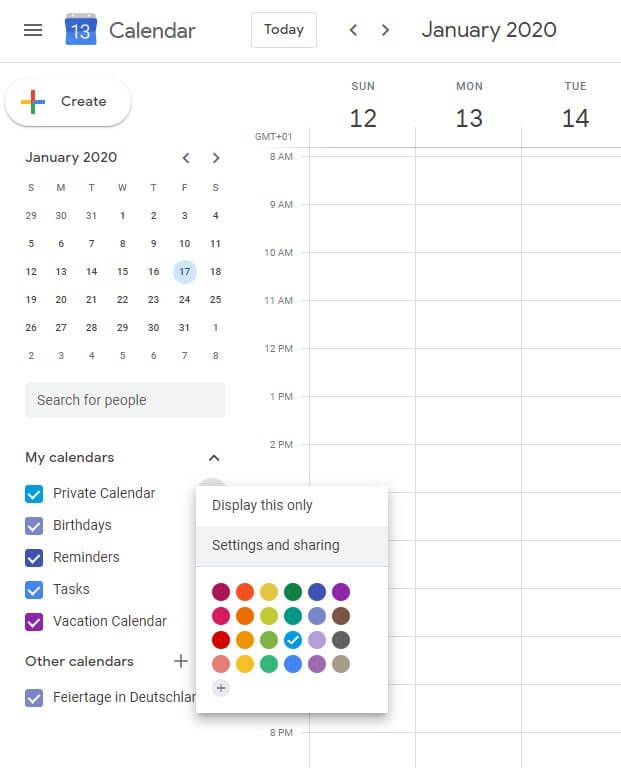
A Shared Google Calendar: The calendar you wish to add to your iPhone must already be shared with you. The owner of the calendar needs to explicitly share it with your Google account email address. They can do this through the Google Calendar web interface by clicking on the calendar’s settings (the three vertical dots) and selecting "Share with people and groups." Specify your email address and choose the appropriate permission level (view, edit, or comment).
-
The Google Calendar App (or a compatible app): While the built-in Calendar app on iPhones can sync with Google Calendar, using the official Google Calendar app often provides a smoother and more feature-rich experience. Download the Google Calendar app from the App Store if you haven’t already. Other calendar apps, like Outlook or Fantastical, also support Google Calendar integration, but the steps might vary slightly. This guide primarily focuses on the Google Calendar app and the built-in iOS Calendar app.
-
A Stable Internet Connection: Syncing calendars requires a reliable internet connection (Wi-Fi or cellular data). Ensure your iPhone is connected to the internet throughout the process.
Part 2: Adding Shared Calendars to the Google Calendar App
This method is generally preferred for its seamless integration and features.
-
Open the Google Calendar App: Launch the Google Calendar app on your iPhone.
-
Ensure Proper Account Login: Verify that you’re logged into the correct Google account. If you have multiple Google accounts, make sure the account that has been granted access to the shared calendar is selected.
-
Automatic Synchronization: In most cases, shared calendars will automatically appear in the Google Calendar app after the owner has shared them with you. Give the app a few minutes to synchronize. Check the left-hand menu (usually three horizontal lines) to see if the shared calendar is listed. If it is, you’re done!
-
Manual Refresh (if necessary): If the shared calendar doesn’t appear automatically, try manually refreshing the app. You can usually do this by pulling down on the main calendar view. This forces the app to check for updates.
-
Troubleshooting: If the calendar still isn’t visible, check your internet connection and ensure the sharing settings on the Google Calendar website are correct. Verify that the email address associated with your Google Calendar app is the same as the one used for the shared calendar invitation.
Part 3: Adding Shared Calendars to the Built-in iOS Calendar App
This method utilizes the native iOS Calendar app and requires some additional configuration.
-
Open the Settings App: Navigate to the "Settings" app on your iPhone.
-
Select "Accounts & Passwords": Find and tap on "Accounts & Passwords."
-
Add Account: Tap on "Add Account" and select "Google."
-
Login to Google: Enter the credentials for the Google account that has access to the shared calendar.
-
Calendar Selection: Ensure that the "Calendars" toggle is switched on. This allows the iOS Calendar app to access your Google Calendar data. You may need to select individual calendars if you don’t want to sync all your Google calendars.
-
Synchronization: The iOS Calendar app will now begin to synchronize your Google calendars, including the shared one. This might take a few minutes. Go to the Calendar app and check if the shared calendar is visible.
-
Troubleshooting: If the shared calendar doesn’t appear, check your internet connection, ensure the Google account is correctly added, and that the "Calendars" toggle is enabled. You might need to restart your iPhone to complete the synchronization process. Double-check the sharing permissions on the Google Calendar website. If you’re still having trouble, try removing and re-adding the Google account.
Part 4: Managing Shared Calendars on Your iPhone
Once the shared calendar is added, you can manage its visibility and settings:
-
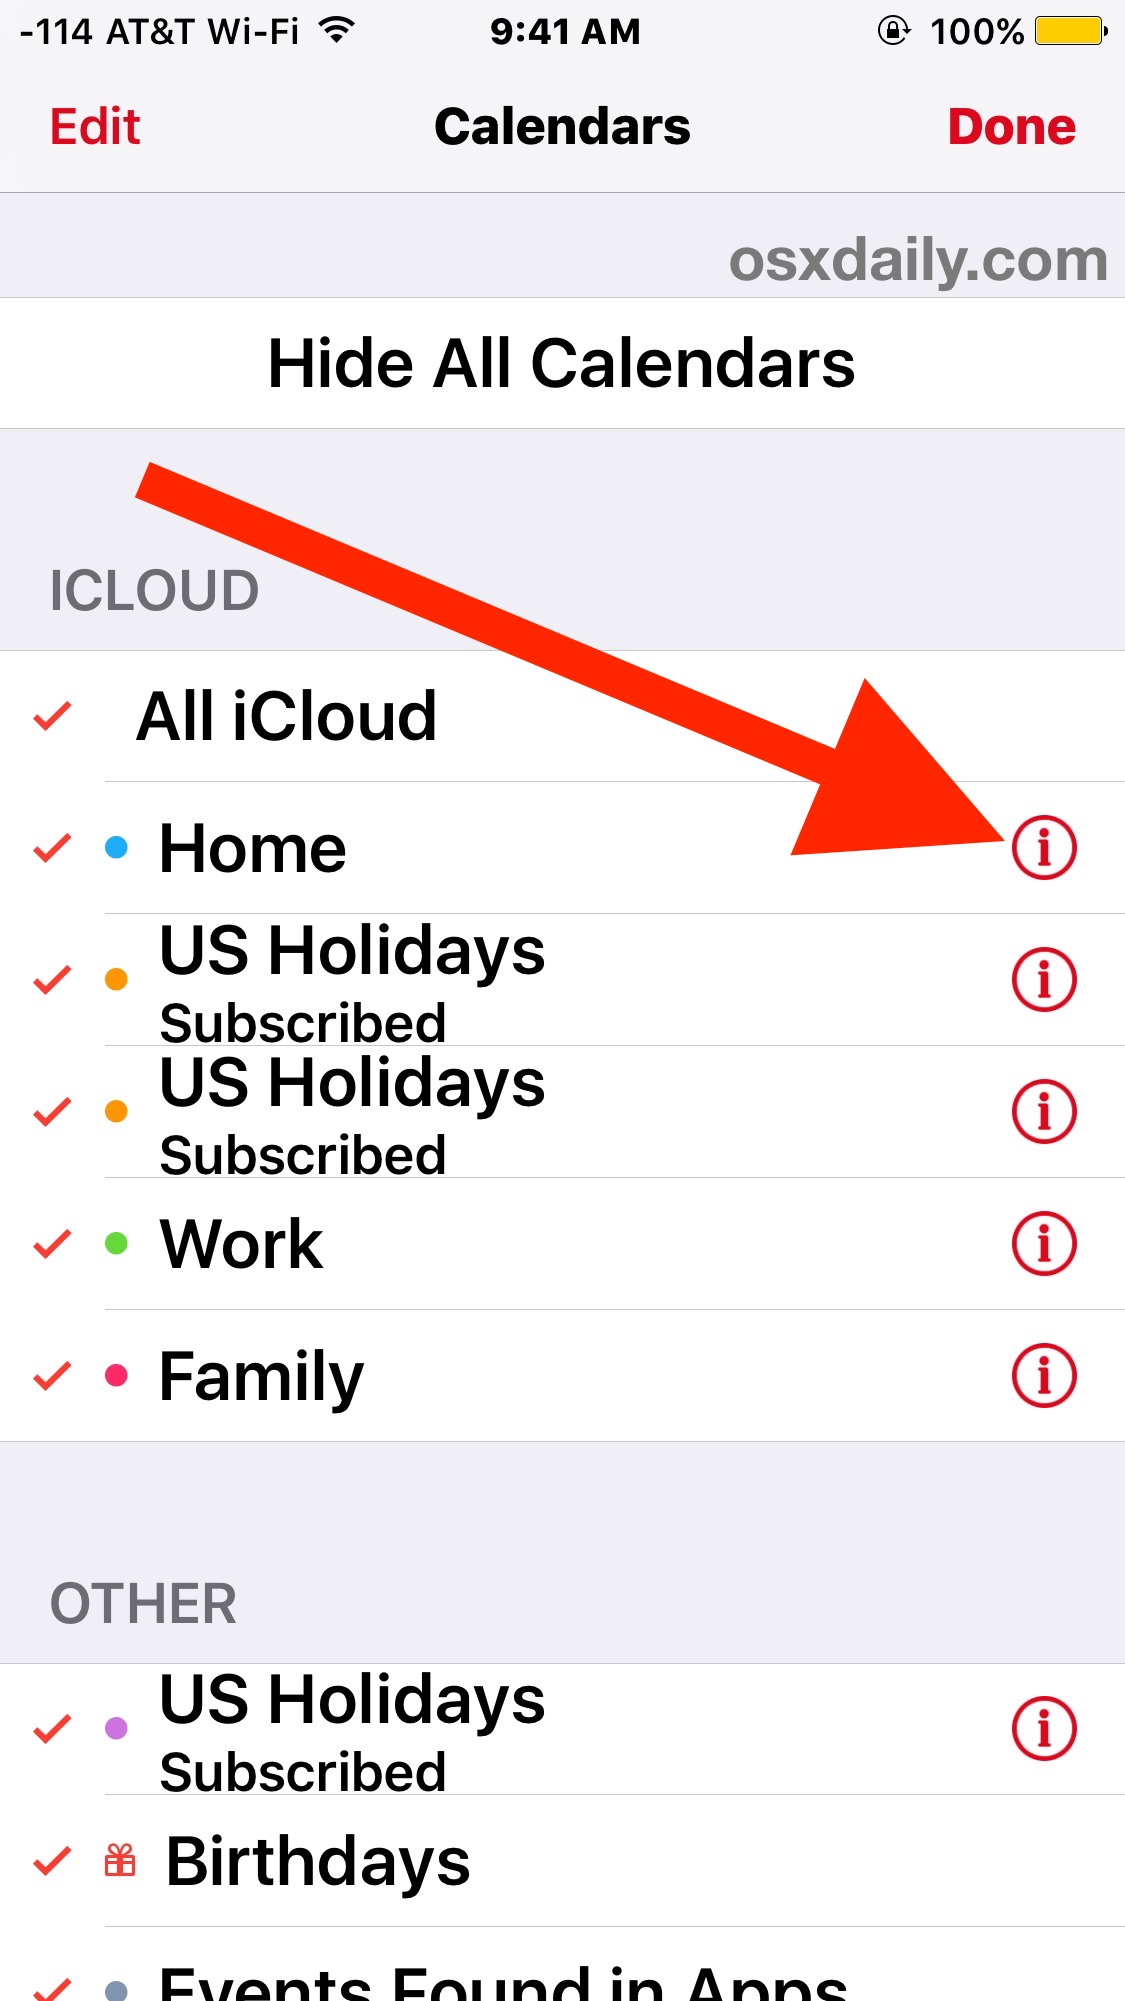
Visibility: You can choose to show or hide individual calendars within the Calendar app. Simply tap the calendar list to select or deselect the calendars you want to see.
-
Notifications: Customize notification settings for each calendar to receive alerts for upcoming events. This can be done within the Calendar app settings for each individual calendar.
-
Color Coding: Assign different colors to your calendars for easy visual distinction. This improves readability and helps you quickly identify events from specific sources.
-
Event Details: Tap on an event to view details, edit it (if you have permission), or add reminders.
Part 5: Advanced Troubleshooting and Considerations
-
Multiple Google Accounts: If you use multiple Google accounts, ensure you’re adding the shared calendar to the correct account within the iOS settings or Google Calendar app.
-
Outdated Software: Ensure your iPhone’s operating system and the Google Calendar app are updated to the latest versions. Outdated software can sometimes cause synchronization problems.
-
Firewall or VPN: If you’re using a firewall or VPN, ensure they aren’t blocking access to Google’s servers.
-
Contact Google Support: If all else fails, consider contacting Google support for assistance with troubleshooting any persistent synchronization issues.
-
Calendar Permissions: Remember that the level of access you have to a shared calendar (view, edit, comment) will determine what actions you can perform within the calendar on your iPhone.
By following these steps meticulously, you can confidently add shared Google calendars to your iPhone, ensuring a smooth and efficient workflow. Remember to check your internet connection, verify account settings, and troubleshoot potential issues using the guidance provided. With proper configuration, you’ll have all your important events and appointments readily accessible, enhancing your organizational capabilities and productivity. This comprehensive guide provides a conclusive, consequent, and certain path to successfully integrating shared Google calendars into your iPhone’s calendar system.


Closure
Thus, we hope this article has provided valuable insights into Adding Shared Google Calendars to Your iPhone: A Comprehensive Guide. We hope you find this article informative and beneficial. See you in our next article!