Mastering Google Calendar: A Comprehensive Guide to Adding New Calendars
Related Articles: Mastering Google Calendar: A Comprehensive Guide to Adding New Calendars
Introduction
In this auspicious occasion, we are delighted to delve into the intriguing topic related to Mastering Google Calendar: A Comprehensive Guide to Adding New Calendars. Let’s weave interesting information and offer fresh perspectives to the readers.
Table of Content
Mastering Google Calendar: A Comprehensive Guide to Adding New Calendars
:max_bytes(150000):strip_icc()/cal1-5b475ab8c9e77c001a2c729f-5c6ebd1346e0fb0001a0fec5.jpg)
Google Calendar is a powerful tool for managing schedules, appointments, and events. Its flexibility extends beyond personal use, proving invaluable for businesses, families, and individuals with complex scheduling needs. One of its most significant features is the ability to add multiple calendars, allowing you to compartmentalize different aspects of your life or collaborate effectively with others. This article will provide an in-depth, step-by-step guide on adding new calendars to Google Calendar, covering various scenarios and advanced customization options. We’ll explore the nuances of creating personal calendars, subscribing to shared calendars, and leveraging the power of Google’s integration with other services.
I. Adding a New Personal Calendar:
This is the most basic form of adding a calendar. It’s ideal for segregating different aspects of your life, such as work, personal appointments, family events, or hobbies. Each calendar can be individually customized with color-coding, notifications, and sharing permissions.
Step 1: Accessing the Google Calendar Interface:
Navigate to your Google Calendar using your preferred browser. Ensure you’re logged into your Google account. The interface should be familiar, showing your current events and appointments.
Step 2: Locating the "Create Calendar" Option:
On the left-hand sidebar, you’ll find a list of your existing calendars. At the bottom of this list, you should see a "+" icon or a similarly labeled button, often titled "Create calendar." Click this button to initiate the calendar creation process.
Step 3: Naming and Customizing Your New Calendar:
A pop-up window will appear, prompting you to name your new calendar. Choose a name that clearly reflects its purpose (e.g., "Work Projects," "Family Events," "Fitness Schedule"). This name will be visible to you and anyone you choose to share the calendar with.
Beyond the name, you’ll have the opportunity to customize the calendar’s appearance. You can select a color from a palette of options, making it easy to visually distinguish it from other calendars in your view. This color-coding is crucial for quick identification of events at a glance.
Step 4: Time Zone Selection (Important!):
Ensure the correct time zone is selected for your new calendar. This is particularly important if you’re collaborating with individuals in different geographical locations. Google Calendar automatically detects your time zone, but it’s wise to double-check and make any necessary corrections.
Step 5: Saving Your New Calendar:
Once you’ve completed the naming and customization process, click the "Create Calendar" button at the bottom of the pop-up window. Your new calendar will now appear in the left-hand sidebar, ready to receive events.
II. Subscribing to Shared Calendars:
Google Calendar facilitates seamless collaboration by allowing you to subscribe to calendars shared by others. This is invaluable for team projects, family coordination, or staying informed about public events.
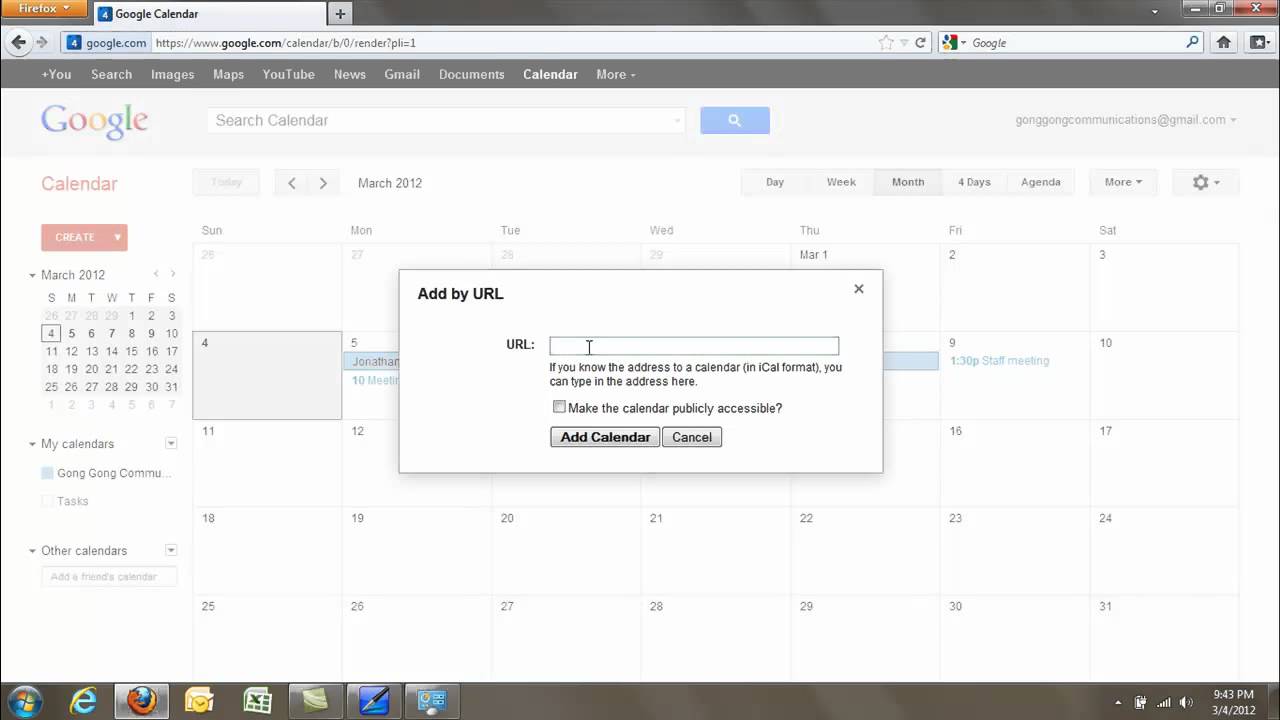
Step 1: Obtaining the Calendar’s iCal Link:
To subscribe to a shared calendar, you’ll need the calendar’s iCal link (also known as a feed URL). The person sharing the calendar should provide you with this link. It typically looks like a long string of characters starting with "https://www.google.com/calendar/ical/…".
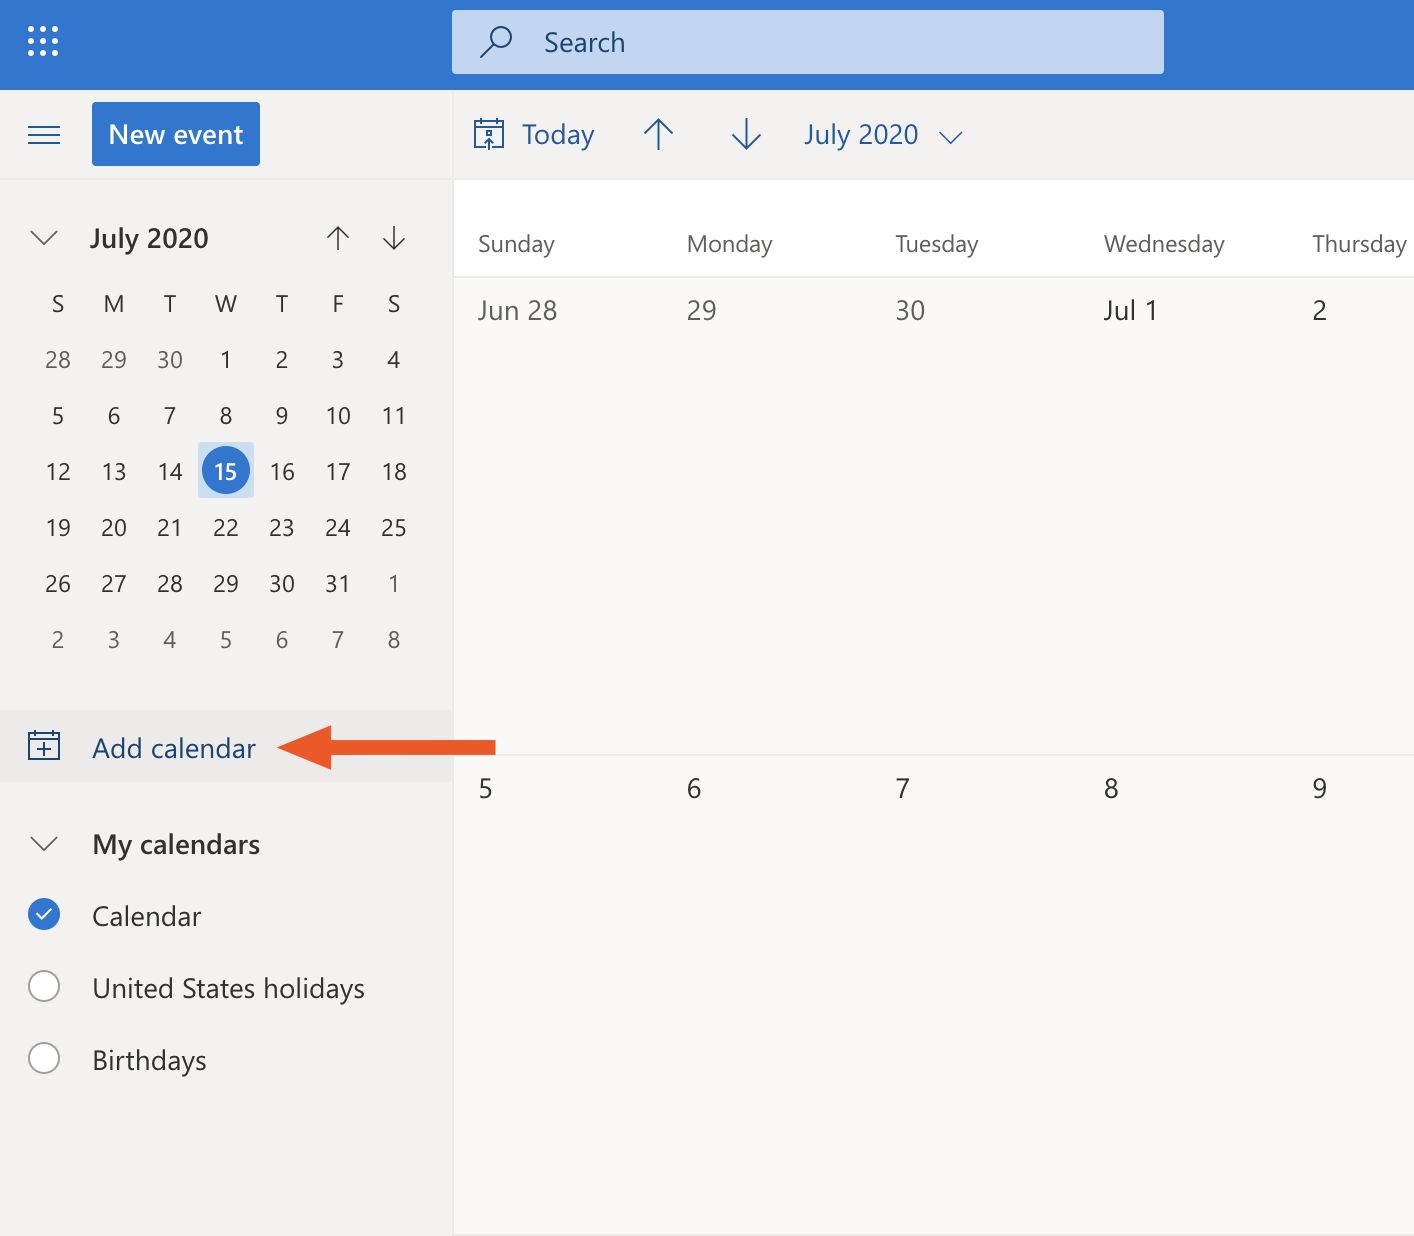
Step 2: Accessing the "Add Calendar" Option:
Similar to adding a personal calendar, locate the "+" icon or "Add calendar" button at the bottom of the left-hand sidebar. However, this time, instead of selecting "Create new calendar," choose the option labeled "From URL."
Step 3: Pasting the iCal Link:
Paste the iCal link you received into the designated field. Click the "Add calendar" button.
Step 4: Naming and Customization (Optional):
Google Calendar will automatically add the shared calendar to your sidebar. You can optionally rename it (though the original name is usually descriptive) and choose a different color for easier visual identification. However, note that you cannot change the underlying calendar settings; those are controlled by the calendar’s owner.
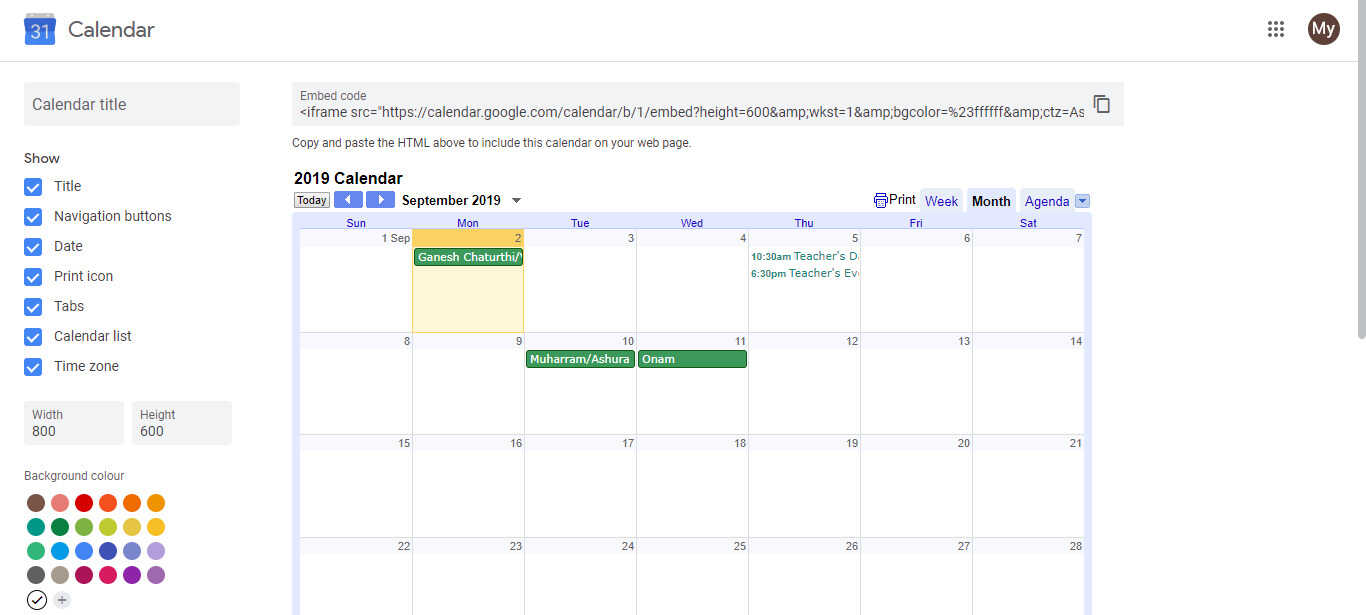
III. Integrating Other Services and Calendars:
Google Calendar’s power lies in its integration with other services and applications. You can seamlessly incorporate events from various sources, streamlining your scheduling process.
-
Importing from other Calendar providers: Google Calendar supports importing calendars from other providers like Outlook, Yahoo, and iCloud. The process usually involves exporting the calendar from the source provider as an ICS file and then importing it into Google Calendar. Consult the help documentation of your specific calendar provider for detailed instructions.
-
Integrating with Apps: Many productivity and scheduling apps integrate directly with Google Calendar. This allows you to create and manage events within those apps, with the changes automatically reflecting in your Google Calendar. Examples include task management tools, CRM systems, and project management software. Refer to the documentation of the specific app for integration instructions.
-
Utilizing Google Workspace features: If you’re using Google Workspace, you have access to even more advanced features, such as creating team calendars, resource calendars (for booking rooms or equipment), and sophisticated permission settings for granular control over calendar access.
IV. Advanced Customization and Management:
Once you’ve added multiple calendars, managing them effectively becomes crucial. Google Calendar offers several advanced features to streamline this process:
-
Notification Settings: Customize notification settings for each calendar individually. Choose the type of notifications (email, pop-up, SMS), their frequency, and the time before an event they should be triggered.
-
Sharing Permissions: Control who can view, edit, or add events to your calendars. You can choose to share calendars with specific individuals or groups, setting different permission levels for each.
-
Calendar Views: Experiment with different calendar views (day, week, month, agenda) to find the optimal view for your workflow. You can also customize the display of events, such as showing only certain calendars or highlighting specific events.
-
Color-Coding and Labeling: Consistent color-coding and clear naming conventions are essential for maintaining a well-organized calendar system. Develop a system that makes sense for your needs and stick to it.
-
Filtering and Searching: Use Google Calendar’s powerful search and filtering capabilities to quickly find specific events or appointments within your numerous calendars.
V. Troubleshooting Common Issues:
-
Calendar not appearing: Ensure you’ve correctly added the calendar and that it’s not hidden in the settings. Check your sidebar for the calendar and make sure it’s not accidentally unchecked.
-
Incorrect time zone: Double-check the time zone settings for each calendar to avoid scheduling conflicts.
-
Sharing issues: Verify the sharing permissions and ensure that the intended recipients have the necessary access rights.
-
Synchronization problems: If you’re experiencing synchronization issues, try refreshing your browser, checking your internet connection, or contacting Google support.
By mastering the art of adding and managing multiple calendars in Google Calendar, you can transform your scheduling from a chaotic jumble into a streamlined, efficient system. The ability to compartmentalize your life, collaborate effectively, and leverage the power of integration makes Google Calendar an indispensable tool for anyone seeking to optimize their time and productivity. Remember to experiment with the various settings and features to find the perfect configuration that best suits your individual needs and workflow.


Closure
Thus, we hope this article has provided valuable insights into Mastering Google Calendar: A Comprehensive Guide to Adding New Calendars. We appreciate your attention to our article. See you in our next article!