Sharing Your Calendar: A Comprehensive Guide for Seamless Collaboration
Related Articles: Sharing Your Calendar: A Comprehensive Guide for Seamless Collaboration
Introduction
With enthusiasm, let’s navigate through the intriguing topic related to Sharing Your Calendar: A Comprehensive Guide for Seamless Collaboration. Let’s weave interesting information and offer fresh perspectives to the readers.
Table of Content
Sharing Your Calendar: A Comprehensive Guide for Seamless Collaboration

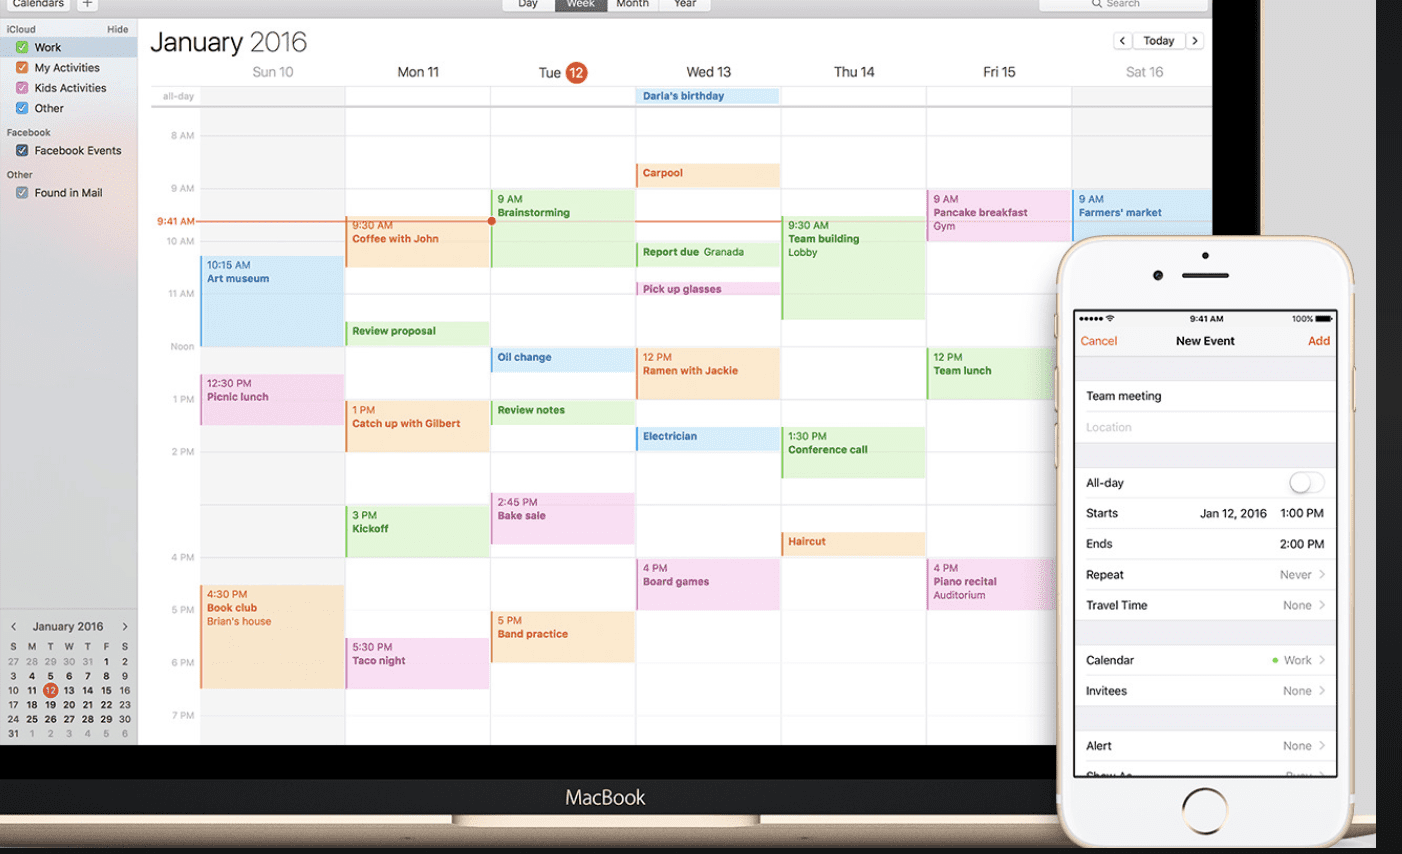
In today’s interconnected world, effective time management and collaboration are paramount. Sharing your calendar is a cornerstone of both, allowing colleagues, family, friends, and even clients to stay informed about your availability and schedule. However, the process of sharing can be surprisingly nuanced, depending on the calendar application you use and the level of access you wish to grant. This article provides a comprehensive guide to sharing your calendar, regardless of your chosen platform, ensuring you maintain control while fostering seamless collaboration.
Understanding Different Calendar Applications and Their Sharing Features:
Before diving into the specifics of sharing, it’s crucial to understand that the process varies slightly depending on your calendar application. The most popular options include:
- Google Calendar: A ubiquitous choice, offering robust sharing features and integration with other Google services.
- Microsoft Outlook Calendar: A staple for businesses using the Microsoft Office suite, providing powerful sharing capabilities and integration with other Outlook applications.
- Apple Calendar (iCal): Integrated into Apple’s ecosystem, offering seamless sharing within the Apple environment.
- Other Third-Party Calendars: Numerous other calendar applications exist, each with its own sharing mechanisms. Always consult the application’s help documentation for specific instructions.
The Key to Effective Sharing: Defining Access Levels:
Regardless of the platform, understanding access levels is crucial. You typically have several options:
-
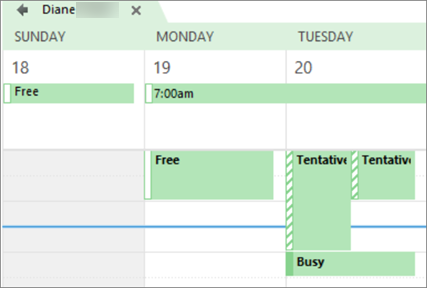
View Only: This grants recipients the ability to see your schedule but not make any changes. Ideal for sharing your availability with colleagues or clients who need to schedule meetings around your commitments.
-
Edit: This provides recipients with full control over your calendar, allowing them to add, modify, or delete events. Use this sparingly and only with trusted individuals. This level of access should be reserved for assistants or close collaborators who need to manage your schedule on your behalf.
-
Make Changes and Manage Sharing: This is the highest level of access, giving recipients complete control, including the ability to change sharing settings. Only grant this to individuals you completely trust, as they can alter who else can access your calendar.
Step-by-Step Guide to Sharing Your Calendar on Popular Platforms:
Let’s delve into the specifics of sharing your calendar on the most popular platforms:
1. Google Calendar:
- Open Google Calendar: Log into your Google account and navigate to your Google Calendar.
- Select the Calendar: Choose the calendar you wish to share (you may have multiple calendars for work, personal life, etc.).
- Click the three vertical dots: Locate the three vertical dots (more options) next to the calendar’s name in the left-hand sidebar.
- Select "Settings and sharing": This will open the settings for the chosen calendar.
- Find "Share with specific people": In the "Share with specific people" section, enter the email addresses of the individuals you want to share your calendar with.
- Choose the access level: Select the appropriate access level (View Only, Edit, or Make Changes and Manage Sharing) from the dropdown menu next to each email address.
- Click "Send": Google will send an email invitation to the recipients. They will need to accept the invitation to view your calendar.
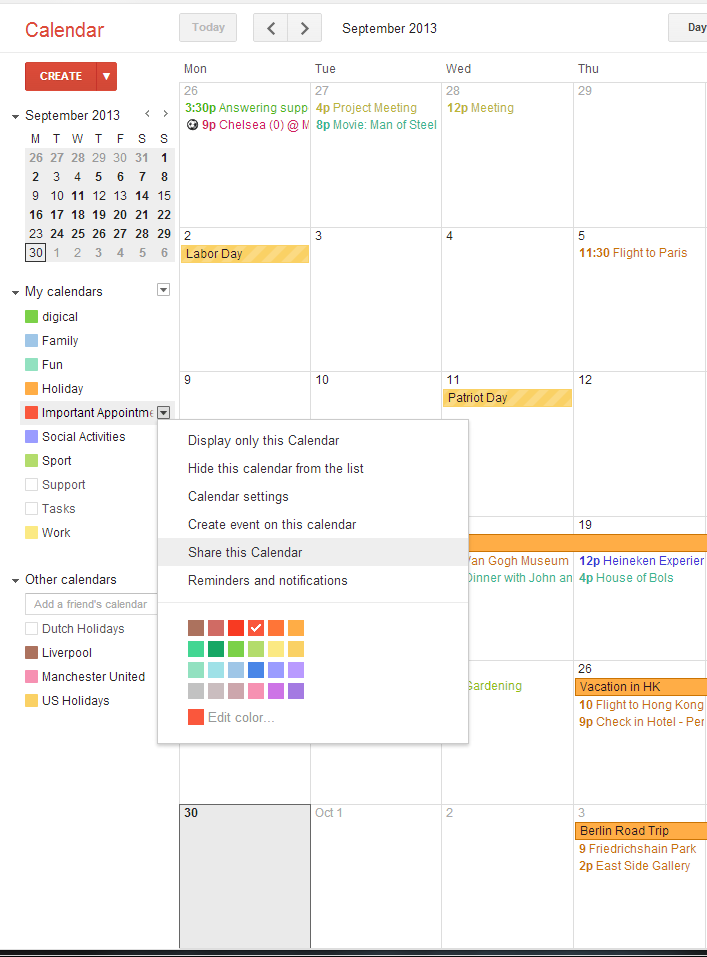
2. Microsoft Outlook Calendar:
- Open Outlook Calendar: Launch Outlook and navigate to your calendar.
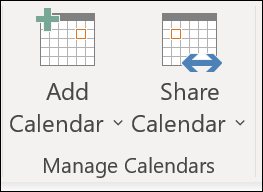
- Select the Calendar: Choose the calendar you want to share.
- Click "Share": Locate the "Share" button (usually near the top of the calendar view).
- Choose the sharing method: You can typically share via email or by generating a link. Sharing via email is generally preferred for direct control over who accesses your calendar.
- Select the permission level: Choose the appropriate permission level (Free/Busy only, Review Time, or Full Details) based on the access you want to grant.
- Send the invitation: Once you’ve selected the permission level, send the invitation to the recipients via email.
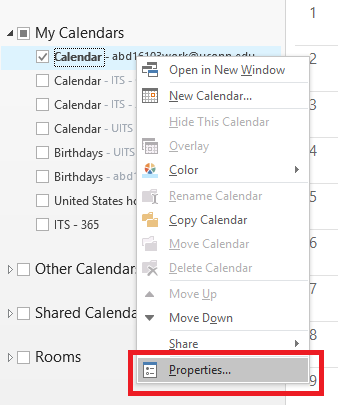
3. Apple Calendar (iCal):
- Open Calendar: Open the Calendar application on your Mac or iOS device.
- Select the Calendar: Choose the calendar you wish to share.
- Click the "Info" button: This button is usually represented by a small "i" in a circle.
- Select "Add Person": This will allow you to enter the email addresses of the people you wish to share your calendar with.
- Choose the permission level: Select the appropriate permission level (View Only, Can Make Changes, or Can Make Changes and Manage Sharing).
- Send the invitation: Apple will send an invitation to the recipients via email.
Beyond Basic Sharing: Advanced Techniques and Considerations:
-
Creating Public Calendars: Some calendar applications allow you to create public calendars, visible to anyone with the link. Use this option cautiously, only for situations where broad access is necessary and appropriate.
-
Using Calendar Links: Many applications generate a link to your calendar. This link can be embedded on a website or shared via messaging apps. However, be mindful of the access level associated with the link.
-
Color-Coding and Categorization: Use color-coding and categorization to make your calendar easier to read and understand for those sharing it. This helps differentiate work events from personal appointments.
-
Regular Review and Updates: Periodically review your sharing settings to ensure they remain appropriate and that you’re sharing only with the intended individuals. Remove access for those who no longer need it.
-
Privacy Concerns: Be mindful of the information you include in your calendar events. Avoid sharing sensitive personal details that you wouldn’t want others to see.
Conclusion:
Sharing your calendar is a powerful tool for enhancing collaboration and improving time management. By understanding the various platforms, access levels, and advanced techniques, you can leverage this feature to streamline your workflow and maintain control over your schedule. Remember to always prioritize security and privacy, carefully selecting the appropriate access levels for each recipient and regularly reviewing your sharing settings. With careful planning and execution, sharing your calendar can significantly improve your productivity and communication.

Closure
Thus, we hope this article has provided valuable insights into Sharing Your Calendar: A Comprehensive Guide for Seamless Collaboration. We thank you for taking the time to read this article. See you in our next article!