Adding Shared Calendars to Your iPhone: A Conclusive, Consequent, and Certain Guide
Related Articles: Adding Shared Calendars to Your iPhone: A Conclusive, Consequent, and Certain Guide
Introduction
With enthusiasm, let’s navigate through the intriguing topic related to Adding Shared Calendars to Your iPhone: A Conclusive, Consequent, and Certain Guide. Let’s weave interesting information and offer fresh perspectives to the readers.
Table of Content
Adding Shared Calendars to Your iPhone: A Conclusive, Consequent, and Certain Guide
The iPhone’s calendar app is a powerful tool for managing your personal schedule, but its true potential is unlocked when you integrate shared calendars. Whether you’re collaborating on a project, coordinating family events, or simply staying in sync with colleagues, adding shared calendars to your iPhone is essential for streamlined organization and effective communication. This comprehensive guide provides a conclusive, consequent, and certain walkthrough of the process, covering various scenarios and troubleshooting common issues.
Understanding Shared Calendars and Their Benefits:
Before diving into the technical aspects, let’s clarify what shared calendars are and why they’re beneficial. A shared calendar allows multiple individuals to view and, depending on the permissions granted, edit a single calendar. This central hub eliminates the need for constant email exchanges or individual calendar updates. The benefits are multifaceted:
- Improved Collaboration: Seamlessly coordinate schedules for projects, meetings, and events with team members or collaborators.
- Enhanced Family Organization: Keep track of everyone’s appointments, school events, and family gatherings in one place.
- Streamlined Communication: Reduce reliance on email and text messages for scheduling updates.
- Centralized Information: Access all relevant schedules in a single, easily accessible location.
- Reduced Scheduling Conflicts: Minimize the risk of double-booking appointments or missing important events.
- Increased Efficiency: Spend less time managing schedules and more time focusing on tasks.
Methods for Adding Shared Calendars to Your iPhone:
There are several ways to add shared calendars to your iPhone, depending on the source of the calendar and the invitation method:
1. Accepting a Calendar Invitation:
This is the most common method. When someone shares a calendar with you, you’ll receive an invitation via email or a calendar application. The process is straightforward:
- Locate the Invitation: Check your email inbox for an invitation from the calendar owner. The invitation may also appear directly within your iPhone’s Calendar app, depending on your settings.
- Open the Invitation: Tap on the email or notification containing the calendar invitation.
- Accept the Invitation: The invitation will provide options to "Accept," "Decline," or "Tentatively Accept." Tap "Accept" to add the shared calendar to your iPhone.
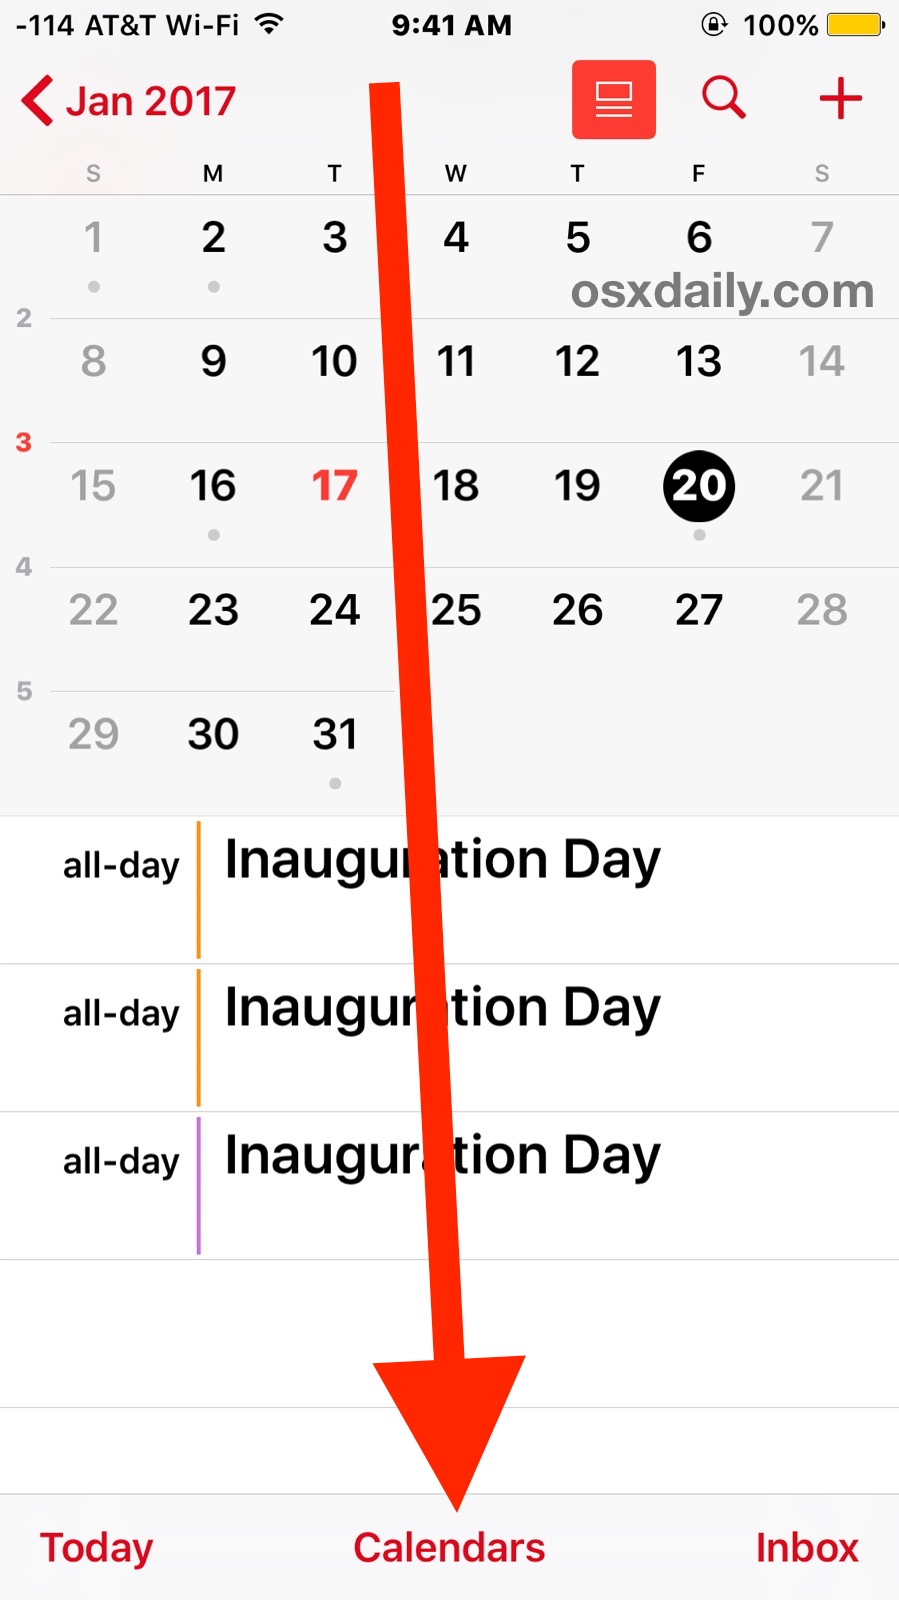
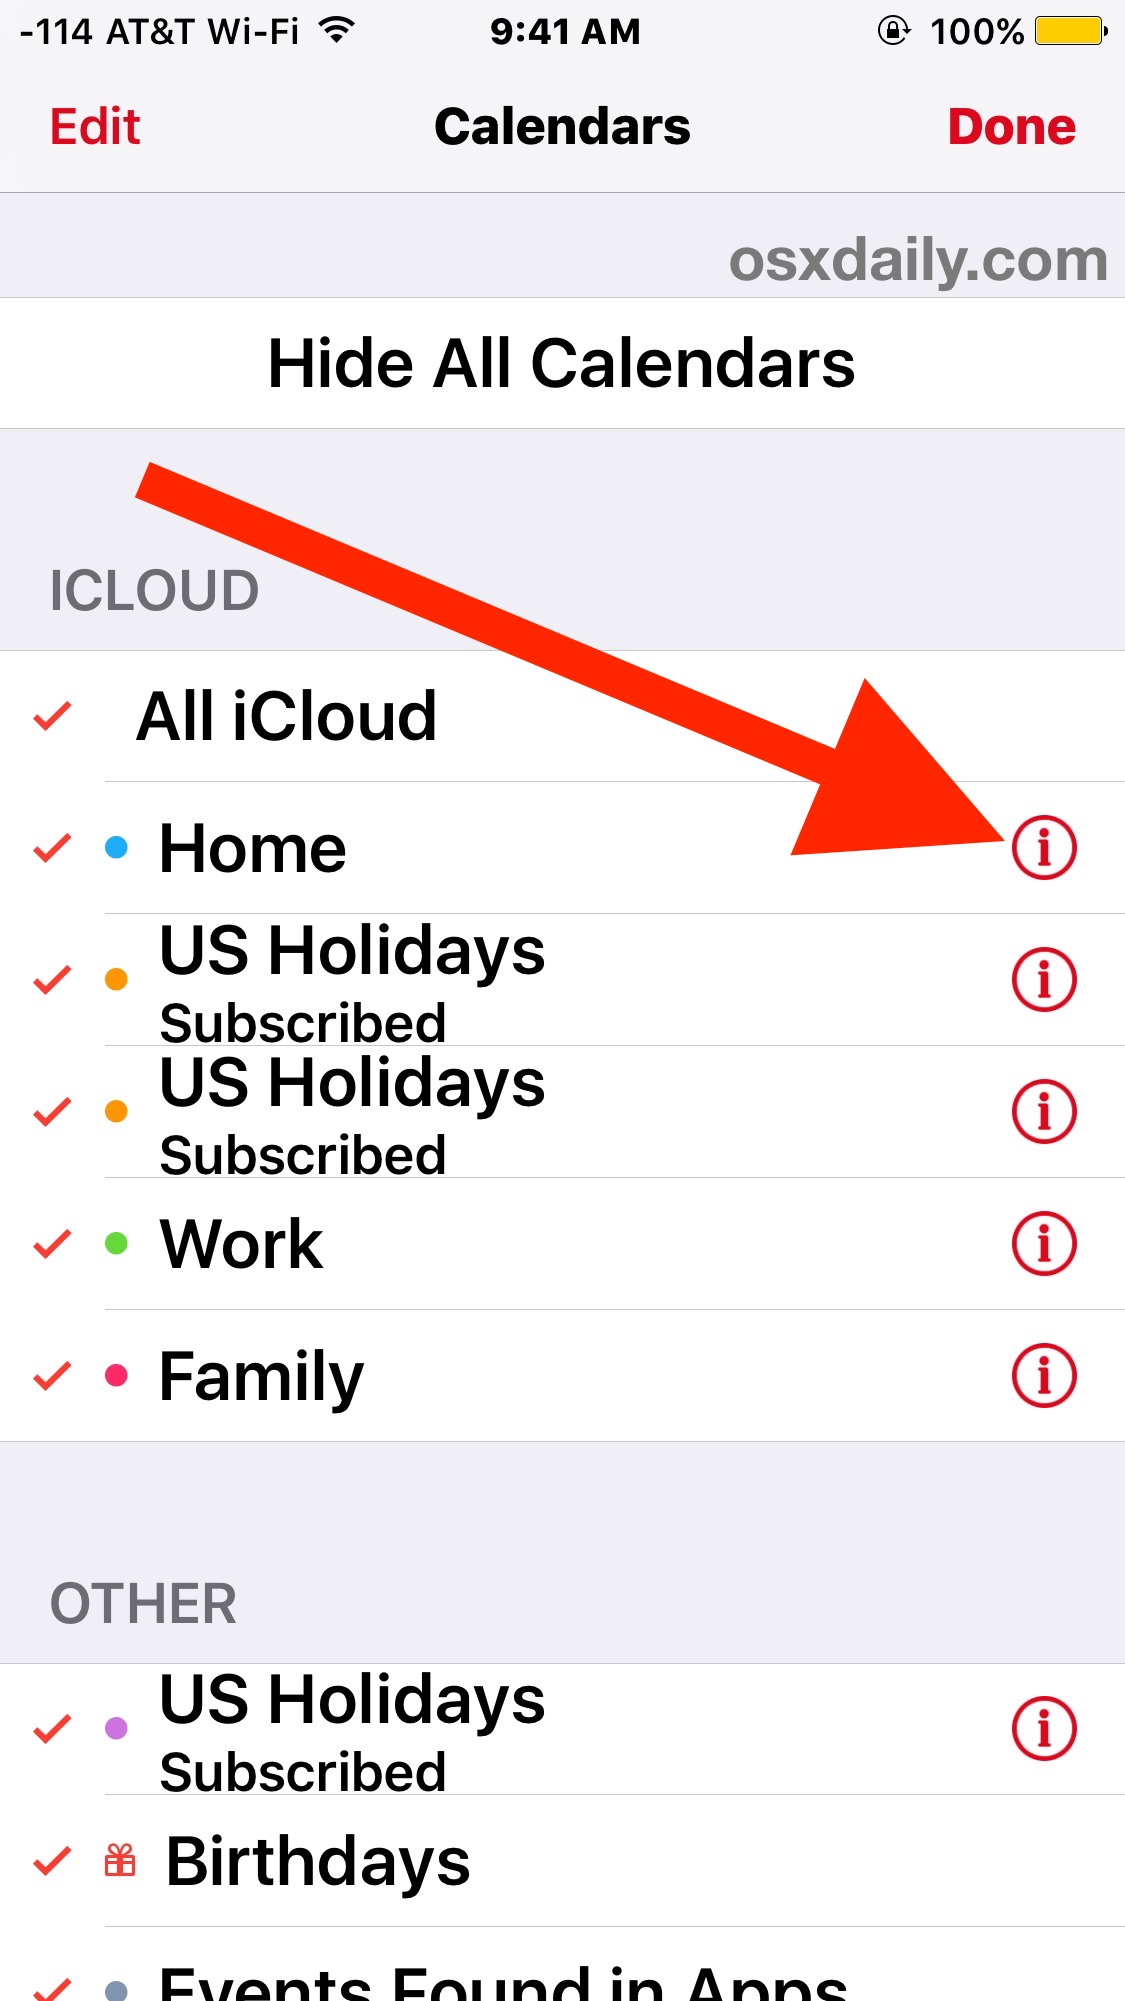
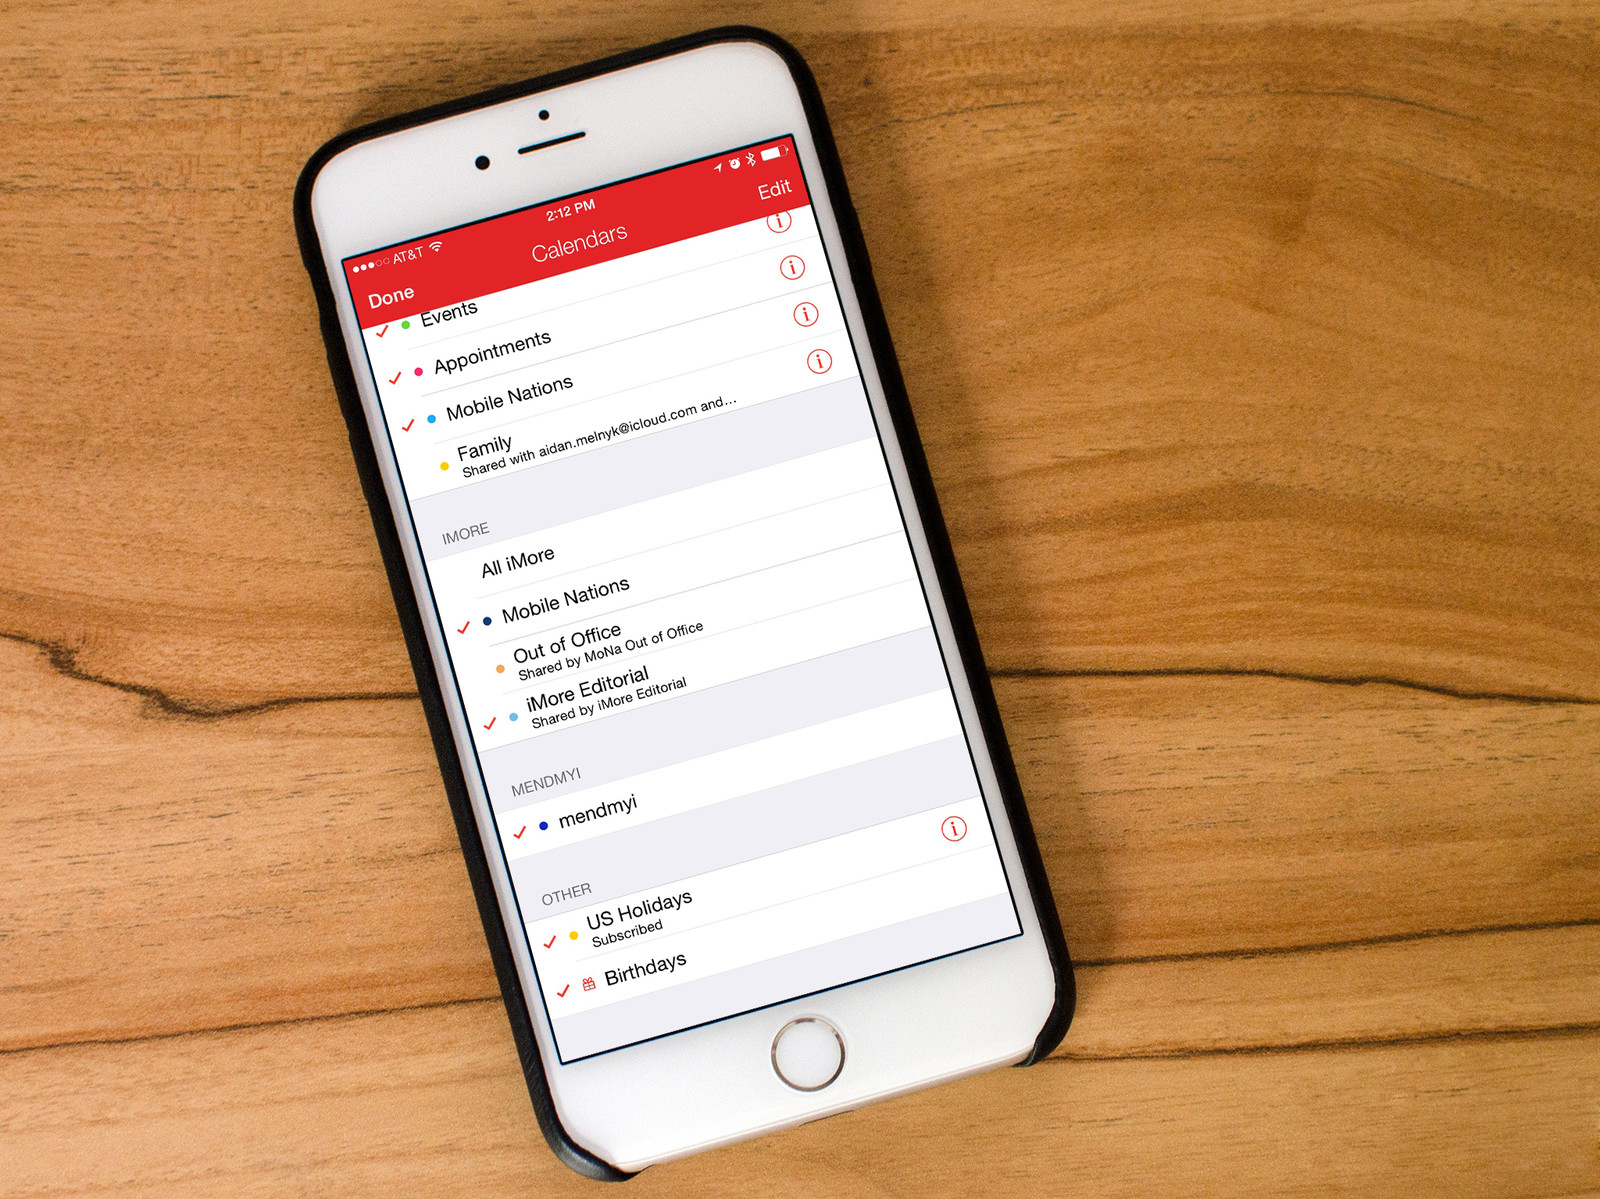
- Verify the Calendar: After accepting, navigate to your iPhone’s Calendar app. The shared calendar should now be visible in the calendar list. You can customize its display settings (color, visibility) within the app’s settings.
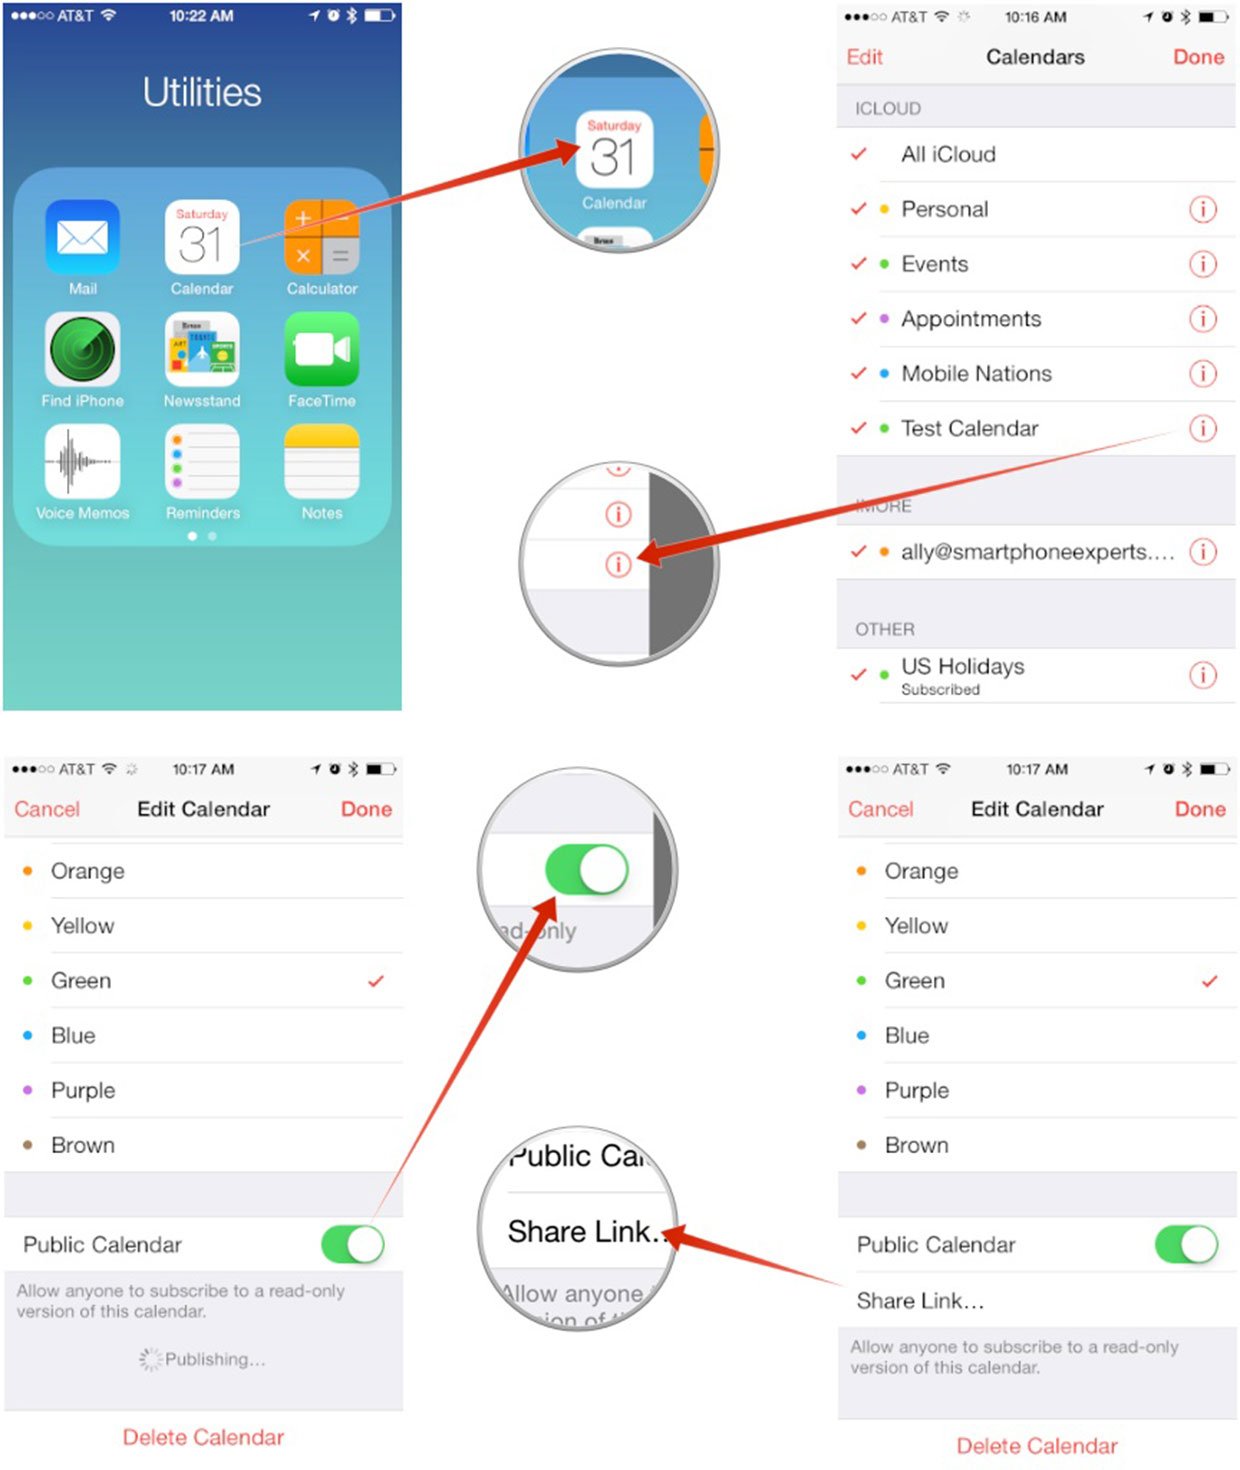
2. Adding a Calendar via Link or URL:
Some calendar systems allow sharing via a direct link or URL. This method is less common but equally effective:
- Obtain the Link: Request the calendar link from the calendar owner.
- Open the Link: Open the link on your iPhone’s Safari browser (or any other browser).
- Add the Calendar: The link should prompt you to add the calendar to your device. Follow the on-screen instructions, which are usually similar to accepting an email invitation. You might be asked to authenticate or provide credentials if necessary.
- Verify the Calendar: Check your iPhone’s Calendar app to confirm the successful addition.
3. Manually Adding a CalDAV Account:
For more technically inclined users or those using specific calendar systems, adding a CalDAV account directly might be necessary. CalDAV is an internet standard protocol for accessing calendars.
- Obtain CalDAV Details: You’ll need the server address, username, and password from the calendar owner or your system administrator.
- Access iPhone Settings: Open the "Settings" app on your iPhone.
- Navigate to Accounts & Passwords: Tap on "Accounts & Passwords."
- Add Account: Tap "Add Account" and select "Other."
- Choose CalDAV Account: Select "CalDAV Account."
- Enter CalDAV Details: Enter the server address, username, and password provided.
- Verify Connection: Your iPhone will attempt to connect to the CalDAV server. Ensure the details are correct.
- Name the Account: Provide a descriptive name for the calendar account.
- Verify the Calendar: Check your iPhone’s Calendar app to confirm the successful addition of the calendar.
Troubleshooting Common Issues:
While adding shared calendars is generally straightforward, some issues might arise:
- Invitation Not Received: Check your spam or junk email folders. Ensure your email address is correctly registered with the calendar system.
- Unable to Accept Invitation: Ensure you have a stable internet connection. Try restarting your iPhone. Contact the calendar owner if the problem persists.
- Calendar Not Appearing: Check your Calendar app’s settings to ensure the shared calendar is turned on and visible. Verify that the correct account is selected.
- Incorrect Permissions: The shared calendar’s permissions determine your access level. If you cannot edit events, contact the owner to request appropriate permissions.
- Authentication Errors: Double-check the username and password used for CalDAV accounts. Contact your system administrator if you’re unsure about the correct credentials.
- Server Issues: If the problem is consistently occurring across multiple shared calendars, the issue might be with the calendar server itself. Contact the server administrator for assistance.
Customizing Your Shared Calendar Experience:
Once you’ve added shared calendars, you can customize their appearance and functionality:
- Calendar Colors: Assign different colors to each calendar for easy visual identification.
- Notification Settings: Configure notification preferences for each calendar, choosing the types of notifications (email, push notifications) and their frequency.
- Calendar Views: Select the preferred view (day, week, month) for each calendar.
- Event Details: Customize the level of detail displayed for each event.
- Calendar Visibility: Toggle the visibility of individual calendars on or off, depending on your needs.
Conclusion:
Adding shared calendars to your iPhone is a crucial step towards efficient scheduling and effective collaboration. This guide has provided a conclusive, consequent, and certain overview of the process, covering various methods and troubleshooting common problems. By mastering the techniques outlined here, you can harness the full potential of the iPhone’s calendar app and transform your organizational capabilities. Remember to always verify the calendar’s addition and customize its settings to best suit your individual workflow. The seamless integration of shared calendars will ultimately streamline your daily life and boost your productivity.

:max_bytes(150000):strip_icc()/001-how-to-create-calendar-events-from-emails-in-iphone-mail-1172543-1b9d7bac9c6143f2ad50e797b75cee9d.jpg)


Closure
Thus, we hope this article has provided valuable insights into Adding Shared Calendars to Your iPhone: A Conclusive, Consequent, and Certain Guide. We hope you find this article informative and beneficial. See you in our next article!