Mastering Shared Calendars on Your iPhone: A Comprehensive Guide
Related Articles: Mastering Shared Calendars on Your iPhone: A Comprehensive Guide
Introduction
With enthusiasm, let’s navigate through the intriguing topic related to Mastering Shared Calendars on Your iPhone: A Comprehensive Guide. Let’s weave interesting information and offer fresh perspectives to the readers.
Table of Content
Mastering Shared Calendars on Your iPhone: A Comprehensive Guide
The iPhone, particularly models like the (hypothetical) "Finest Ultimate Prime," boasts powerful organizational tools. Among these, shared calendars stand out as invaluable for managing schedules, coordinating events, and collaborating with family, friends, or colleagues. This article provides a comprehensive guide to adding and managing shared calendars on your iPhone, covering various scenarios and troubleshooting potential issues. We’ll move beyond the basics, exploring advanced features and customization options to ensure you get the most out of this powerful feature.
Understanding Shared Calendars:
Before diving into the specifics of adding a shared calendar, it’s crucial to understand what they are and how they work. A shared calendar is simply a calendar you create (or are invited to) that allows multiple users to view and, depending on the permissions granted, edit events. This eliminates the need for constant emailing or texting to coordinate schedules. Changes made by one user are reflected in real-time (or near real-time) for all other users with access.
Methods for Adding Shared Calendars:
There are primarily three ways to add a shared calendar to your iPhone:
-
Via an Invitation: This is the most common method. When someone shares a calendar with you, you’ll receive an invitation, typically via email. This email will contain a link or button to accept the invitation. Once accepted, the calendar will automatically appear on your iPhone’s calendar app.
-
Accepting the Invitation: Tap the link or button in the invitation email. This will usually open the Calendar app and prompt you to accept the invitation. You might be given options to specify notification preferences (e.g., alerts for new events). Confirm your choice to add the calendar to your iPhone.
-
Managing Notifications: After adding the shared calendar, navigate to the Settings app, then Notifications, then select the Calendar app. Here, you can customize notification settings for the specific shared calendar. You can choose to receive notifications for all events, only events you added, or turn them off entirely.
-
-
Manually Adding a Calendar URL (iCal or ICS): If you have the URL (typically ending in
.icsor.ical) of a public or shared calendar, you can manually add it.-
Accessing the URL: Obtain the calendar’s URL from the calendar’s provider or owner.
-
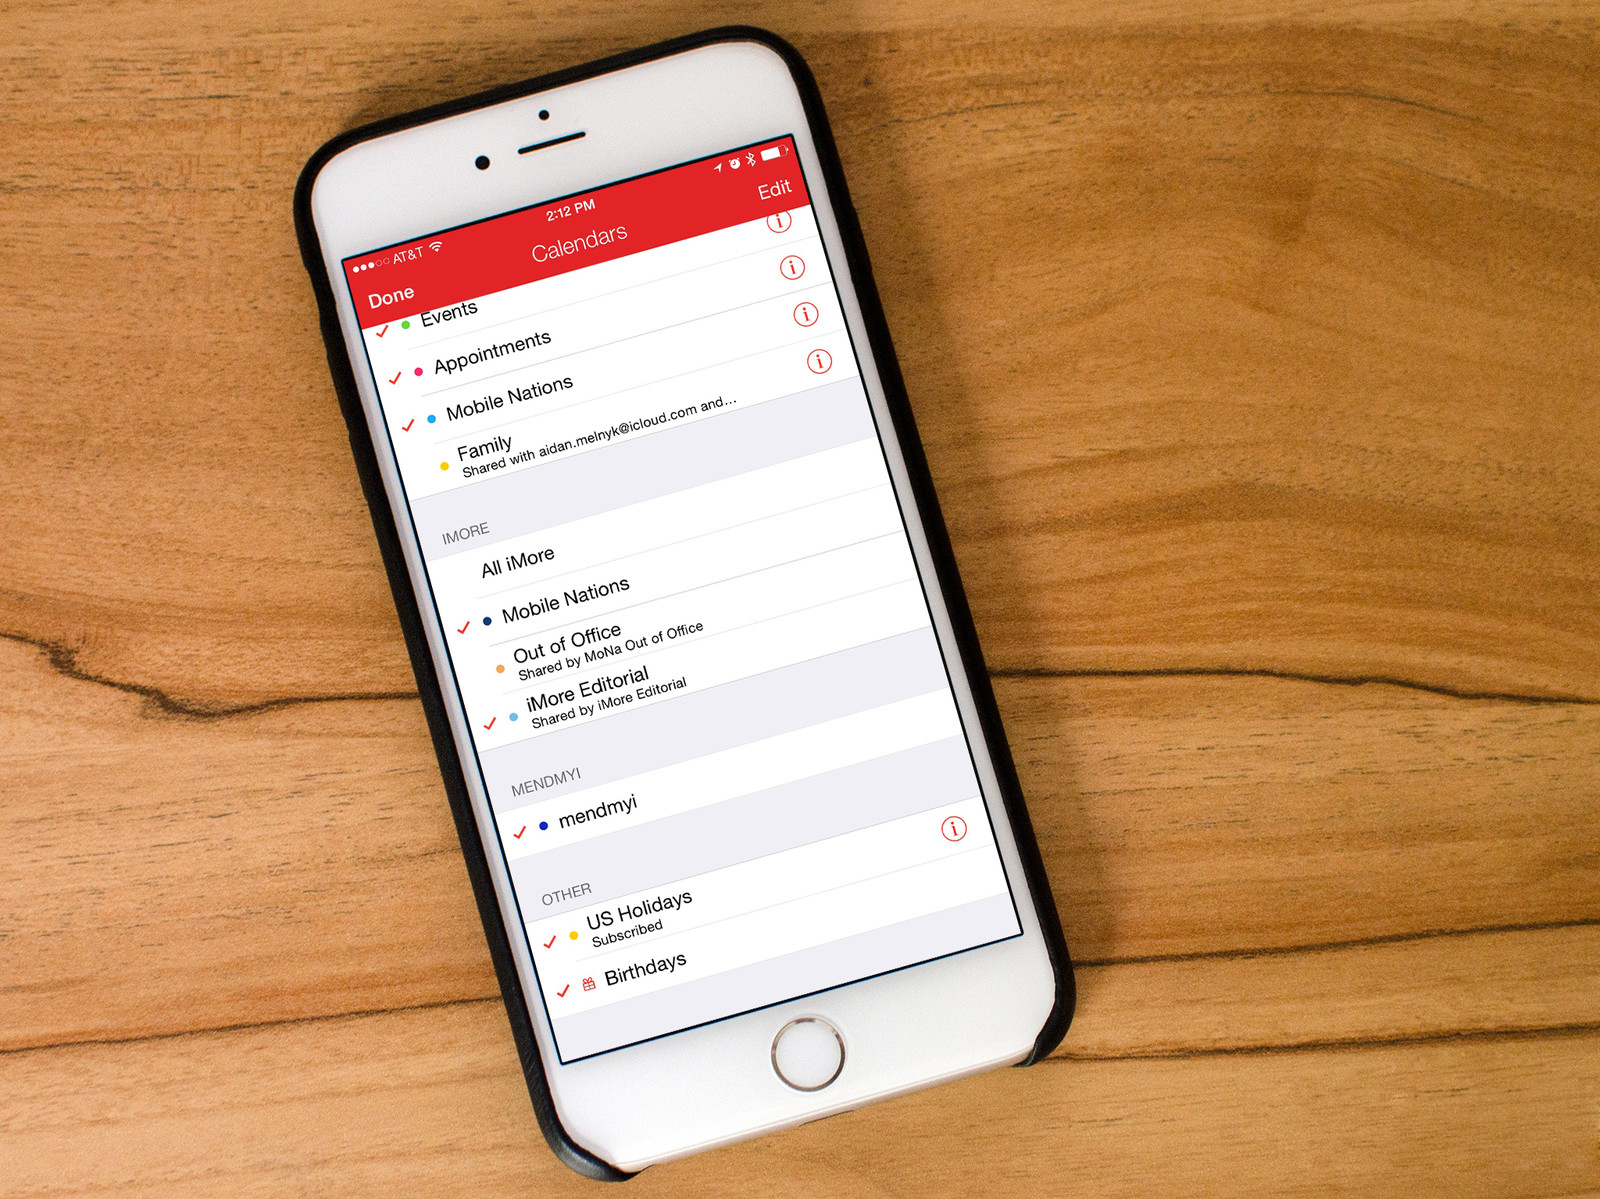
Adding the URL on your iPhone: Open the Calendar app. Go to Calendars (usually found in the bottom right corner). Tap the Add Calendar button (often a "+" icon). Select Subscribe to Calendar. Paste the URL into the provided field and tap Subscribe. The calendar will then sync with your iPhone.
-
-
Creating and Sharing a Calendar: You can create a new calendar on your iPhone and explicitly share it with others.
-
Creating the Calendar: Open the Calendar app. Go to Calendars. Tap the Add Calendar button. Select New Calendar. Give your calendar a name and choose a color for easy identification.
-
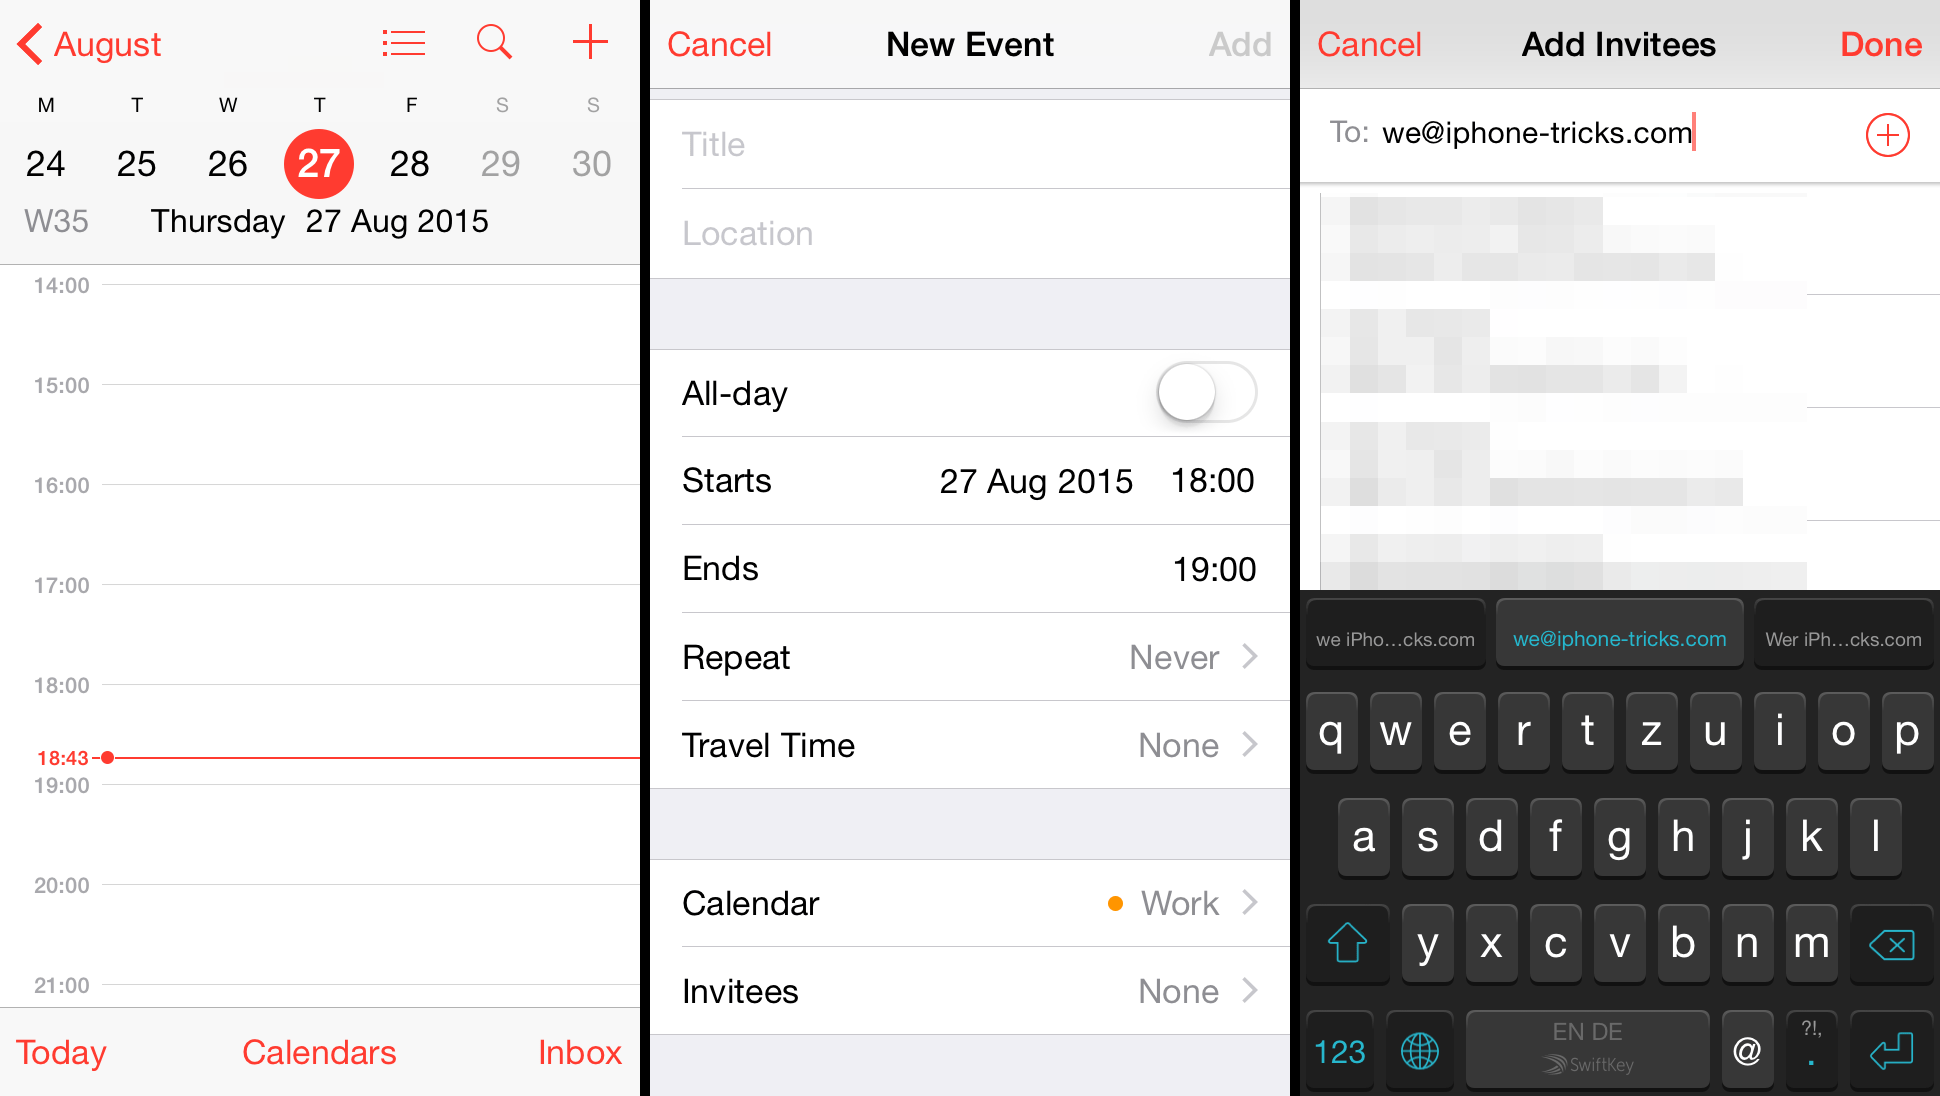
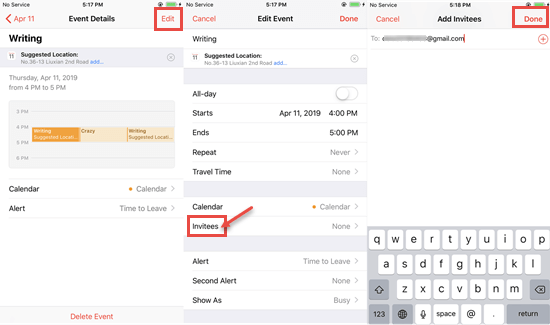
Sharing the Calendar: Once created, tap the newly created calendar’s name. Tap Add Person. Enter the email addresses of the people you want to share the calendar with. Choose the permission level for each person (View Only or Editor). Tap Done. The recipients will receive an invitation email to access the shared calendar.
-
Advanced Features and Customization:
Once you’ve added a shared calendar, several advanced features can enhance your experience:
-
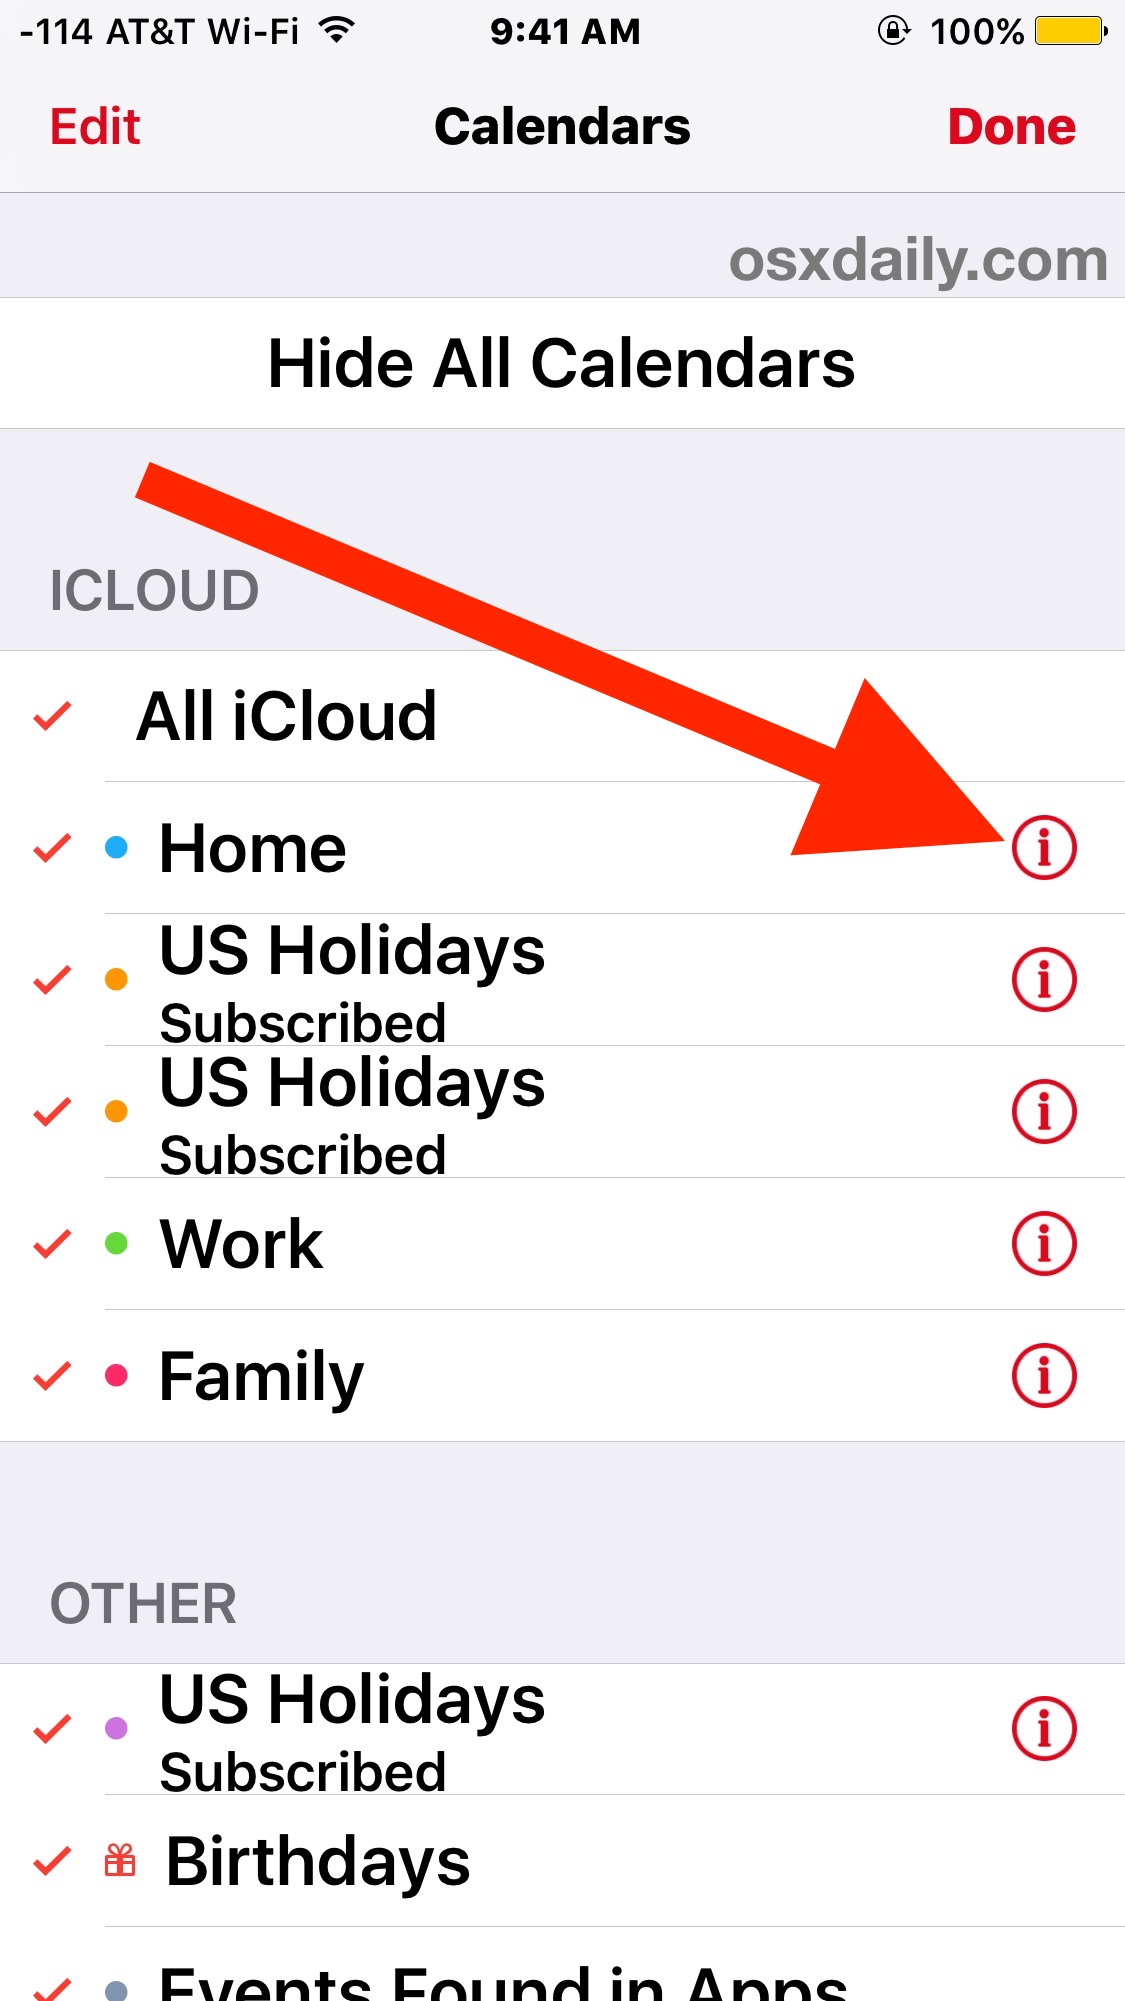
Calendar Colors and Icons: Customize the color and icon of each calendar for easy visual identification within your calendar view. This is particularly helpful when managing multiple shared calendars.
-
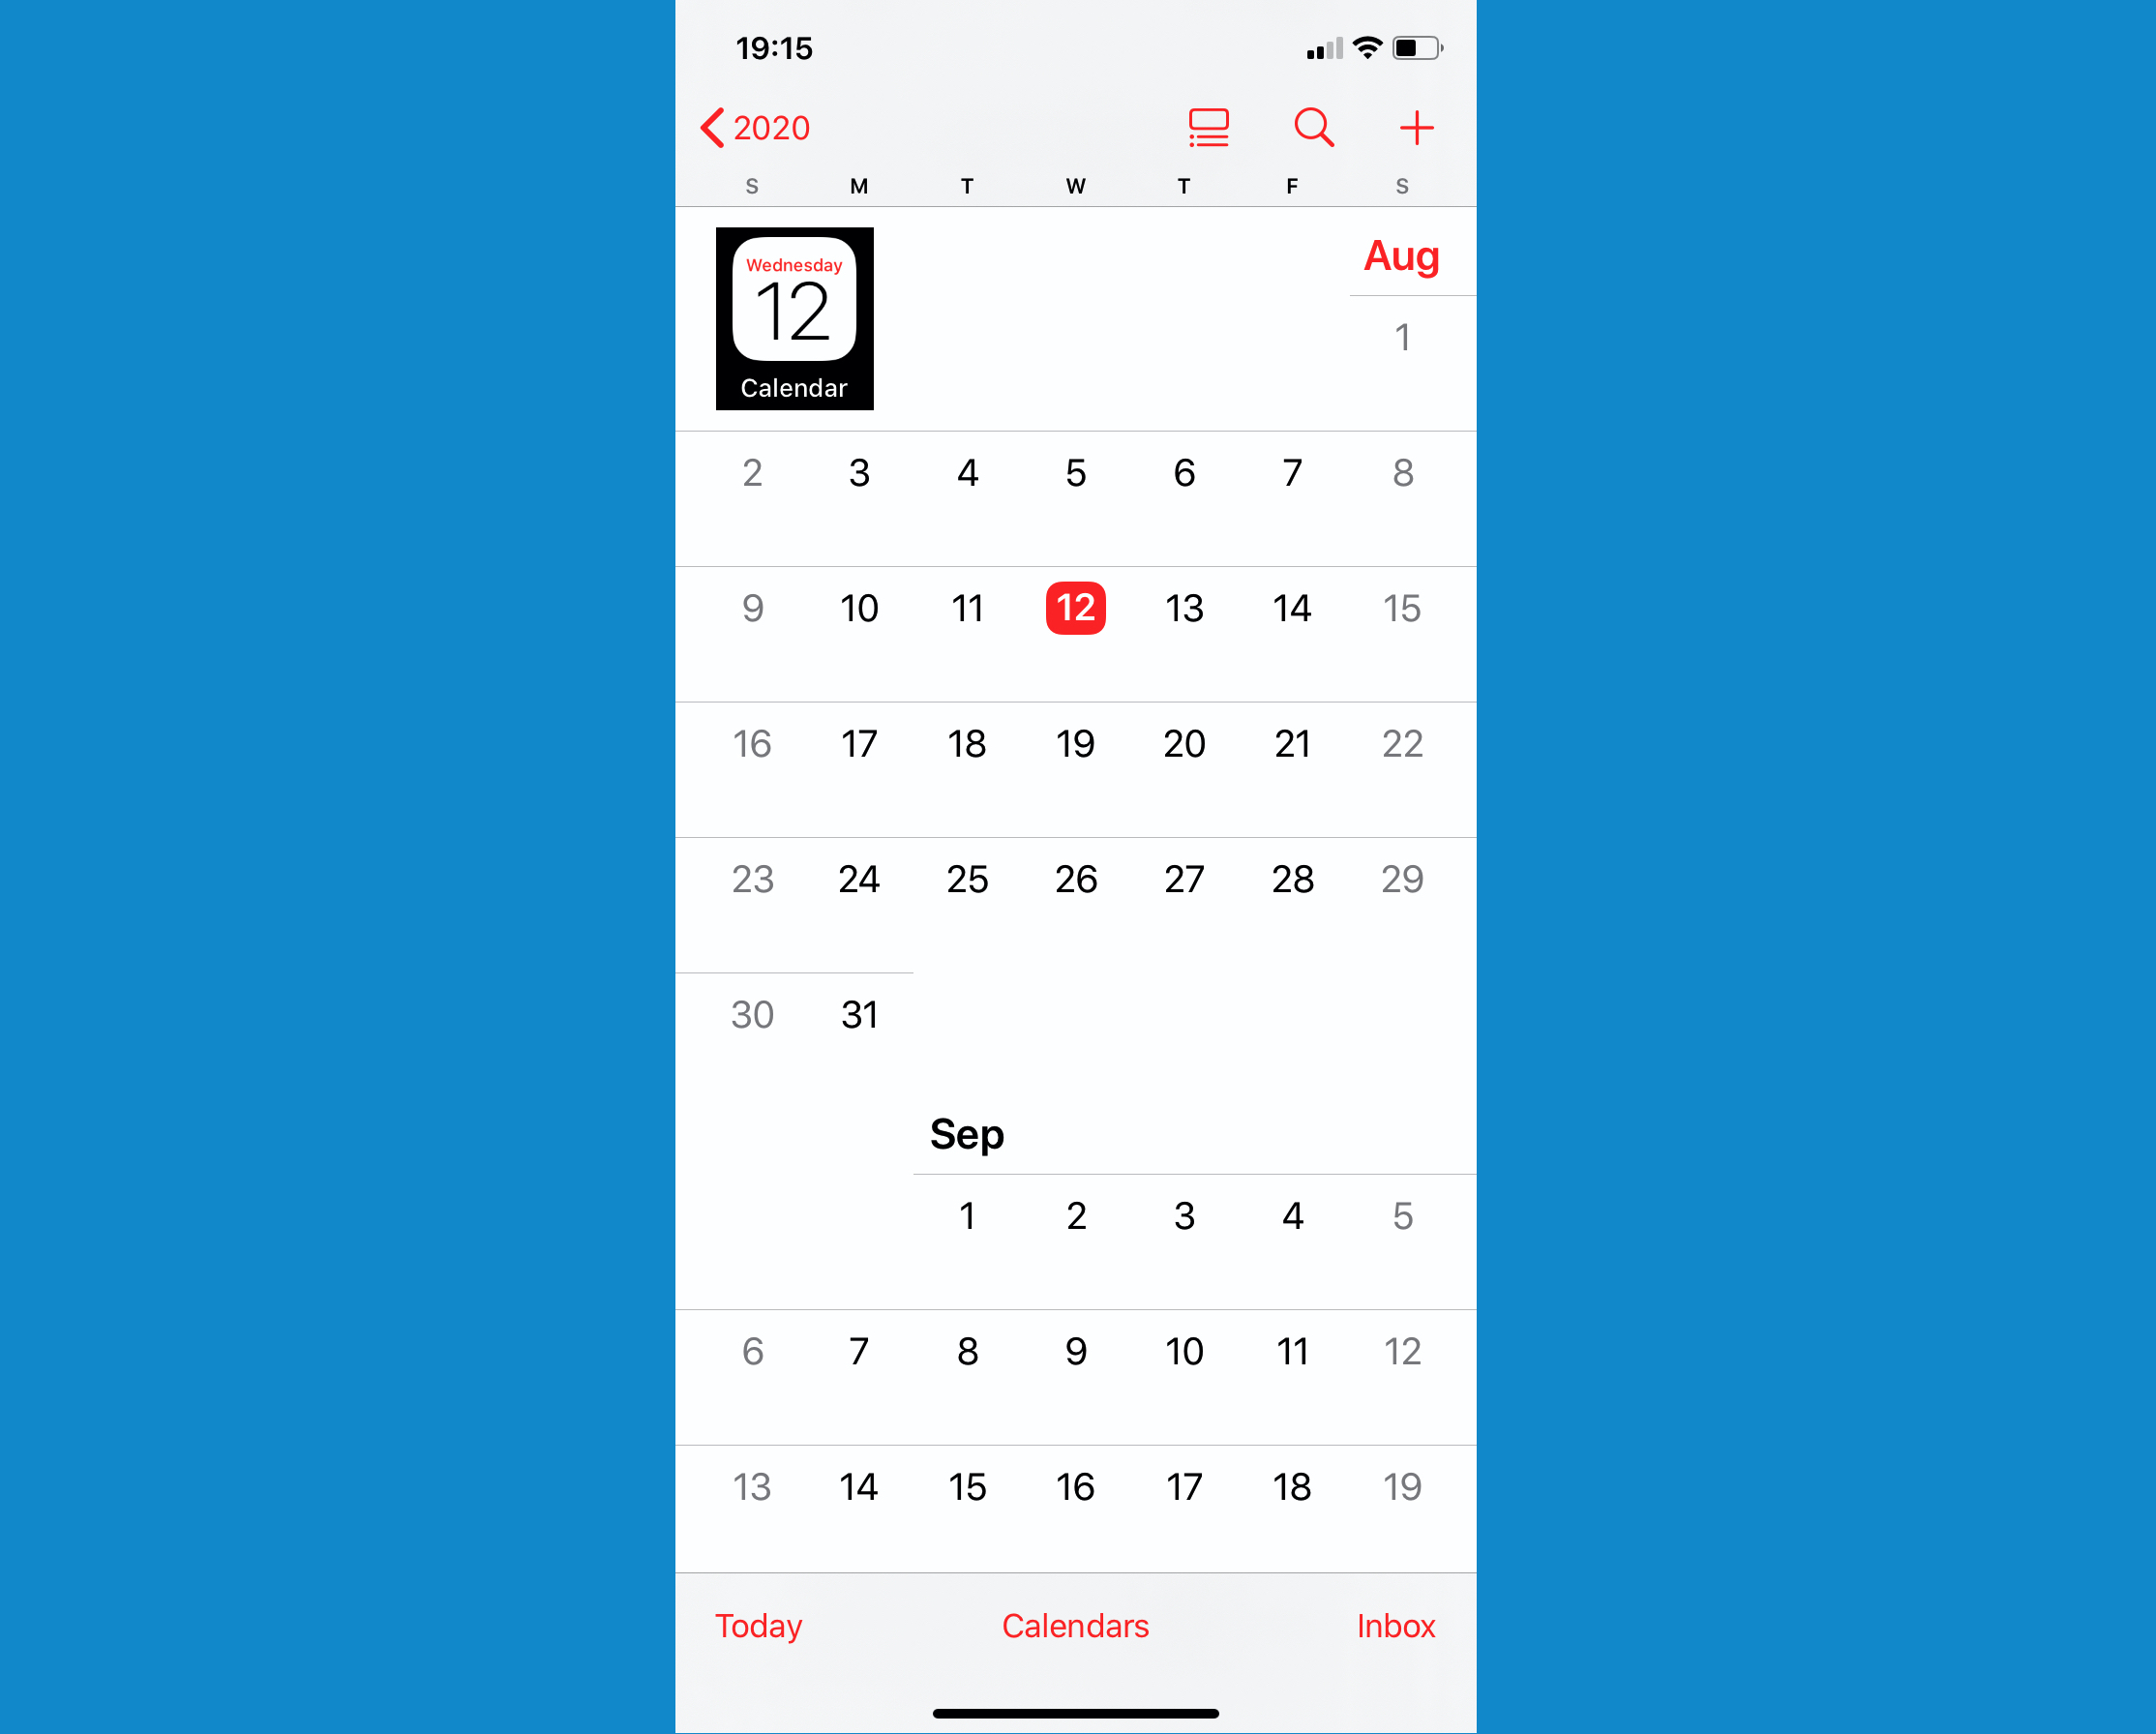
Calendar Views: The iPhone Calendar app offers various views (Day, Week, Month, Year) allowing you to see your schedule from different perspectives. Experiment with these views to find the one that best suits your needs and the type of information you’re managing in your shared calendar.
-
Filtering and Sorting: The Calendar app allows you to filter and sort events based on various criteria, such as calendar, date, and time. This helps you focus on specific events within a busy schedule, especially when managing multiple shared calendars.
-
Notifications: Configure custom notification settings for each shared calendar. You can choose to receive alerts a certain amount of time before an event, or only for specific types of events. This allows for a tailored notification experience that prevents alert overload.
-
Calendar Groups: Organize your calendars into groups for better management. This is incredibly useful when dealing with a large number of shared and personal calendars. You can group work calendars together, family calendars, and so on.
-
Using Third-Party Calendar Apps: While the built-in Calendar app is excellent, consider exploring third-party calendar apps. These often offer advanced features like natural language processing for event creation, task management integration, and more sophisticated sharing options.
Troubleshooting Common Issues:
-
Calendar Not Syncing: Ensure your iPhone is connected to the internet and that your calendar settings are correctly configured. Check your iCloud settings and ensure the Calendar app is enabled for syncing. Restart your iPhone to resolve minor syncing glitches.
-
Invitation Not Received: Check your spam or junk email folder. Confirm the email address used for sharing is correct. Contact the calendar’s owner if you still haven’t received the invitation.
-
Permission Issues: If you can’t edit a shared calendar, it’s likely you only have "View Only" permissions. Contact the calendar owner to request editor permissions if needed.
-
Calendar Disappeared: Check your Calendar app’s settings. Ensure the shared calendar hasn’t been accidentally hidden or deleted. If it’s been deleted, you may need to re-subscribe using the calendar URL or request a new invitation.
Conclusion:
Mastering shared calendars on your iPhone is a significant step toward improving your organizational skills and streamlining collaboration. By understanding the various methods for adding calendars, customizing settings, and troubleshooting potential problems, you can leverage this powerful feature to its full potential. From coordinating family events to managing complex work schedules, shared calendars provide a centralized and efficient way to keep everyone informed and on the same page. Embrace the power of shared calendars and experience a more organized and productive lifestyle.


Closure
Thus, we hope this article has provided valuable insights into Mastering Shared Calendars on Your iPhone: A Comprehensive Guide. We appreciate your attention to our article. See you in our next article!