Adding Calendars to Your Outlook View: A Comprehensive Guide for Finest, Ultimate, and Prime Users
Related Articles: Adding Calendars to Your Outlook View: A Comprehensive Guide for Finest, Ultimate, and Prime Users
Introduction
In this auspicious occasion, we are delighted to delve into the intriguing topic related to Adding Calendars to Your Outlook View: A Comprehensive Guide for Finest, Ultimate, and Prime Users. Let’s weave interesting information and offer fresh perspectives to the readers.
Table of Content
Adding Calendars to Your Outlook View: A Comprehensive Guide for Finest, Ultimate, and Prime Users
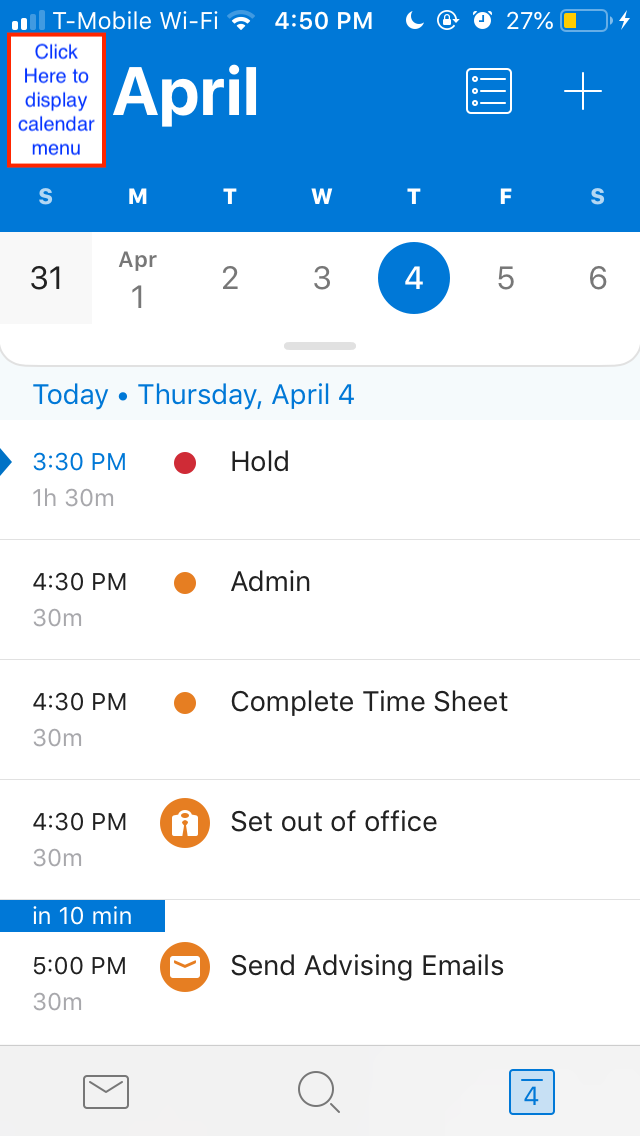
.jpg)
Microsoft Outlook, in its various iterations (Finest, Ultimate, and Prime are not official Microsoft Outlook product names; we’ll assume these refer to high-tier, feature-rich versions), provides robust calendar management capabilities. However, effectively utilizing these features requires understanding how to add and manage multiple calendars, crucial for juggling personal appointments, work schedules, team projects, and shared events. This comprehensive guide will walk you through adding various types of calendars to your Outlook view, optimizing your scheduling and collaboration.
Understanding Calendar Types in Outlook
Before diving into the process, it’s essential to understand the different types of calendars you can integrate into your Outlook view:
-
Your Primary Calendar: This is the default calendar associated with your Outlook account. It typically holds your personal appointments and events.
-
Shared Calendars: These calendars are shared with you by other individuals or groups. They allow you to view and often edit the schedules of colleagues, family members, or teams.
-
Subscribed Calendars: These are calendars from external sources, such as public holidays, sports schedules, or meeting room availability. You subscribe to these calendars to receive their events in your Outlook view.
-
Internet Calendars (iCalendar): These calendars use the iCalendar (.ics) format and can be imported from websites or other calendar applications.
-
Exchange Calendars: If your organization uses Microsoft Exchange Server, you’ll likely have access to Exchange calendars, which offer advanced features like resource scheduling and room bookings.
Adding Calendars to Your Outlook View: A Step-by-Step Guide
The process of adding calendars varies slightly depending on the version of Outlook you’re using (desktop, web, mobile). However, the underlying principles remain consistent.
1. Adding a Shared Calendar:
-
Desktop Outlook:
- Open Outlook and navigate to the Calendar view.
- In the Navigation Pane, right-click on your primary calendar and select "Open Calendar".
- Enter the email address of the person whose calendar you want to share. Outlook will automatically search for the user’s calendar.
- Select the calendar and click "Open". The shared calendar will now appear in your Navigation Pane. You may have limited permissions (view-only) depending on the sharer’s settings.
-
Outlook Web App (OWA):
- Log in to Outlook on the web.
- Navigate to the Calendar view.
- Click the "Open calendar" button (usually located near the top-right corner).
- Enter the email address of the person whose calendar you want to share.
- Select the calendar and click "Open". Similar to the desktop version, permissions will be determined by the calendar owner.
-
Outlook Mobile App: The process varies slightly depending on your mobile operating system (iOS or Android). Generally, you’ll need to find the shared calendar invite in your email inbox and accept it. The calendar will then appear in your app.
2. Subscribing to an Internet Calendar:
-
Desktop Outlook:
- Open Outlook and navigate to the Calendar view.
- Go to "File" > "Options" > "Calendar".
- Click "Add Calendar" and select "From Internet."
- Paste the internet calendar address (usually ending in .ics) into the provided field and click "Add".
-
Outlook Web App (OWA):
- Log in to Outlook on the web.
- Navigate to the Calendar view.
- Click the settings gear icon and select "Subscribed calendars".
- Click "Add calendar" and enter the internet calendar address.
-
Outlook Mobile App: This functionality is often limited on mobile apps. You might need to subscribe via the desktop or web version.
3. Importing an iCalendar (.ics) File:
-
Desktop Outlook:
- Open Outlook and navigate to the Calendar view.
- Go to "File" > "Open & Export" > "Import/Export".
- Select "Import from another program or file" and click "Next".
- Choose "iCalendar (.ics)" and click "Next".
- Browse to the location of your .ics file and click "Next".
- Select the calendar where you want to import the events and click "Finish".
-
Outlook Web App (OWA): Direct importing of .ics files isn’t directly supported in OWA. You might need to use the desktop application or a third-party calendar app.
-
Outlook Mobile App: Similar to internet calendar subscriptions, importing .ics files is often not directly supported on mobile apps.
4. Managing Multiple Calendars in Your Outlook View:
Once you’ve added multiple calendars, you can customize their appearance and how they’re displayed:
-
Color-Coding: Assign different colors to each calendar to easily distinguish them at a glance. This is done through the calendar properties in both desktop and web versions.
-
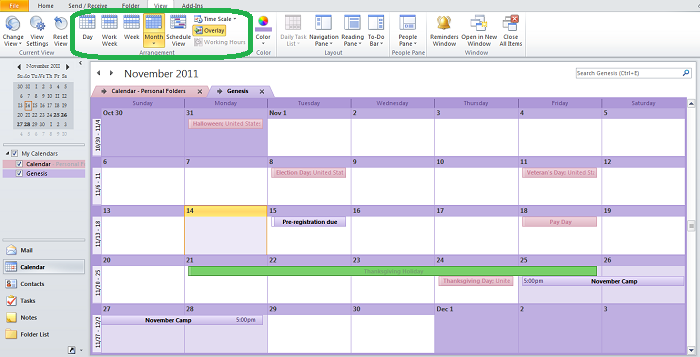
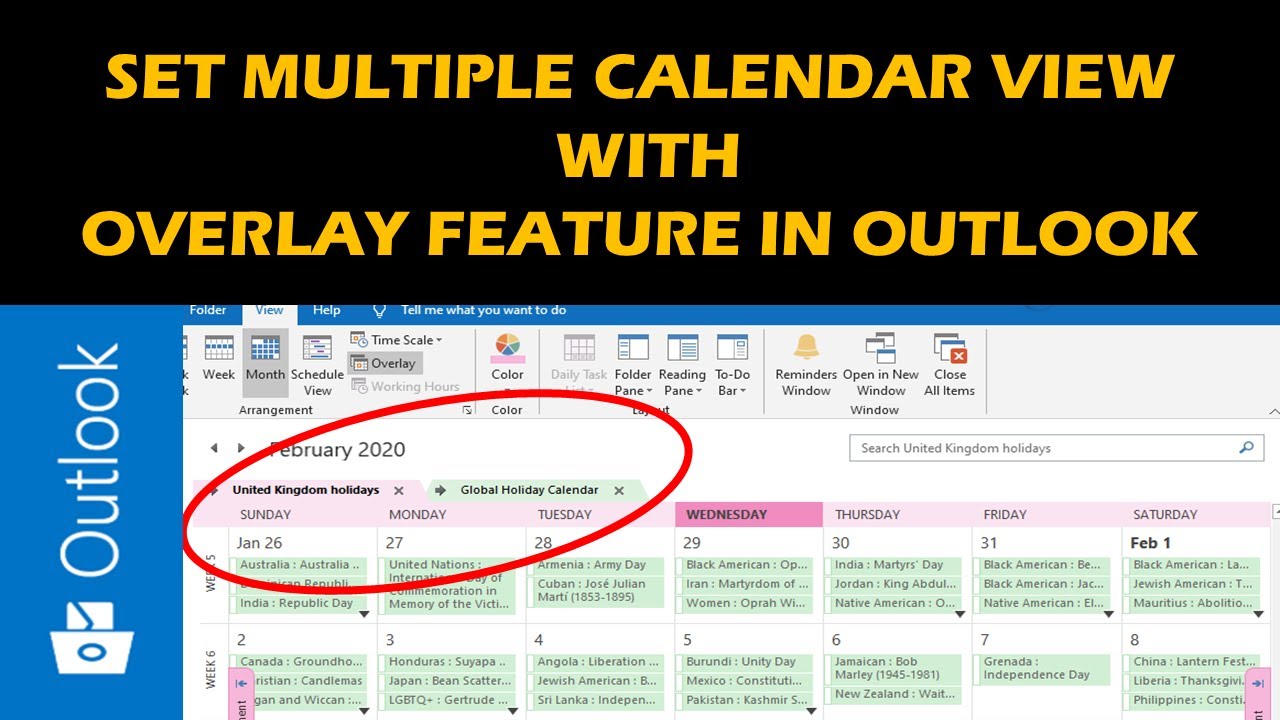
Overlay vs. Side-by-Side: Choose whether you want to overlay all calendars on a single view or display them side-by-side for a more detailed comparison. This option is usually found in the calendar view settings.
-
Filtering: Filter events based on calendar, category, or other criteria to focus on specific tasks or schedules.
-
Calendar Permissions: Understand and manage the permissions you’ve granted or received for shared calendars. This ensures your privacy and allows for efficient collaboration.
Troubleshooting Common Issues:
-
Calendar Not Appearing: Check your internet connection, ensure you’ve entered the correct calendar address, and verify that the calendar owner has granted you appropriate permissions.
-
Synchronization Errors: If calendars aren’t synchronizing properly, check your network connection, restart your Outlook application, and ensure your account settings are correct.
-
Permission Issues: If you cannot access a shared calendar, contact the calendar owner to confirm your permissions.
-
Conflicting Appointments: Outlook will usually highlight conflicting appointments, allowing you to reschedule or resolve the conflict.
Advanced Techniques for Calendar Management:
-
Rules and Alerts: Set up rules to automatically categorize or flag events based on specific criteria. Utilize alerts to receive reminders for important appointments.
-
Calendar Views: Experiment with different calendar views (day, week, month, etc.) to find the layout that best suits your workflow.
-
Integration with Other Applications: Explore the integration capabilities of Outlook with other productivity tools, such as task management applications or project management software, to streamline your overall workflow.
By mastering these techniques, you can transform your Outlook calendar into a powerful tool for managing your time, collaborating with others, and maximizing your productivity. Remember to explore the advanced features offered by your specific Outlook version (Finest, Ultimate, or Prime, as you referred to them) to unlock even more calendar management capabilities. The ability to effectively manage multiple calendars is a cornerstone of efficient time management and successful collaboration in today’s fast-paced environment.
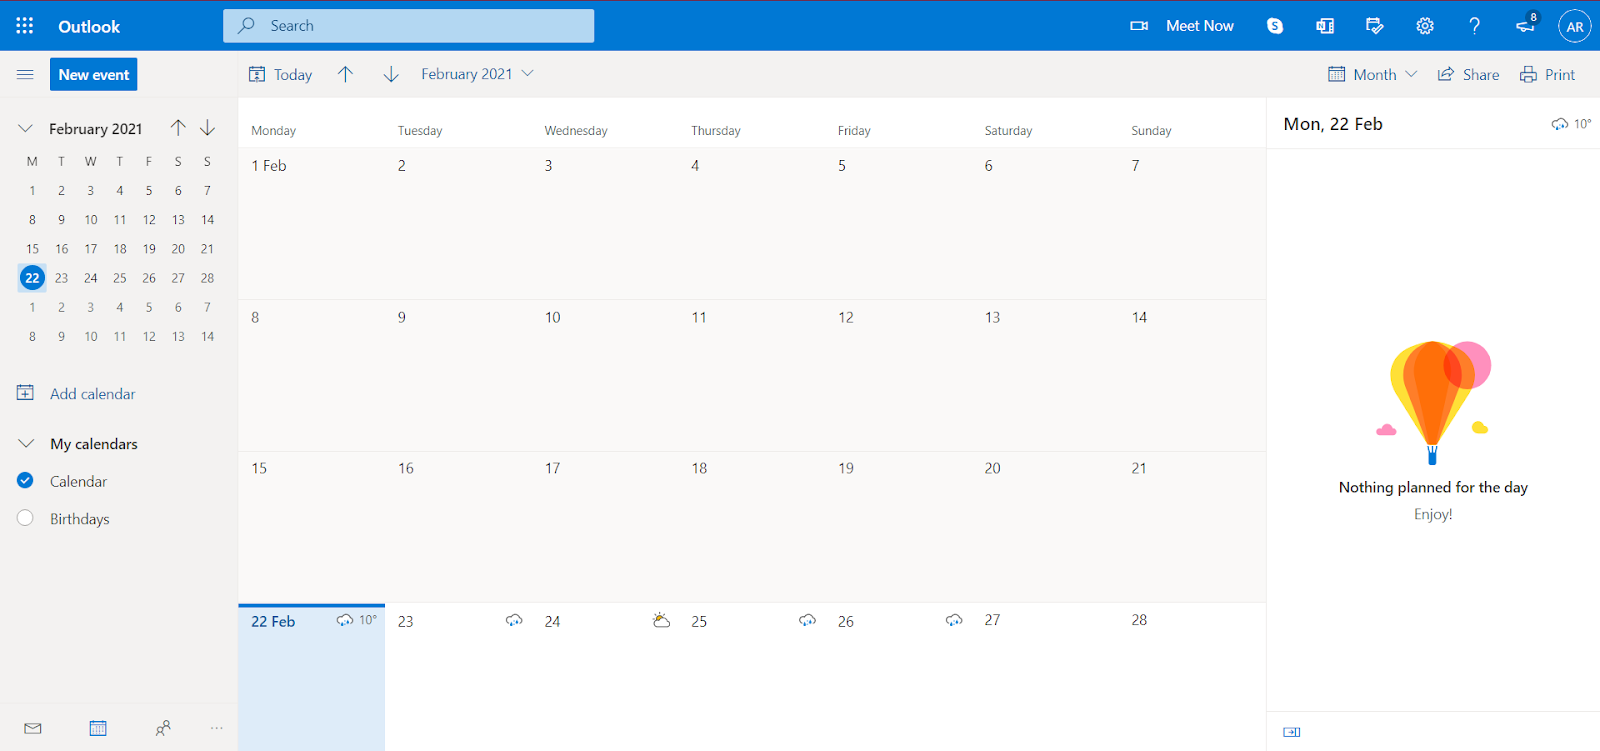

.jpg)

Closure
Thus, we hope this article has provided valuable insights into Adding Calendars to Your Outlook View: A Comprehensive Guide for Finest, Ultimate, and Prime Users. We thank you for taking the time to read this article. See you in our next article!