Adding a Calendar to Outlook: A Spectacular, Breathtaking, and Splendid Guide
Related Articles: Adding a Calendar to Outlook: A Spectacular, Breathtaking, and Splendid Guide
Introduction
With enthusiasm, let’s navigate through the intriguing topic related to Adding a Calendar to Outlook: A Spectacular, Breathtaking, and Splendid Guide. Let’s weave interesting information and offer fresh perspectives to the readers.
Table of Content
Adding a Calendar to Outlook: A Spectacular, Breathtaking, and Splendid Guide
Microsoft Outlook, a cornerstone of productivity for millions, offers a robust calendaring system far beyond simple scheduling. Its capabilities extend from managing personal appointments to coordinating complex team projects, making mastering its calendar features a worthwhile investment. This comprehensive guide will take you on a journey from the basics of adding a calendar to exploring its advanced functionalities, ensuring you harness the full potential of Outlook’s spectacular, breathtaking, and splendid calendaring system.
Part 1: The Foundations – Adding a New Calendar
Adding a new calendar in Outlook is surprisingly straightforward, regardless of whether you’re using the desktop application, the web app (Outlook on the web), or a mobile app. The process varies slightly depending on the platform, but the core principles remain consistent.
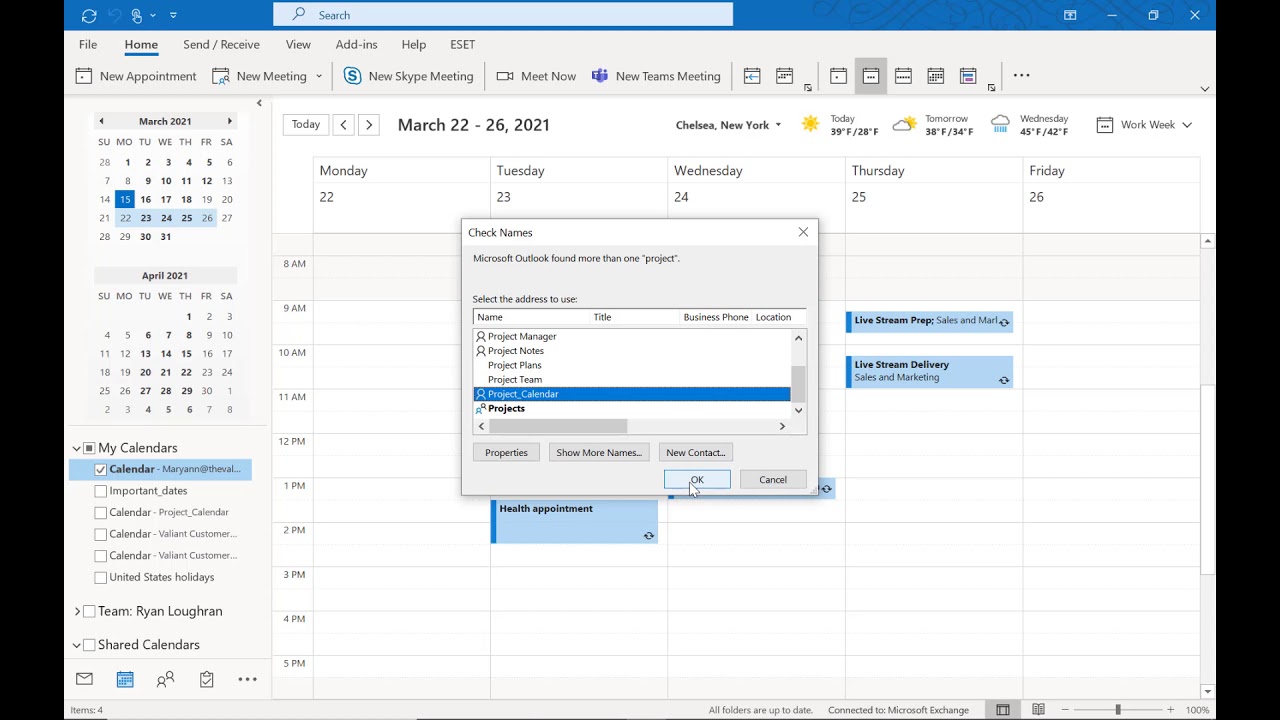
A. Adding a Calendar in the Outlook Desktop Application:
-
Navigate to the Calendar View: Open your Outlook desktop application and click on the "Calendar" icon in the navigation pane on the left.
-
Access the Calendar Management Menu: Depending on your Outlook version, the exact location might differ slightly. Generally, you’ll find options under the "Home" or "View" tab. Look for a button or menu item related to "New Calendar," "Manage Calendars," or similar phrasing.
-
Create a New Calendar: Clicking the relevant option will open a dialog box. Here you’ll be prompted to provide a name for your new calendar. Be descriptive – "Work Projects," "Family Events," "Vacation Planning" – to easily identify its purpose. You can also choose the calendar’s color for easy visual distinction in the calendar view.
-
Save and View: Once you’ve entered the name and chosen a color, click "OK" or "Save." Your new calendar will now appear in the navigation pane alongside your existing calendars. You can switch between calendars by simply clicking their names.
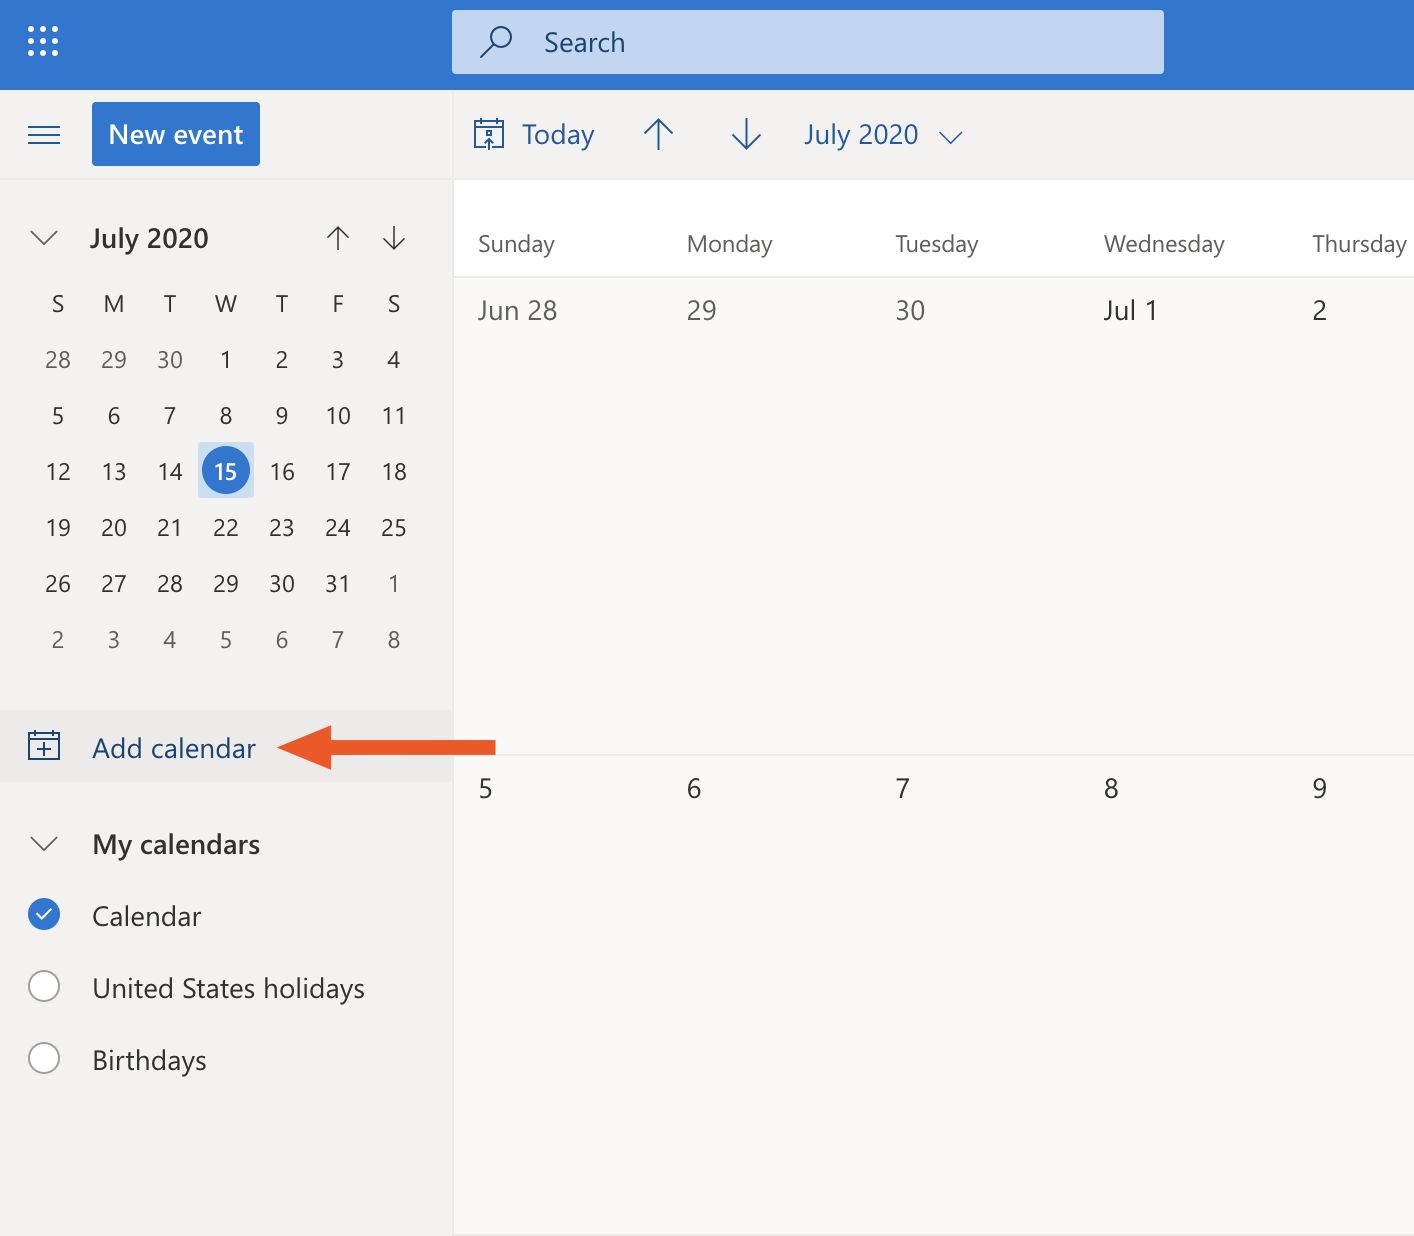
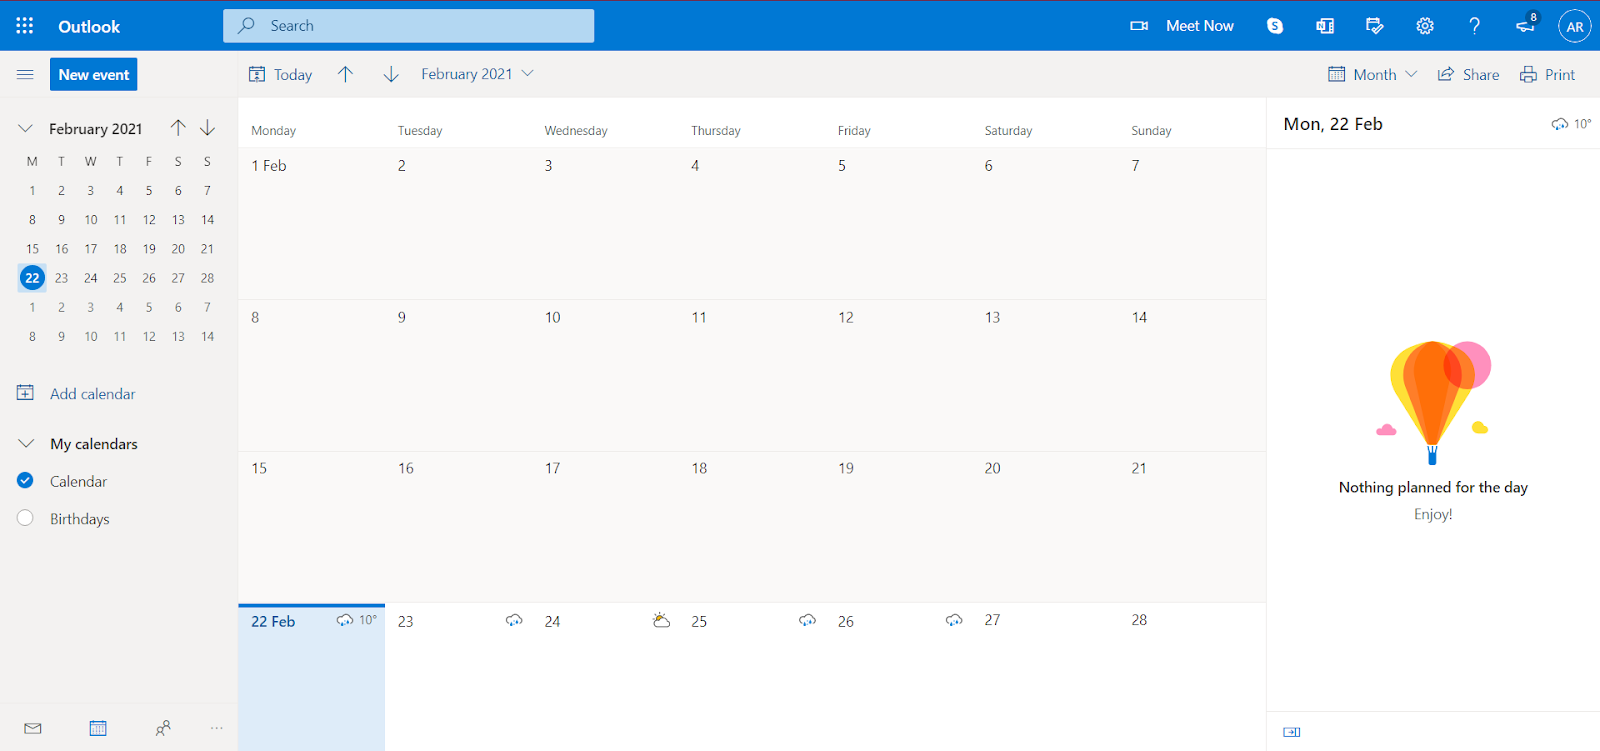
B. Adding a Calendar in Outlook on the Web (OWA):
-
Access the Calendar View: Log in to your Outlook account via a web browser and navigate to the "Calendar" view.
-
Open the Calendar Settings: Usually, you’ll find a gear icon (settings) in the upper right corner. Click it and select "View all Outlook settings."
-
Navigate to Calendars: In the settings menu, find the "Calendars" section. You might need to expand a menu to find it.
-
Add a New Calendar: Look for a button or link that allows you to add a new calendar. Similar to the desktop application, you’ll be asked to provide a name and color.
-
Save Changes: Once you’ve made your selections, save the changes to apply the new calendar.
C. Adding a Calendar on Mobile Apps (iOS and Android):
The process for adding a calendar on mobile Outlook apps is similar to the web version. The exact menu structure might vary slightly depending on the app version and operating system, but the general steps remain the same:
-
Open the Outlook Mobile App: Launch the Outlook app on your iOS or Android device.
-
Access Settings: Find the settings menu (usually a gear icon).
-
Navigate to Calendars: Locate the calendars section within the settings.
-
Add a New Calendar: Follow the prompts to create a new calendar by providing a name and choosing a color.
-
Save Changes: Save your changes to see the newly added calendar in your app’s calendar view.
Part 2: Beyond the Basics – Mastering Calendar Functionality
Adding a calendar is only the first step. Outlook’s true power lies in its ability to customize and manage multiple calendars effectively.
A. Sharing Calendars:
Collaboration is key in today’s interconnected world. Outlook allows you to share your calendars with others, enabling seamless scheduling and coordination. The sharing options differ slightly between the desktop and web versions, but the fundamental process remains the same:
-
Right-click on the Calendar: In either the desktop or web app, right-click on the calendar you wish to share.
-
Select "Share Calendar": This option will open a dialog box allowing you to specify who to share the calendar with and the level of access they will have (view only, edit, etc.).
-
Send the Invitation: Outlook will generate an email invitation to the recipient(s). They’ll need to accept the invitation to view your shared calendar.
B. Color-Coding for Clarity:
Using different colors for different calendars is crucial for visual organization. This allows you to quickly identify appointments related to specific projects, family members, or other categories. Outlook allows you to customize the color of each calendar, making it easy to distinguish between them at a glance.
C. Categorization and Tags:
For even finer-grained organization, Outlook allows you to categorize appointments using tags or categories. This enables you to filter and view appointments based on specific criteria, further enhancing your ability to manage your time effectively.
D. Utilizing Recurring Appointments:
Recurring appointments are a time-saver for regularly scheduled events like weekly meetings or monthly deadlines. Outlook’s recurring appointment feature allows you to easily set up events that repeat on a daily, weekly, monthly, or yearly basis, saving you the effort of manually creating multiple entries.
E. Setting Reminders and Notifications:
Never miss an important appointment again! Outlook’s robust reminder system allows you to set reminders for your appointments, ensuring you’re notified well in advance. You can customize the reminder time and method (email, popup, etc.) to suit your preferences.
F. Integrating with Other Applications:
Outlook’s calendar seamlessly integrates with other Microsoft applications like Teams and OneNote. This allows you to easily schedule meetings directly from Teams and link calendar events to relevant notes in OneNote, creating a centralized hub for your work and personal information.
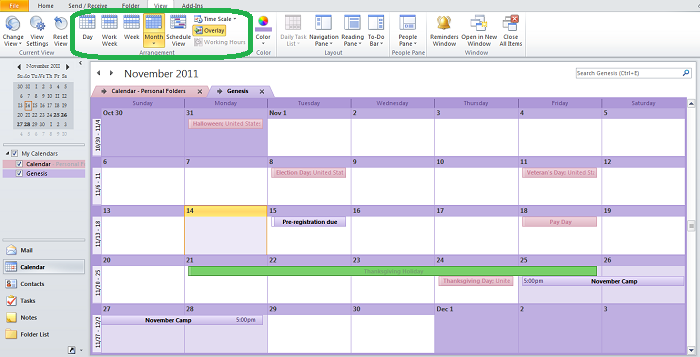
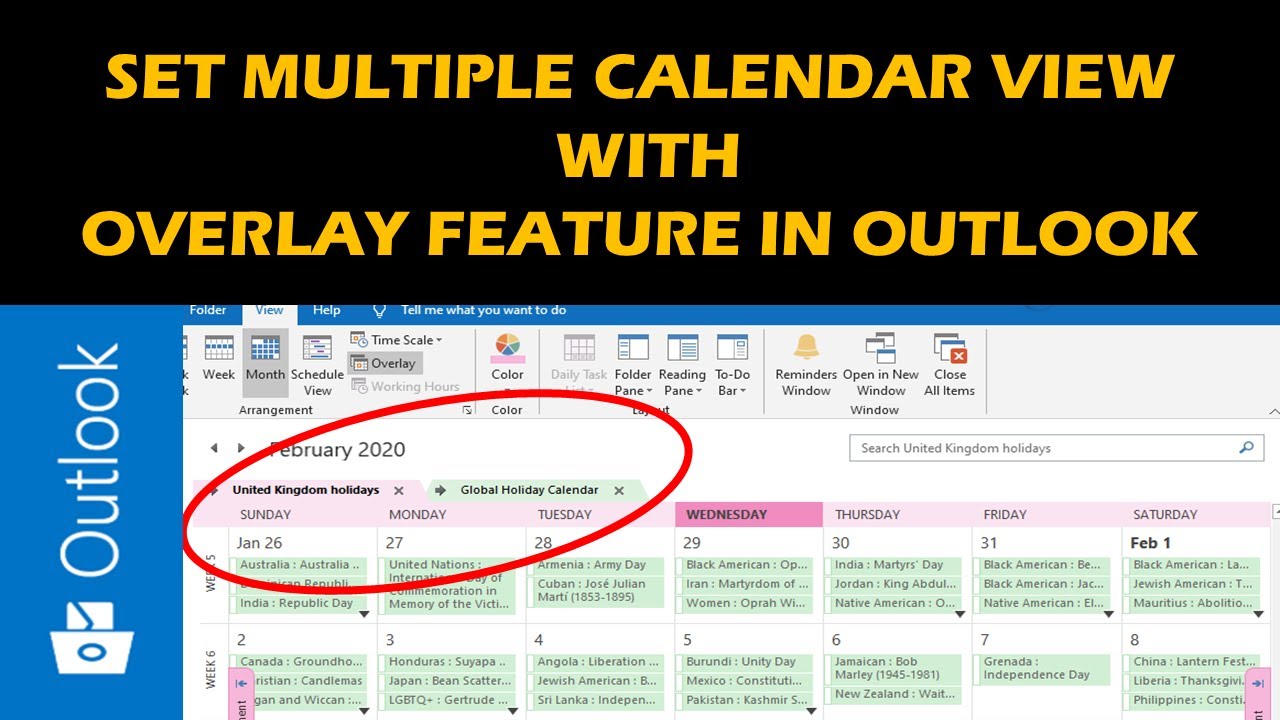
G. Advanced Features: Views and Filters:
Outlook offers various calendar views (day, week, month, year) and powerful filtering options. You can customize your calendar view to focus on specific information, such as appointments within a particular time range or those tagged with specific categories.
Part 3: Troubleshooting and Best Practices
While Outlook’s calendar is generally user-friendly, occasional issues might arise.
A. Troubleshooting Calendar Synchronization:
If your calendar isn’t synchronizing correctly across different devices, ensure you’re logged in with the same account on all devices and that your internet connection is stable. Check your Outlook settings to ensure that calendar synchronization is enabled.
B. Resolving Calendar Conflicts:
Calendar conflicts can be easily resolved using Outlook’s built-in conflict resolution tools. Outlook will often highlight conflicting appointments, allowing you to reschedule or adjust them to avoid overlaps.
C. Best Practices for Calendar Management:
- Regularly review and clean your calendar: Delete outdated or irrelevant appointments to maintain clarity.
- Use descriptive titles for appointments: This makes it easier to identify the purpose of each event at a glance.
- Leverage color-coding and categories effectively: This enhances visual organization and filtering capabilities.
- Utilize recurring appointments for regularly scheduled events: This saves time and reduces the risk of missed appointments.
- Set reminders appropriately: Ensure you’re notified in advance of important appointments.
In conclusion, mastering Outlook’s calendar functionality is an investment in your productivity and efficiency. By understanding its features and employing best practices, you can transform your calendar from a simple scheduling tool into a powerful organizational hub, making your workflow spectacular, breathtaking, and splendidly efficient. This detailed guide provides a solid foundation for exploring and utilizing the full potential of Outlook’s calendar, empowering you to manage your time effectively and achieve your goals with greater ease.
.jpg)


Closure
Thus, we hope this article has provided valuable insights into Adding a Calendar to Outlook: A Spectacular, Breathtaking, and Splendid Guide. We thank you for taking the time to read this article. See you in our next article!